Crimson Desert’s campaign throws 15 boss fights at you across three playable characters, and most of them hit hard enough to end your run in seconds. Preparation matters more than reflexes here. Stock the right food, upgrade your gear, and learn when to parry versus when to dodge, and even the toughest fights become manageable. This Crimson Desert boss guide covers every campaign boss in order with the strategies that work.
Key Takeaways
- Bring 100+ Grilled Meat to every boss: you can eat every 2 seconds during combat, and healing is what keeps you alive through long multi-phase fights
- Parry human bosses, dodge monster bosses: shield counters interrupt human attack chains for free damage windows, while monster attacks are mostly unblockable
- Heavy attacks break shields: bosses like Cassius Morten and Fortain block your light attacks, so switch to R2/RT combos with the Tauria Curved Sword to punch through
- Keep every boss weapon drop: the Sword of the Lord (Kailok) and Tauria Curved Sword (Crowcaller) carry you through the rest of the campaign
- Upgrade armor at the blacksmith before hard fights: heavy plate armor has no movement penalty and the defense boost from refinement levels 4-7 makes a noticeable difference
- Boss Preparation
- Crimson Desert Boss Guide: Combat Fundamentals
- Matthias
- Kailok, the Hornsplitter
- Reed Devil
- Tenebrum
- Kearush, the Slayer
- Crowcaller (Draven)
- Cassius Morten
- Ludvig and Awakened Ludvig
- Myurdin and Lava Myurdin
- One-Armed Ludvig
- Gregor, the Halberd of Carnage
- Fortain, the Cursed Knight
- Lucian Bastier and Awakened Lucian Bastier
- Goyen
- T’rukan the Ascended
- Notable Optional Bosses
- Gear for Boss Fights
- Frequently Asked Questions
- Summary
Boss Preparation
Every boss in Crimson Desert is designed around the assumption that you will take damage. The difficulty depends on how much healing you brought, not whether you can avoid every hit. If you have already cleared the campaign, a post-launch update added a boss Rematch mode, covered in our guide to every major Crimson Desert update since launch.
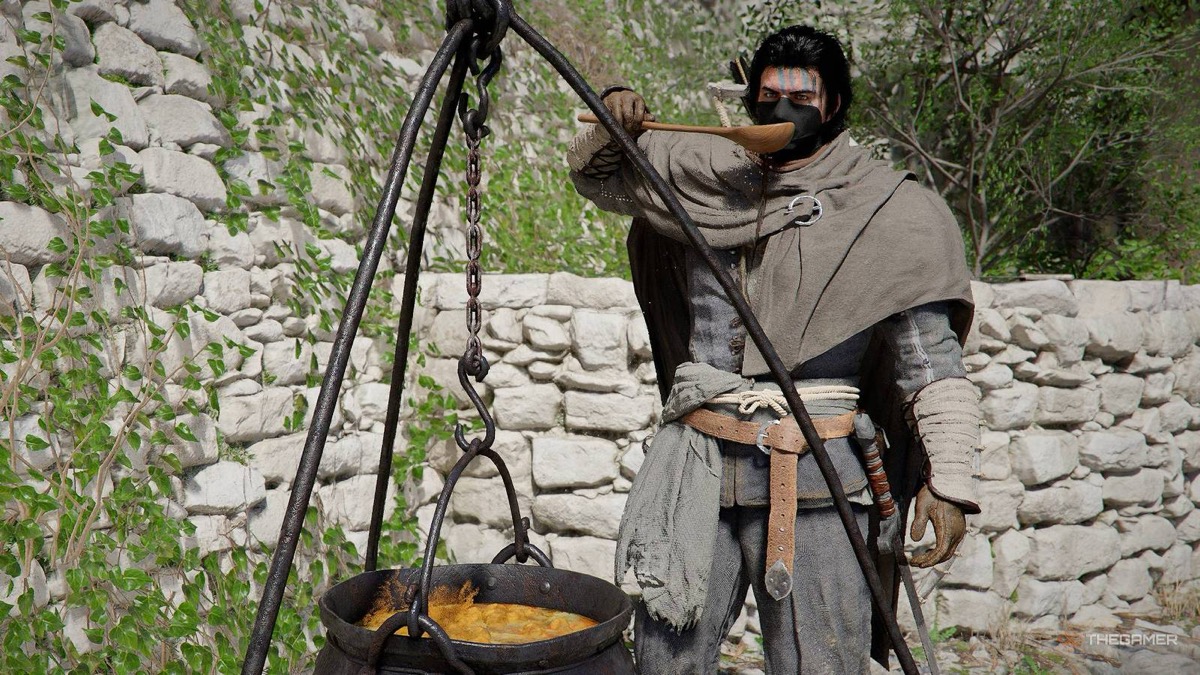
Food: Buy raw meat from the vendor in Hernand and cook it at the nearby pot. Grilled Meat restores 80 HP per piece and costs 1 raw meat. Bring at least 100 pieces to any boss. For late-game fights like Goyen and T’rukan, bring 200. Chewy Rice Cakes from Ronnie at Greymane Camp are a good alternative.
Gear: Visit the blacksmith in Hernand for refinement upgrades. Heavy plate armor gives the highest defense with no movement penalty. Aim for refinement level 4 by Kearush and level 7 before the final stretch. If you need silver fast, the bank investment system is the most efficient way to generate passive income. For a full breakdown of which weapons to prioritize, check our Crimson Desert best weapons guide.
Skills: Invest at least 5 points into Stamina early. Unlock Keen Senses as soon as possible since it gates access to Parry (level 1), Backstep (level 2), and Counter (level 3). Without Keen Senses, you cannot parry at all. Nature’s Echo duplicates your attacks for extra damage and is worth unlocking once you have Keen Senses level 3 and Forward Slash level 3. See our skill upgrade guide for the full priority order.
Crimson Desert Boss Guide: Combat Fundamentals
Boss combat follows a pattern: read the attack, respond correctly, then punish during the opening. The response changes depending on whether you are fighting a human or a monster.
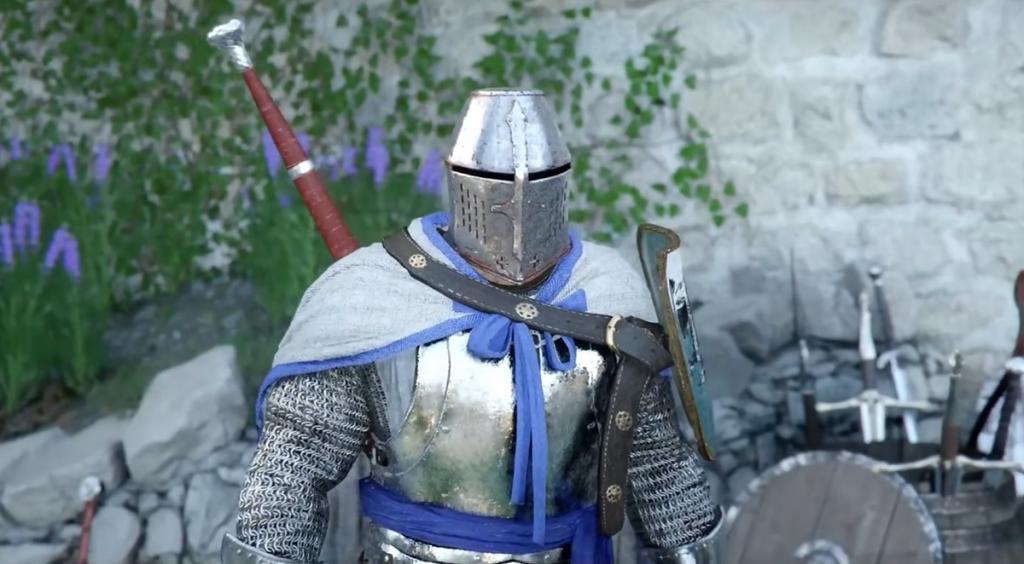
Human bosses use blockable attacks. Parry with L1/LB right as the attack lands to interrupt their combo, then follow up with light attack chains. Human bosses who carry shields (Cassius Morten, Fortain) require heavy attacks (R2/RT) to break their guard before you can deal real damage.
Monster bosses use unblockable attacks telegraphed by a red glow on the enemy’s weapon or body. Dodge through or away from their swings, wait for the combo to finish, then land 2-3 quick hits before backing off. Greed kills you here. Three attacks and retreat is the rhythm for Kearush, Myurdin, and most large creatures.
Healing in combat: Hold right on the d-pad, select your food with R2/RT, and tap right to eat. You can consume one piece every 2 seconds, even while moving. Get comfortable doing this mid-fight because it is your primary survival tool. You can also eat food while climbing, swimming, and gliding without interrupting the action. See our hidden mechanics guide for more combat and traversal tricks.
Matthias
HP Bars: 2 | Location: Hernand Square | Difficulty: Easy
The tutorial duel in Hernand Square. Matthias swings slowly and telegraphs every attack with long windups. Chain three light attacks (R1) into three heavy attacks (R2), dodge back when he starts his combo, and repeat. You can also spam Pump Kick to knock him to the edge of the arena for a quick finish. No special preparation needed.
Kailok, the Hornsplitter

HP Bars: 1 | Location: Goldleaf Guildhouse | Difficulty: Moderate
A goblin branchmaster who fires ranged sword waves across wide arcs. When he glows blue, he has super armor and will not stagger from your attacks. Do not try to trade hits during super armor phases. Focus on perfect shield counters during his melee combos and keep your stamina high for blocking the ranged waves. Drops the Sword of the Lord, which you should equip immediately.
Reed Devil
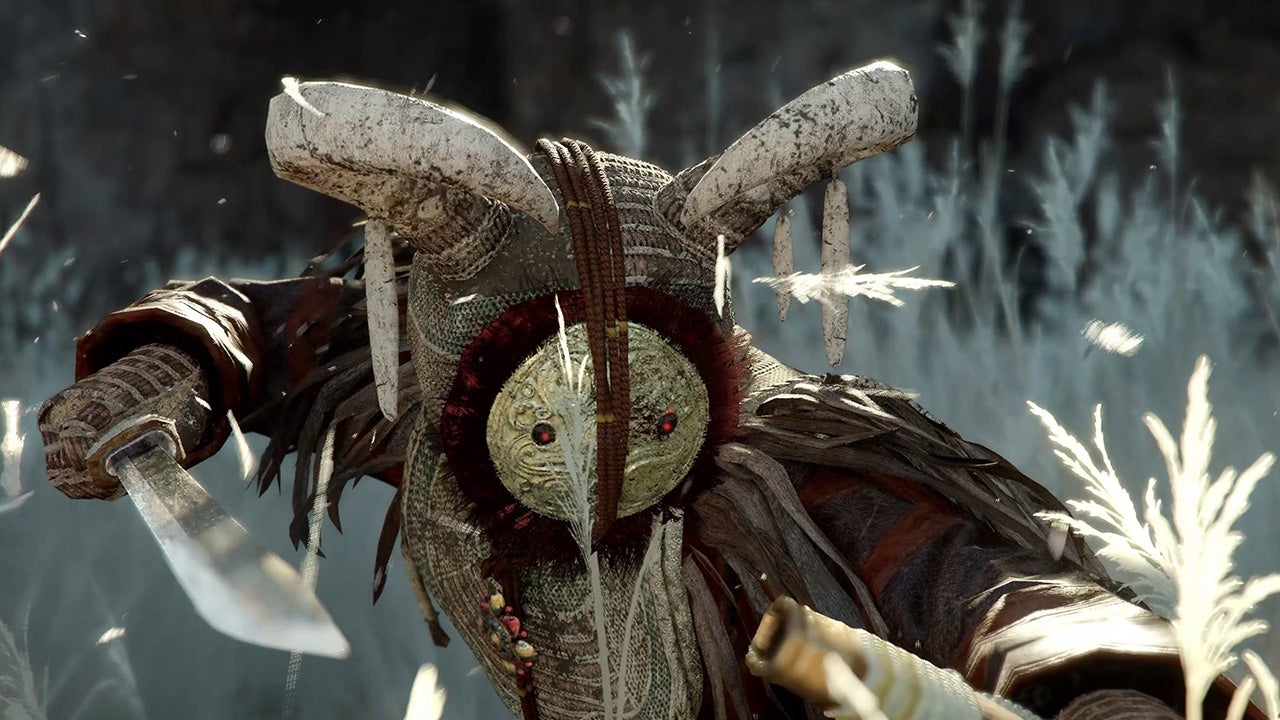
HP Bars: 3 | Location: Frozen Soul Mountain | Difficulty: Hard
Phase 1: Standard Combat
A straightforward parry-and-punish fight. The Reed Devil attacks with fast melee combos that you can shield counter. Parry with L1, follow up with light attacks, and dodge his grab attempts. Manage your stamina since you will need it for Phase 2.
Phase 2: Totem Destruction
The fight changes completely. Five destructible totems spawn around the arena and the Reed Devil becomes more aggressive with ranged projectiles. Your priority is destroying the totems, not attacking the boss. Use Turning Slash to clear totems quickly while dodging red projectile attacks. Do not get greedy with boss damage here.
Phase 3: Aggressive Melee
Returns to direct combat but with faster and more aggressive patterns than Phase 1. Stay patient, parry when possible, and heal between exchanges. Bring at least 40 Grilled Meat for this fight.
Tenebrum
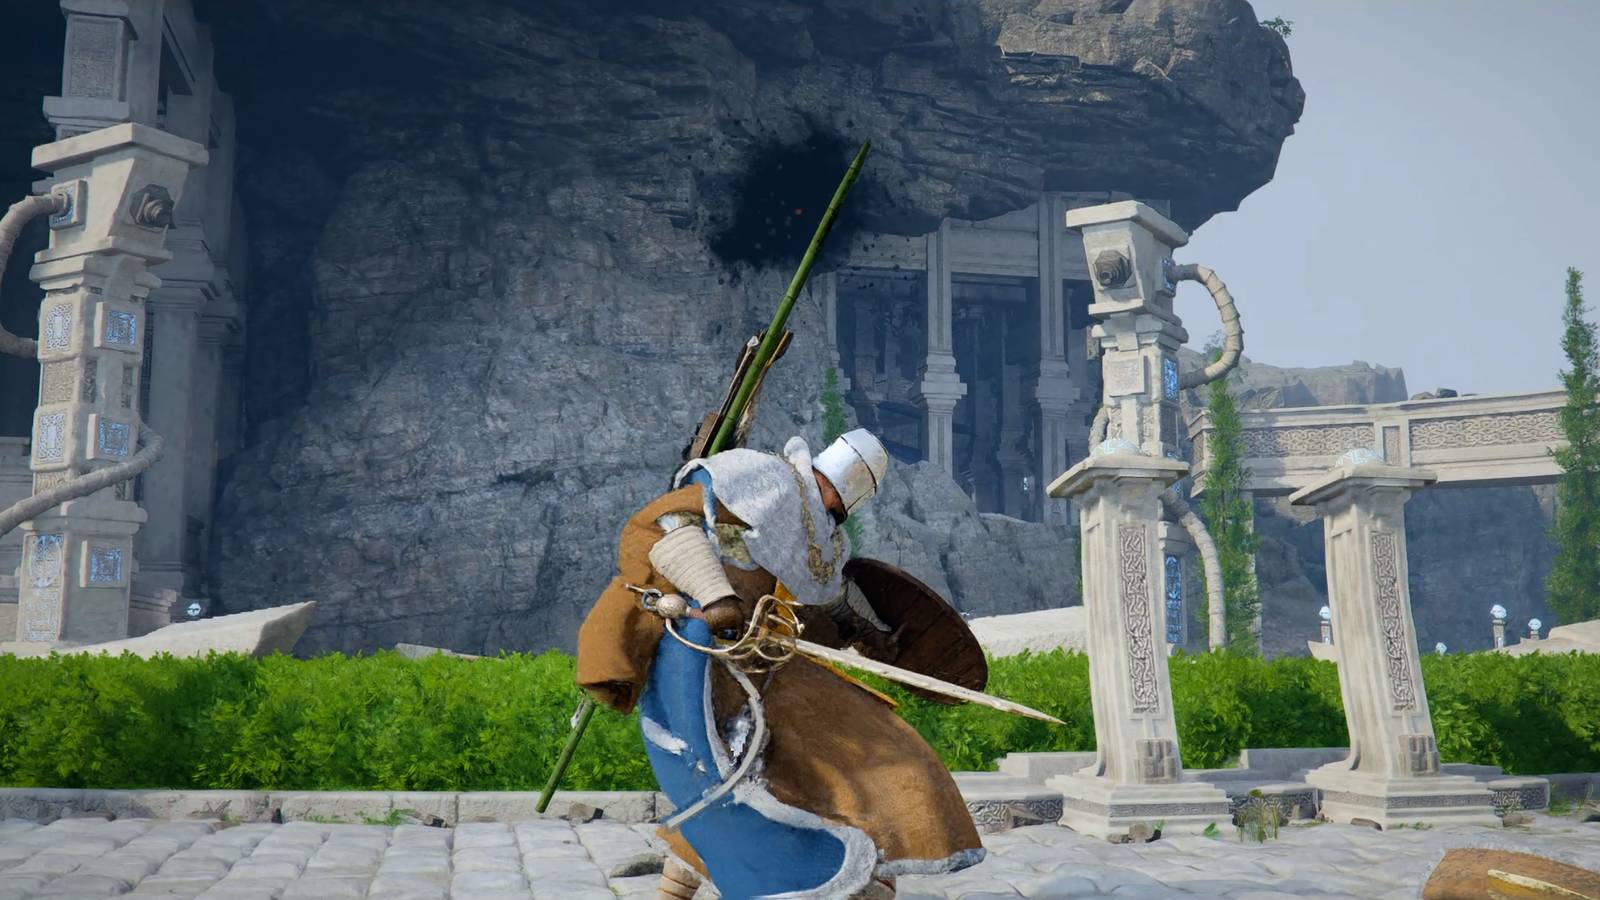
HP Bars: Puzzle boss | Location: Scholastone Institute | Difficulty: Moderate
Tenebrum is a flying specter that breaks every combat rule you have learned so far. Standard melee attacks do not work. Use Blinding Flash to reveal its weak point, launch yourself into the air with wings, then execute Force Palm (R3) mid-air to deal damage. Between attacks, hide behind the arena pillars to restore Spirit. Time your launches carefully since missing a Force Palm wastes Spirit and leaves you exposed to projectile attacks.
Kearush, the Slayer
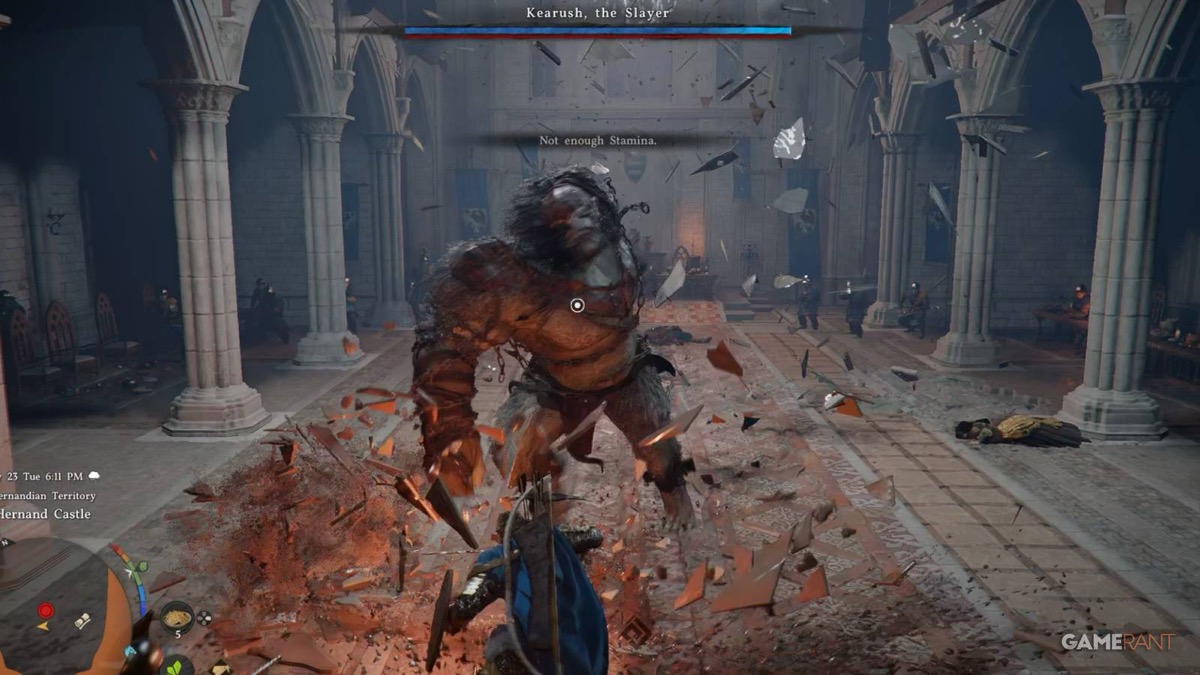
HP Bars: 3 | Location: Hernand Castle | Difficulty: Very Hard
A giant gorilla-like creature and the first fight where preparation makes or breaks you. Blocking and parrying do nothing against Kearush. Every attack is unblockable.
Phase 1-2: Dodge and Punish
Dodge forward-right when he attacks to get behind him. Land exactly 3 quick attacks, then back off immediately. Do not go for a fourth hit. He recovers fast and will punish greed with a grab or slam that takes half your health. Heal constantly between exchanges.
Phase 3: Super Armor
Kearush enters super armor mode and becomes more aggressive with wall-climbing leaps. When he glows and starts chaining attacks, run to the opposite end of the arena and wait it out. Only re-engage when the glow fades. Bring 100-200 Grilled Meat and have at least refinement level 4 armor with 4+ health and stamina upgrades.
Crowcaller (Draven)
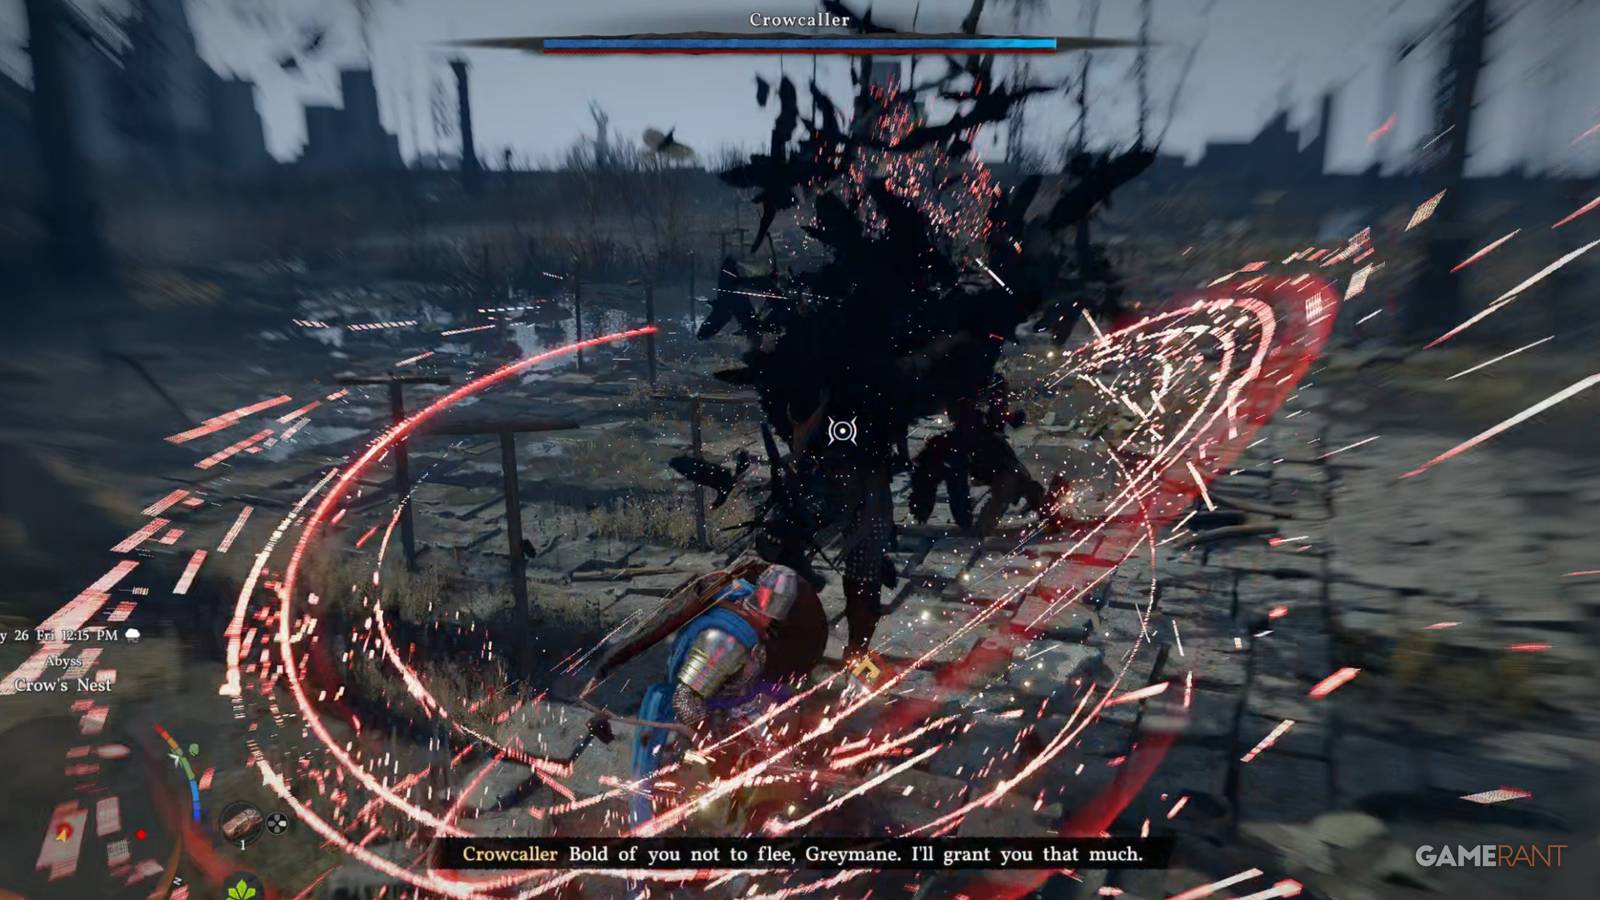
HP Bars: 1 (first fight) / 3 (second fight) | Location: Crow’s Nest | Difficulty: Hard
You fight Draven twice. The first encounter is a short 1-bar warmup. The second, at the end of Chapter 5, has 3 HP bars and is where things get serious.
Ground Phase
Draven attacks with fast melee combos on the ground. Parry his strikes with L1 and follow up with R1 light attack chains. His speed makes timing tight, but successful parries open long damage windows.
Aerial Dive Phase
When Draven jumps high into the air, he performs a sideways dodge before diving. Do not dodge on the first movement. Wait for the second sideways dodge, then roll away from the slam. Punish him immediately after the dive lands since he has a long recovery animation. Drops the Tauria Curved Sword, which you should equip and keep for the rest of the campaign.
Cassius Morten
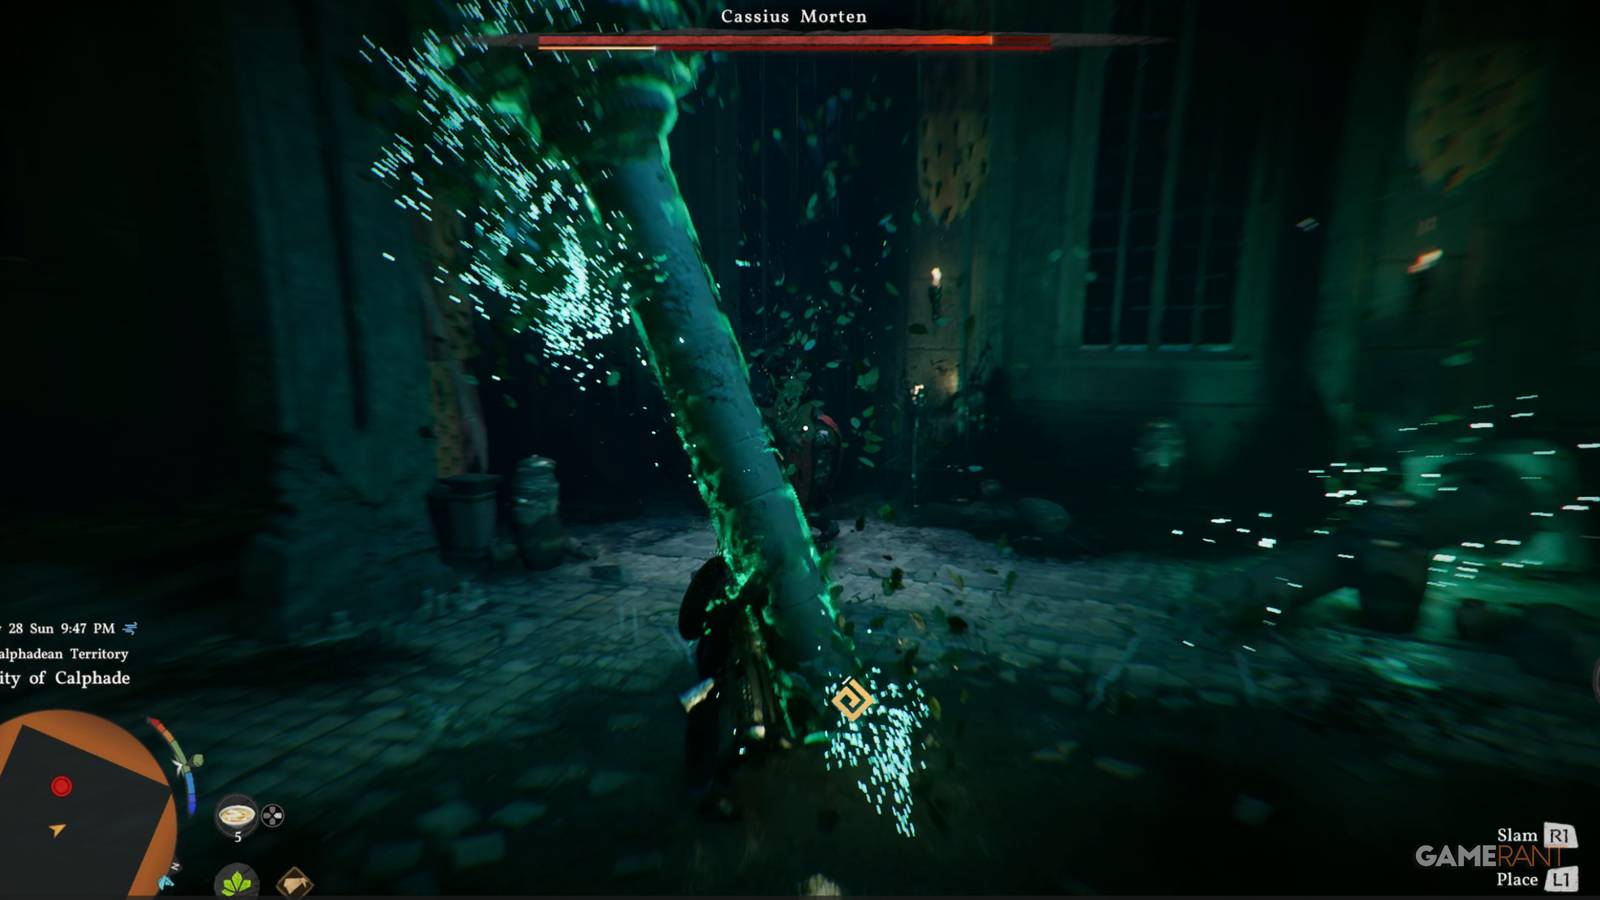
HP Bars: 1 | Location: City of Calphade | Difficulty: Moderate
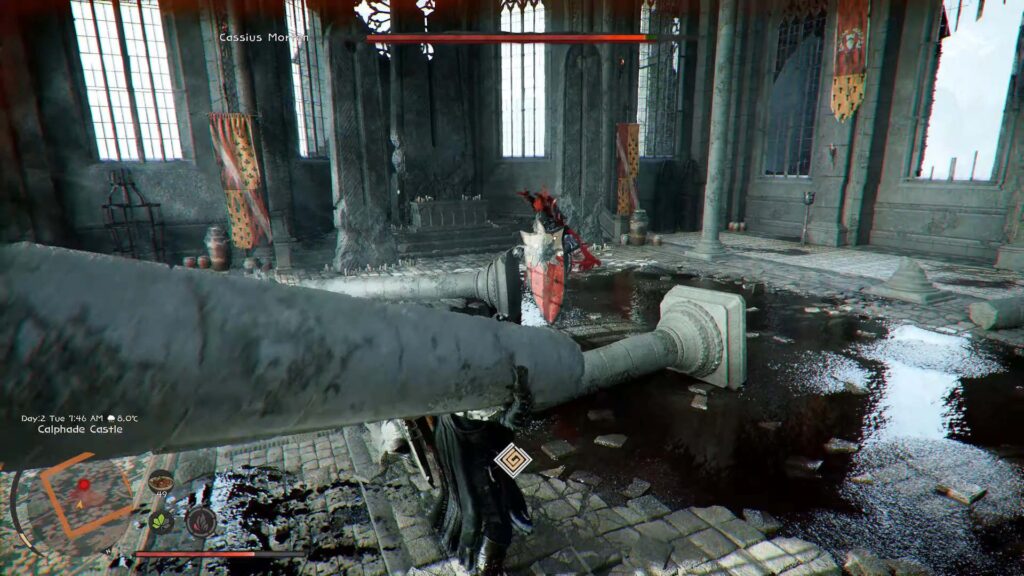
The first shield-carrying boss. Your light attacks bounce off his guard and deal no meaningful damage. Equip the Tauria Curved Sword, unlock Nature’s Echo from the skill tree, and spam heavy attacks (R2/RT). Heavy swings interrupt through his blocks and Nature’s Echo doubles your damage output, making this fight more about aggression than patience. Stay close, break his guard, and combo him before he can reset his stance.
Ludvig and Awakened Ludvig
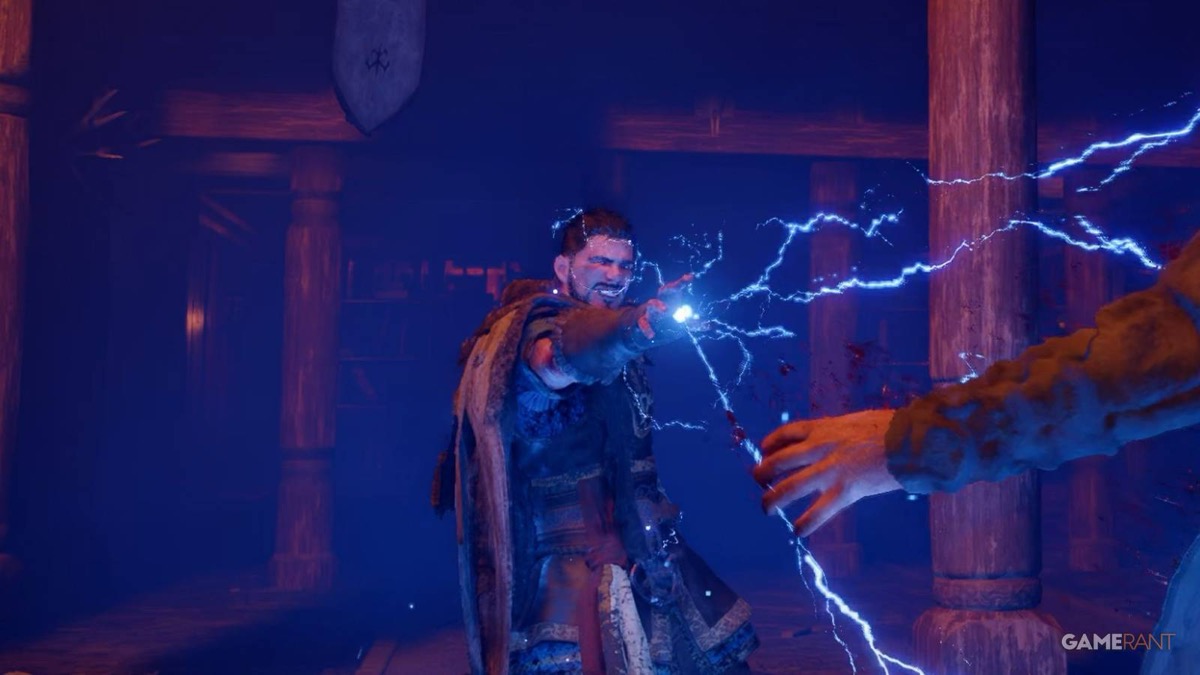
HP Bars: 2 (transformation) | Location: Pailune Castle | Difficulty: Hard
Phase 1: Melee Barbarian
Ludvig uses standard melee attacks that you can parry reliably. Shield counter his combos with L1 and follow up with heavy attacks. This phase is straightforward if you have been practicing parry timing on earlier bosses.
Phase 2: Awakened Ludvig
After depleting the first bar, Ludvig transforms and gains lightning damage with constant teleportation. Stop trying to parry. Switch entirely to dodging, wait for his combo to end, land a few hits while healing, and back off. The teleportation makes his attack timing unpredictable so reaction dodging is safer than anticipatory parrying. Bring 100+ Grilled Meat.
Myurdin and Lava Myurdin
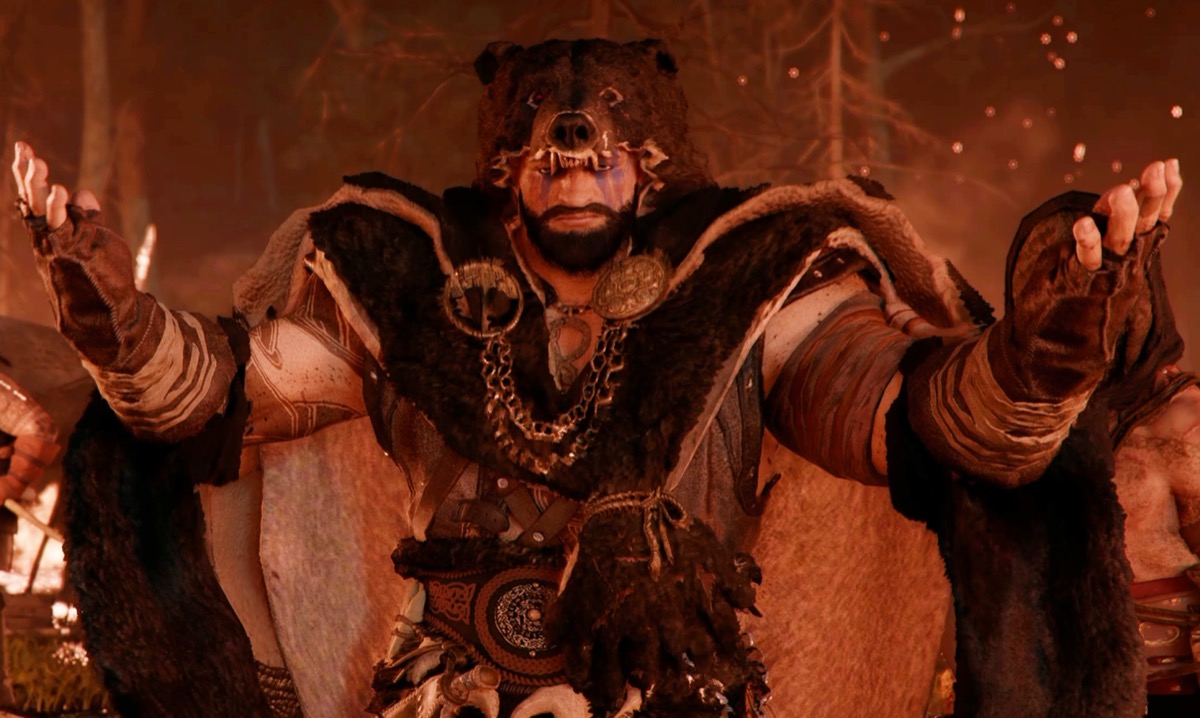
HP Bars: 2 (transformation) | Location: Silverwolf Mountain | Difficulty: Very Hard
Phase 1: Black Bear Leader
Myurdin moves quickly with rapid attacks. Parry and follow up with heavy attacks for damage. Chain Blinding Flash into Force Palm to stagger him for extended damage windows. When he crouches and drops to all fours, dodge immediately since he is about to charge. Stay away from the explosive barrels scattered around the arena.
Phase 2: Lava Myurdin
Myurdin transforms into a massive lava bear with fire damage on every attack. His slam attacks deal enormous damage and the explosive barrels become even more dangerous with fire spreading across the floor. Dodge exclusively during this phase and only attack during clear openings. Force Palm staggering still works but Blinding Flash becomes harder to land. Patience wins this fight. Bring 100+ Grilled Meat and have Tier 4-5 armor minimum.
One-Armed Ludvig
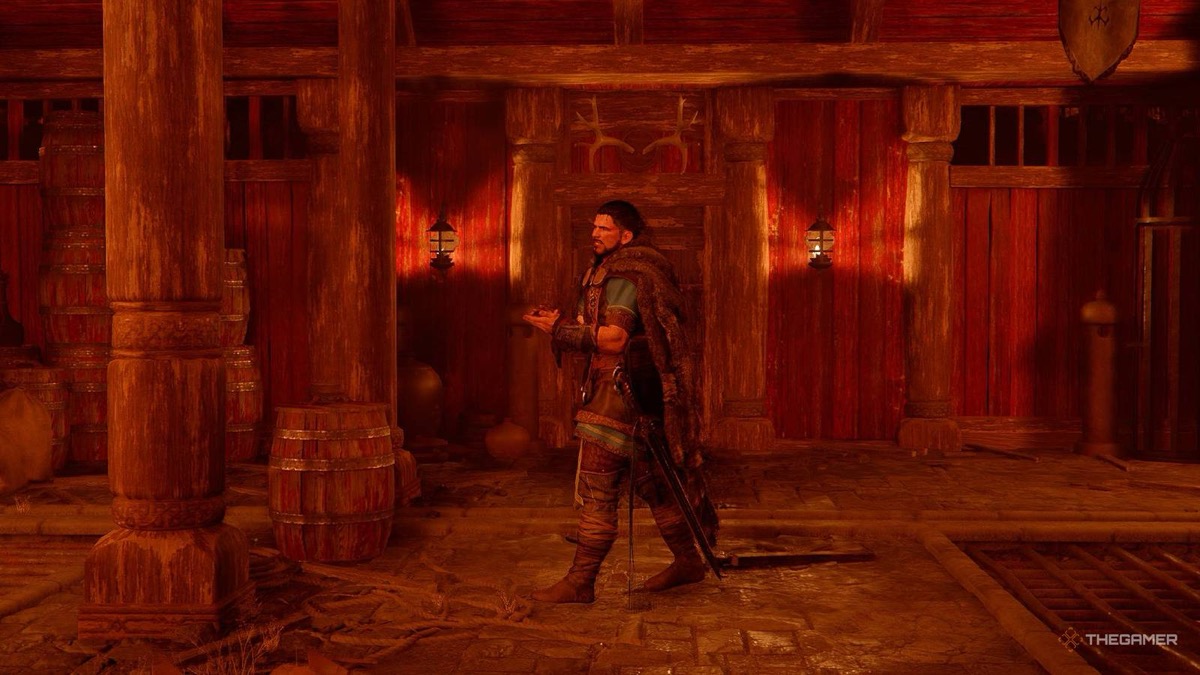
HP Bars: 1 | Location: Kingshield Mountain | Difficulty: Moderate
Your first mandatory fight as Oongka. He has no shield but can still parry with L1/LB using his weapon. Equip two one-handed swords instead of the slow starting axe since the speed difference is significant. Parry One-Armed Ludvig’s attacks, then chain light attack combos during the opening. Hunt for meat near Beighen village and cook at the nearby pot before this fight since Oongka starts with limited supplies. Bring 100+ Grilled Meat.
Gregor, the Halberd of Carnage
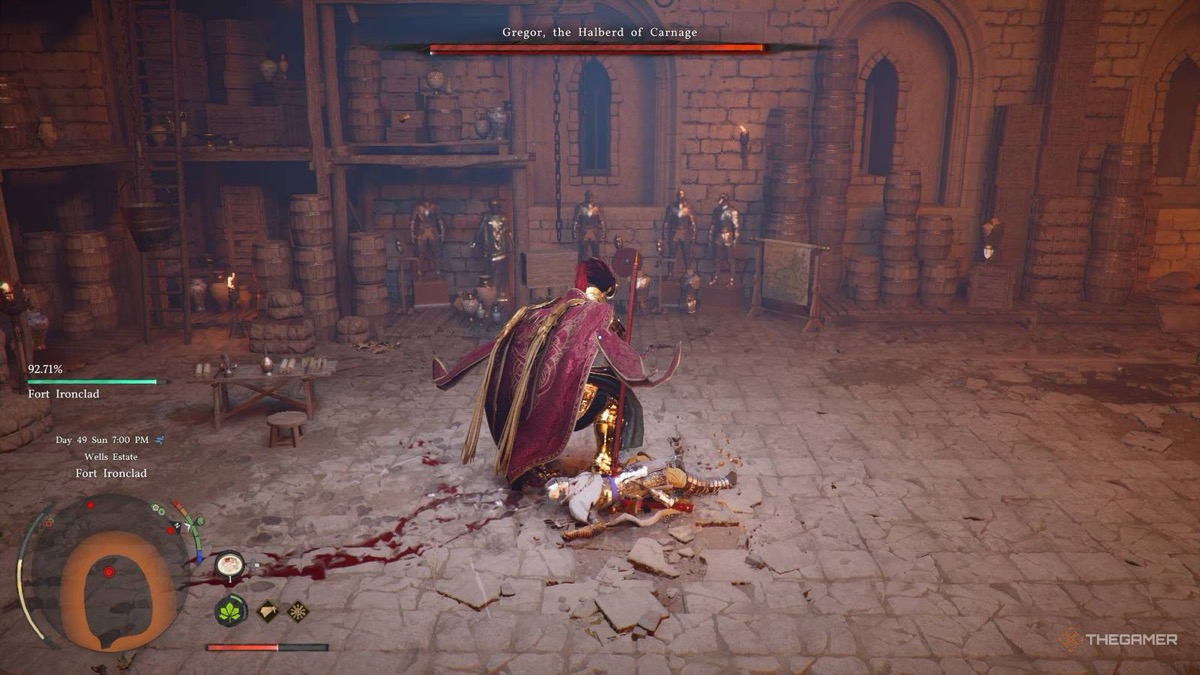
HP Bars: 1 | Location: “Where the Wind Guides You” quest | Difficulty: Hard
A spear-wielding captain with super armor stab combos and arrows that fire from the arena walls as an environmental hazard. When Gregor starts a stab chain with blue glow, dodge away and do not attempt to block since these attacks go through your guard. Punish him after his combos end with heavy attack chains. Watch the walls for arrow traps between attack windows and position yourself to avoid them. Drops the Golden Vanguard spear, which Damiane will need for the Lucian Bastier fight.
Fortain, the Cursed Knight
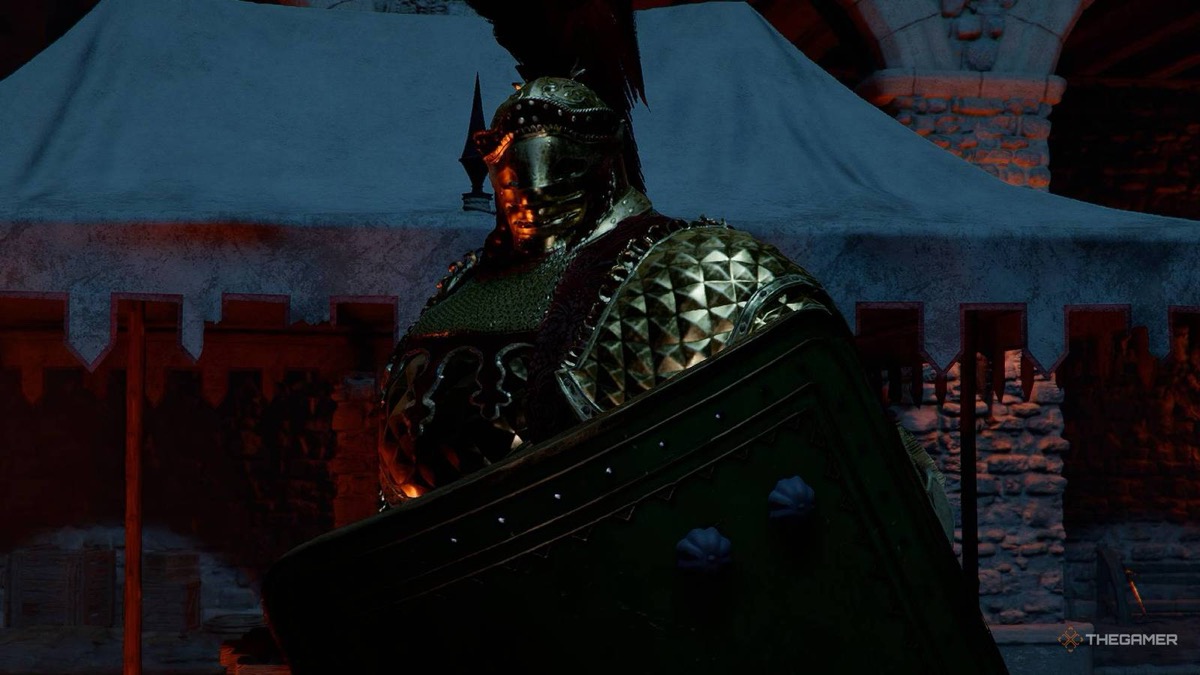
HP Bars: 1 | Location: “The Cursed Knight” quest | Difficulty: Hard
Fortain constantly summons a ghost knight that shoots arrows and slashes at you independently while he fights behind his shield. This dual-threat fight limits your attack windows severely. Use the Tauria Curved Sword with Nature’s Echo and focus heavy attacks (R2) on Fortain to break his guard. Dodge the ghost’s blue projectiles rather than trying to fight it since it cannot be killed. When Fortain flies out of the arena and strikes from the sky, hide behind the pillars to avoid the dive attack, then dash forward to punish his landing. Breaking Fortain’s guard is more important than chasing the summon.
Lucian Bastier and Awakened Lucian Bastier
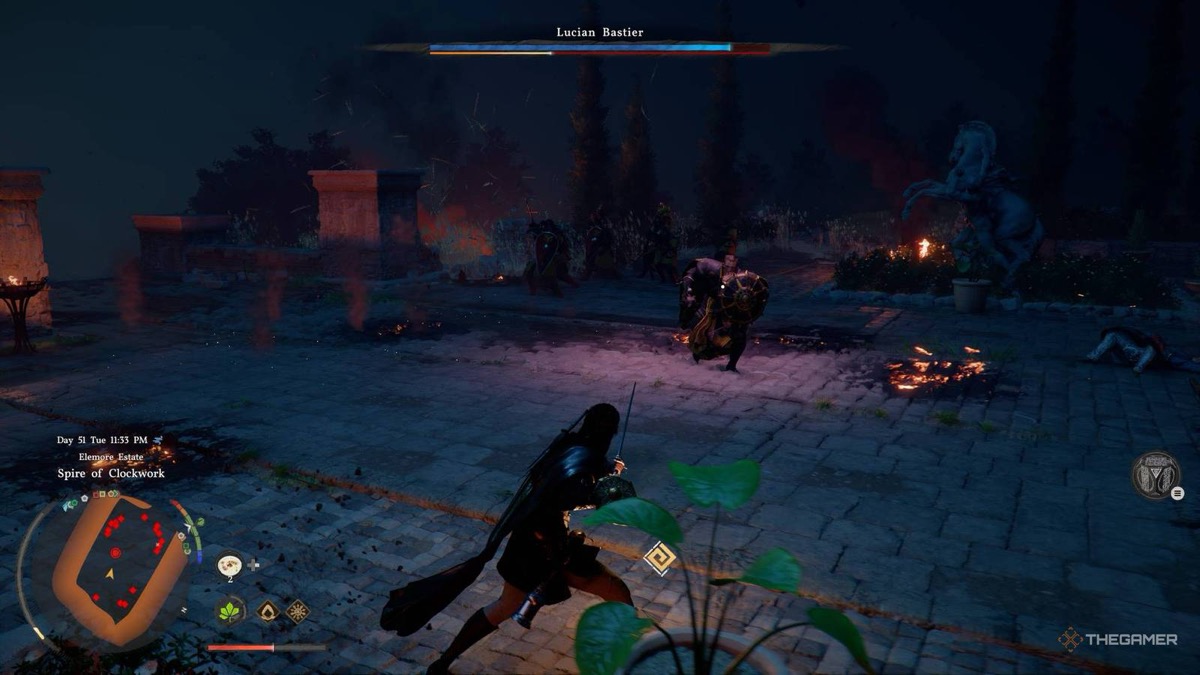
HP Bars: 2 (transformation) | Location: Elemore Estate, Spire of Clockwork | Difficulty: Very Hard
Phase 1: Shield and Mace
A forced Damiane fight. Lucian attacks with a shield and mace while creating explosive fire patches on the ground. He attacks so fast that direct trading is suicidal. Dodge sideways in circles and attack from behind after his combos miss. The fire patches persist for several seconds so keep moving and avoid fighting in the same spot. Use the Golden Vanguard spear (from Gregor) for its reach advantage.
Phase 2: Awakened Lucian Bastier
Lucian transforms with Abyss power, gaining constant teleportation and summoning shadow demons. The demons are individually weak but distract you while Lucian teleports behind you for a heavy combo. Keep moving, dodge the demons, and punish after his teleport attacks since he has a brief recovery window after each one. Upgrade Damiane’s armor 1-2 levels before this fight. Bring 100+ Grilled Meat.
Goyen
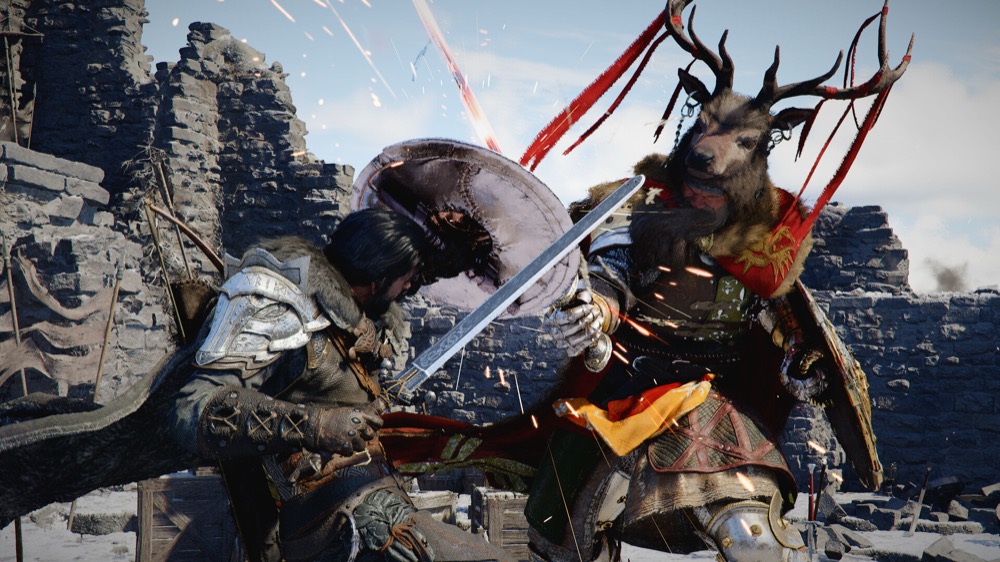
HP Bars: 1 | Location: “Unwavering Steps” quest | Difficulty: Very Hard
One HP bar but the hardest hitter in the campaign. Goyen uses a sword and shield with a moveset similar to Kliff’s own attacks. His midair jump-slam creates a shockwave that can kill you in one hit at lower gear levels.
Dealing with the Jump-Slam
When Goyen leaps into the air, watch the ground for the red impact radius indicator. Dodge sideways repeatedly until the slam lands. He follows up with a midair kick so keep dodging after the initial slam. Only approach once both attacks have finished.
Ground Combat
Dodge to the right when he swings, land 4 heavy attacks plus a light combo when he misses, then heal immediately if you took any damage. Blocking and parrying are risky because of how hard he hits. Dodging is safer. Activate the nearby fast travel point before engaging in case you need to leave and restock. You need refinement level 7+ gear, high max health from Abyss Artifacts, and 100+ Grilled Meat.
T’rukan the Ascended
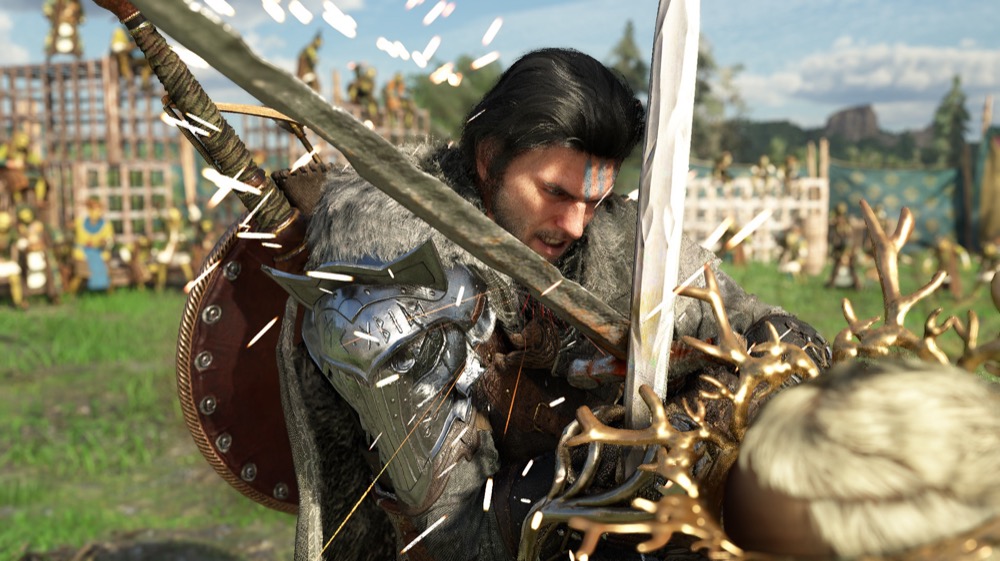
HP Bars: 1 | Location: Final campaign quest | Difficulty: Extreme
The final campaign boss moves faster than anything else in the game. T’rukan is a fist fighter who attacks with extreme speed and summons a spirit animal mid-fight that adds purple projectile attacks to the chaos.
Parry Strategy
Spam shield parries with L1 and land only 1-2 attacks after each successful counter. Do not go for full combos. If the parry fails, dodge immediately since his follow-up attacks come fast enough to kill you before you can react. The Tauria Curved Sword is the recommended weapon for its high stagger per hit.
Spirit Animal Phase
When T’rukan summons the spirit animal, you have two threats to manage. Prioritize dodging the purple projectiles from the spirit while waiting for T’rukan to commit to a combo you can parry. T’rukan has a small health pool compared to other bosses but hits hard enough that greed will get you killed. Bring Health Skill Level 6 minimum (750 HP), refinement level 6 gear, and use anvil and grindstone strengthening on your equipment.
Notable Optional Bosses
Crimson Desert has over 60 additional boss encounters beyond the campaign. A few stand out for their unique mechanics and rewards.
Queen Stoneback Crab is found in Redfox Forest. This massive creature requires you to break its shell with mid-air plunge attacks, then climb onto its back to hit three weak points. A completely different fight from anything in the main story.
Staglord (Saigord) sits in the Icemoor Castle Ruins, accessible from the Haunted Hill Abyss Nexus. He fights with sword and shield across 3 HP bars in a snowy ruined throne room. Treat him like an upgraded Cassius Morten: heavy attacks to break guard, dodge his power moves.
Crimson Nightmare and Marni’s Excavatron are worth seeking out for their unique gear drops. For a broader look at gear and how refinement works, see our Crimson Desert crafting guide. For rankings of every unique weapon and abyss gear that bosses drop, check our unique weapons and abyss gear tier list.
Gear for Boss Fights
Crimson Desert boss fights reward precision and patience. A comfortable controller and a headset that lets you hear attack audio cues make a real difference in long sessions. If you are looking for tips beyond boss fights, our Crimson Desert beginner guide covers exploration, progression, and general combat.

8BitDo Ultimate 2 Controller
Hall effect sticks with wireless and Bluetooth
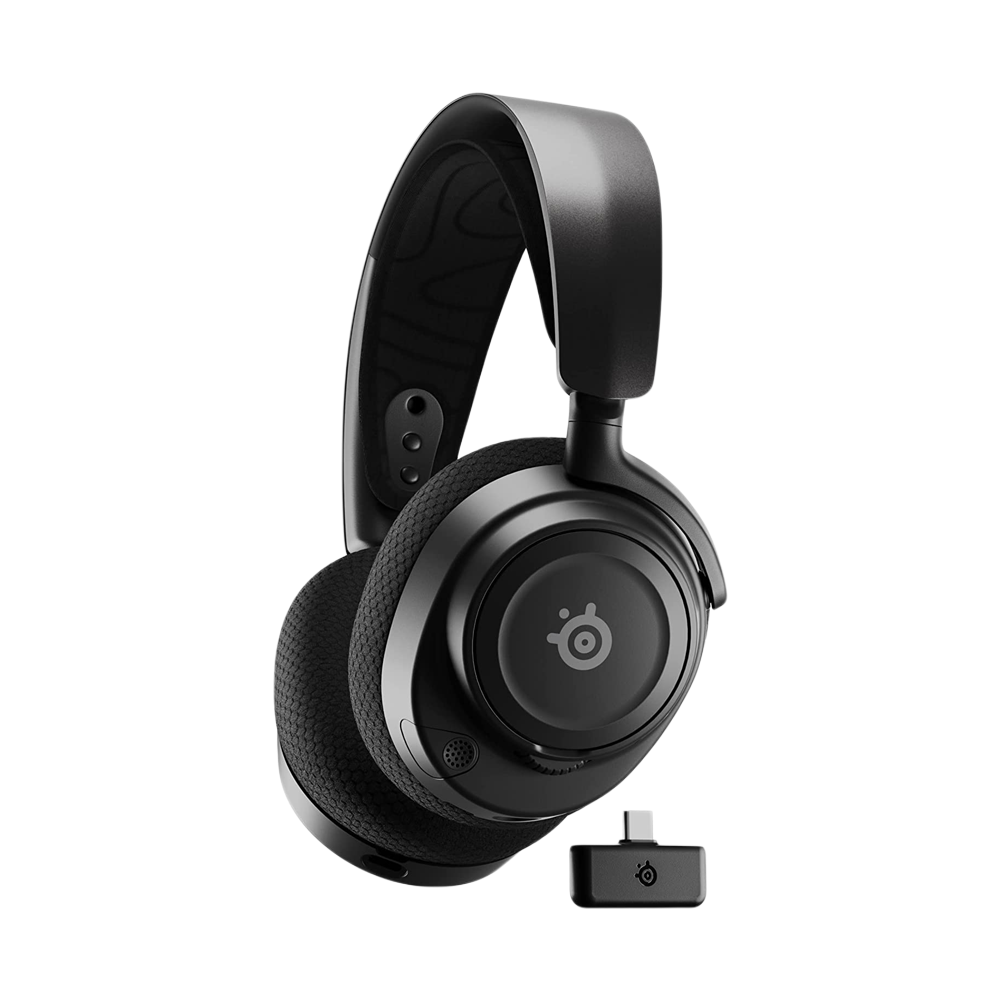
SteelSeries Arctis Nova 7
Multi-platform wireless with 38-hour battery

Samsung Odyssey G55C 32″ QHD
165Hz curved VA panel at a budget price
Frequently Asked Questions
How many bosses are in Crimson Desert?
The game has 76 total boss encounters. 15 are tied to the main campaign, and the rest are optional side bosses, world bosses, and hidden encounters scattered across Pywel.
What is the hardest boss in Crimson Desert?
Goyen and T’rukan the Ascended are widely considered the toughest campaign bosses. Goyen can one-shot you with his jump-slam shockwave, and T’rukan moves faster than any other enemy in the game. Both require late-game gear and full healing supplies.
Can I parry every boss in Crimson Desert?
No. Human bosses can be parried with L1/LB, but most monster bosses use unblockable attacks that require dodging instead. Unblockable attacks are telegraphed by a red glow on the enemy’s weapon or body.
What is the best weapon for boss fights?
The Tauria Curved Sword, dropped by Crowcaller in Chapter 5, is the most versatile boss weapon. Its heavy attacks break shields and deal high stagger damage. Pair it with the Nature’s Echo skill for doubled damage output.
Do I fight bosses as characters other than Kliff?
Yes. One-Armed Ludvig forces you to play as Oongka, and Lucian Bastier forces you to play as Damiane. Each character has different combat mechanics. Oongka parries with his weapon instead of a shield, and Damiane specializes in spear combat.
Prices on gaming peripherals and accessories change constantly. Berry Finds tracks real-time Amazon deals across thousands of products so you can grab gear at the lowest price.
Summary
Boss fights in Crimson Desert follow consistent patterns once you know what to look for. Parry humans, dodge monsters, break shields with heavy attacks, and never enter a fight without 100+ Grilled Meat. The Tauria Curved Sword from Crowcaller and the Sword of the Lord from Kailok will carry you through most of the campaign. Upgrade your armor at the Hernand blacksmith before any fight that gives you trouble, and invest in Keen Senses and Nature’s Echo early. Several bosses also drop pieces of the game’s best looking armor sets, so keep an eye on rewards from fights like Crowcaller and Fortain.