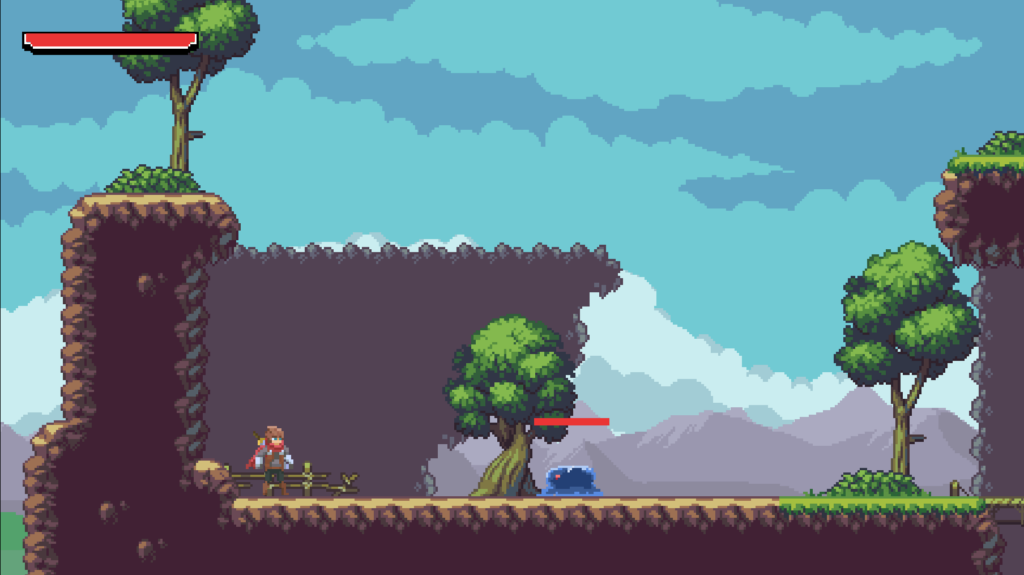
Godot 4 2D animation is what turns a sliding rectangle into a character that runs, jumps, and swings a sword. For most 2D games the tool is the AnimatedSprite2D node paired with a SpriteFrames resource, and you can have a character animating from a sprite sheet in a few minutes. This guide covers the full workflow: setting up SpriteFrames, playing animations from code, driving them off a movement controller, reacting to animation events with signals, and the part most tutorials skip, when a node-based approach stops scaling and you should move to a MultiMesh system instead.
That last point matters more than it sounds. AnimatedSprite2D is perfect for your player and a handful of characters, but it is the wrong tool for thousands of animated instances, and knowing where the line sits saves you a painful rewrite later.
Key Takeaways
- AnimatedSprite2D + SpriteFrames: the standard way to animate a 2D character, slicing a sprite sheet into frames with per-animation FPS and looping.
- Control it in code:
play(),stop(), andflip_hdrive animations, and callingplay()with the same name will not restart it, so it is safe to call every frame. - Drive animation from movement: pick idle, run, or jump based on the character’s velocity and floor state, the same velocity your controller already sets.
- React with signals: the
animation_finishedsignal fires when a non-looping animation ends, ideal for returning to idle after an attack. - Scale with MultiMesh: node-based sprites are fine for dozens of characters, but for hundreds or thousands of animated instances, switch to a MultiMesh that draws them all in one call.
- Godot 4 2D Animation: AnimatedSprite2D vs AnimationPlayer
- Setting Up AnimatedSprite2D and SpriteFrames
- Playing Animations From Code
- Driving Animation From Movement
- Reacting to Animation Events
- Performance and Scaling: When to Move to MultiMesh
- Common Mistakes
- Frequently Asked Questions
- Gear for Coding Sessions
- Summary
Godot 4 2D Animation: AnimatedSprite2D vs AnimationPlayer
Godot gives you two nodes for 2D animation, and picking the right one first saves a lot of backtracking.
- AnimatedSprite2D plays a sequence of frames, like a walk cycle drawn on a sprite sheet. It is the simplest and most common choice for character animation.
- AnimationPlayer animates any property over time, such as position, scale, or modulate color. Use it for tweened effects, cutscenes, or animating things that are not sprite frames.
Many projects use both: AnimatedSprite2D for the character’s frame animation, and an AnimationPlayer for a hit flash or a screen-shake tween. This guide focuses on AnimatedSprite2D, because that is what “animate my character” almost always means.
Setting Up AnimatedSprite2D and SpriteFrames
If you need source frames before animation, our AI pixel art generator comparison explains generator costs, grid cleanup, palette control, and export workflows.
Add an AnimatedSprite2D node under your character (a CharacterBody2D root works well), then build its frames:
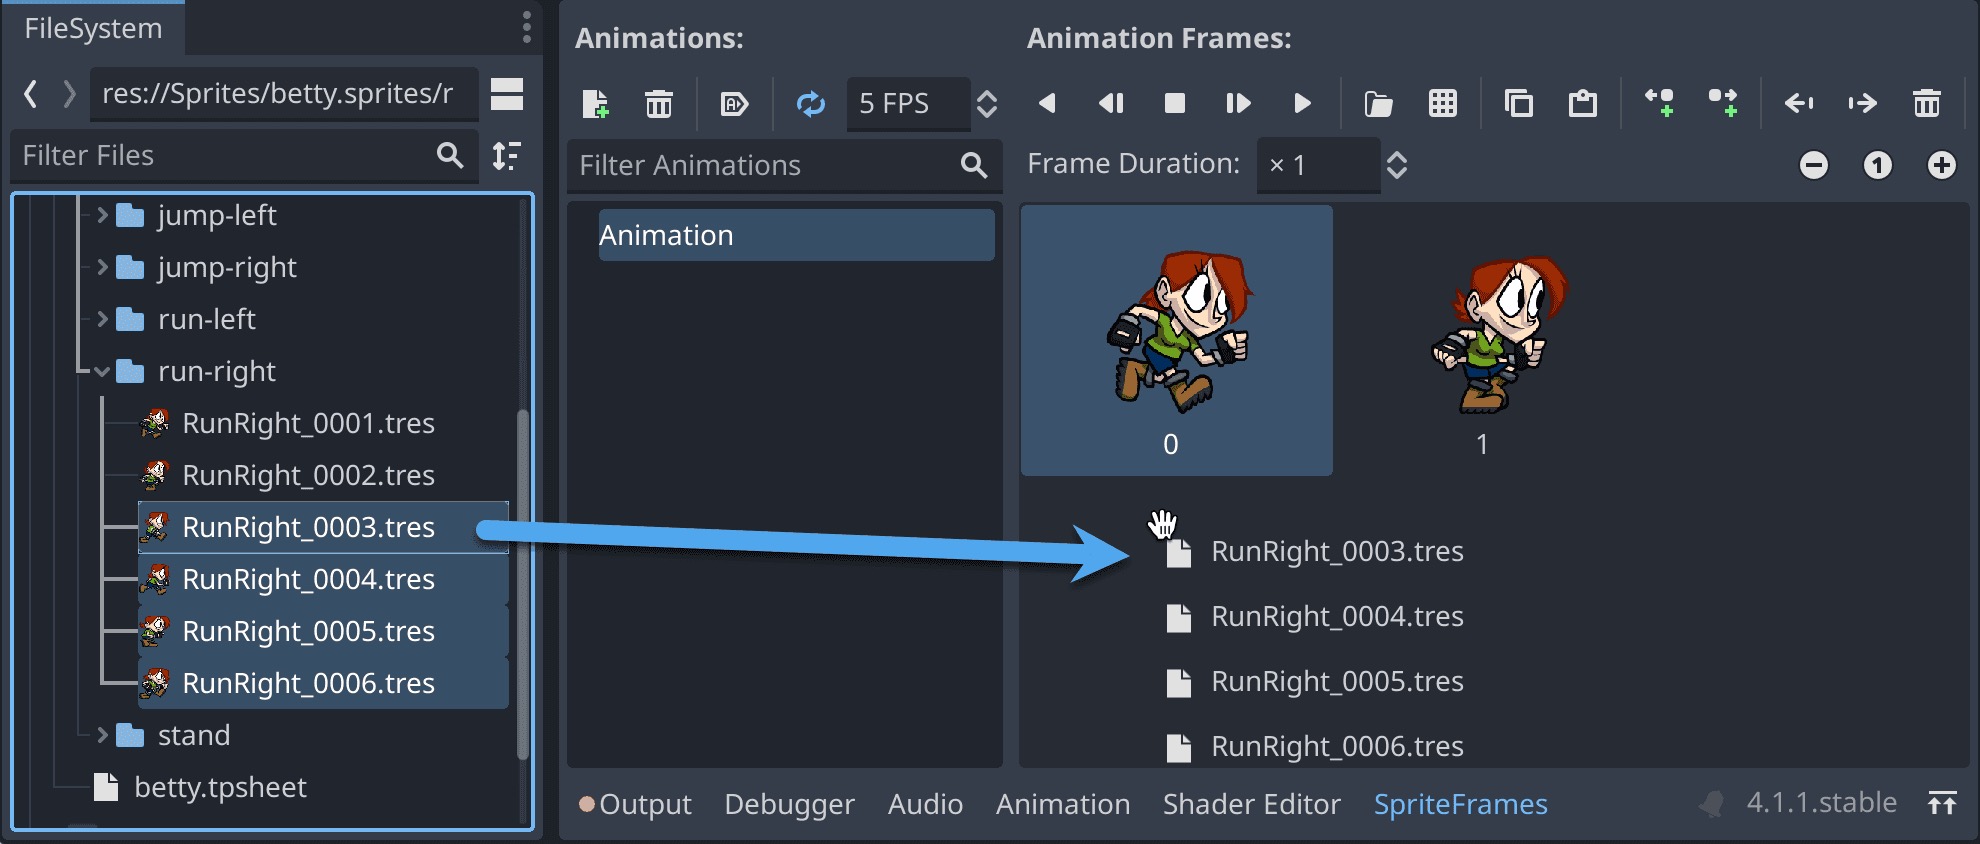
- Select the AnimatedSprite2D and, in the Inspector, click the Sprite Frames property and choose New SpriteFrames.
- Click the resource to open the SpriteFrames panel at the bottom of the editor.
- Rename the default animation to something like
idle, then add more animations such asrunandjumpwith the add-animation button. - For each animation, click Add frames from a Sprite Sheet, set the Horizontal and Vertical frame counts to slice the sheet, and select the frames you want.
- Set the Speed (FPS) for playback and toggle Loop on for cycles like run and idle, off for one-shots like attack.
Loop is the setting people forget. A run cycle should loop; an attack or a death animation should not, because you usually want to react the moment it finishes.
Playing Animations From Code
With the frames set up, control is three properties and two methods. Grab a reference to the node, then play by name.
@onready var sprite: AnimatedSprite2D = $AnimatedSprite2D

func _ready() -> void:
	sprite.play("idle")        # start an animation by name
	# sprite.stop()            # freeze on the current frame
	# sprite.flip_h = true     # mirror the sprite to face left
play() takes the animation name you set in the SpriteFrames panel. flip_h mirrors the sprite horizontally, which lets one “run” animation face both directions instead of drawing a second one. One detail worth knowing: calling play("run") while “run” is already playing does nothing, it does not restart from frame one. That is what makes it safe to call every frame from your movement code.
Driving Animation From Movement
The clean way to animate a character is to pick the animation from its state each frame, not to trigger animations from scattered input checks. If you built a 2D platformer controller, you already have the velocity and floor state this needs.
extends CharacterBody2D

@onready var sprite: AnimatedSprite2D = $AnimatedSprite2D

func _physics_process(delta: float) -> void:
	# ... your movement code sets velocity here ...
	move_and_slide()
	_update_animation()

func _update_animation() -> void:
	if not is_on_floor():
		sprite.play("jump")
	elif velocity.x != 0.0:
		sprite.play("run")
		sprite.flip_h = velocity.x < 0.0
	else:
		sprite.play("idle")
Read it top to bottom: in the air means jump, moving on the ground means run (facing the direction of travel), and anything else means idle. Because play() ignores a repeat call for the animation already running, this stays smooth even though it runs every physics frame. Add new states like crouch or dash by extending the same chain.
Reacting to Animation Events
One-shot animations need a way to say “I am done.” AnimatedSprite2D emits animation_finished when a non-looping animation reaches its last frame. Connect it and react, which is a perfect use of Godot 4 signals.
func _ready() -> void:
	sprite.animation_finished.connect(_on_animation_finished)

func _on_animation_finished() -> void:
	if sprite.animation == "attack":
		sprite.play("idle")
The sprite.animation property tells you which animation just ended, so one handler can manage several one-shots. This is how you chain an attack back to idle, trigger a respawn after a death animation, or fire a sound at the end of a windup.
Performance and Scaling: When to Move to MultiMesh
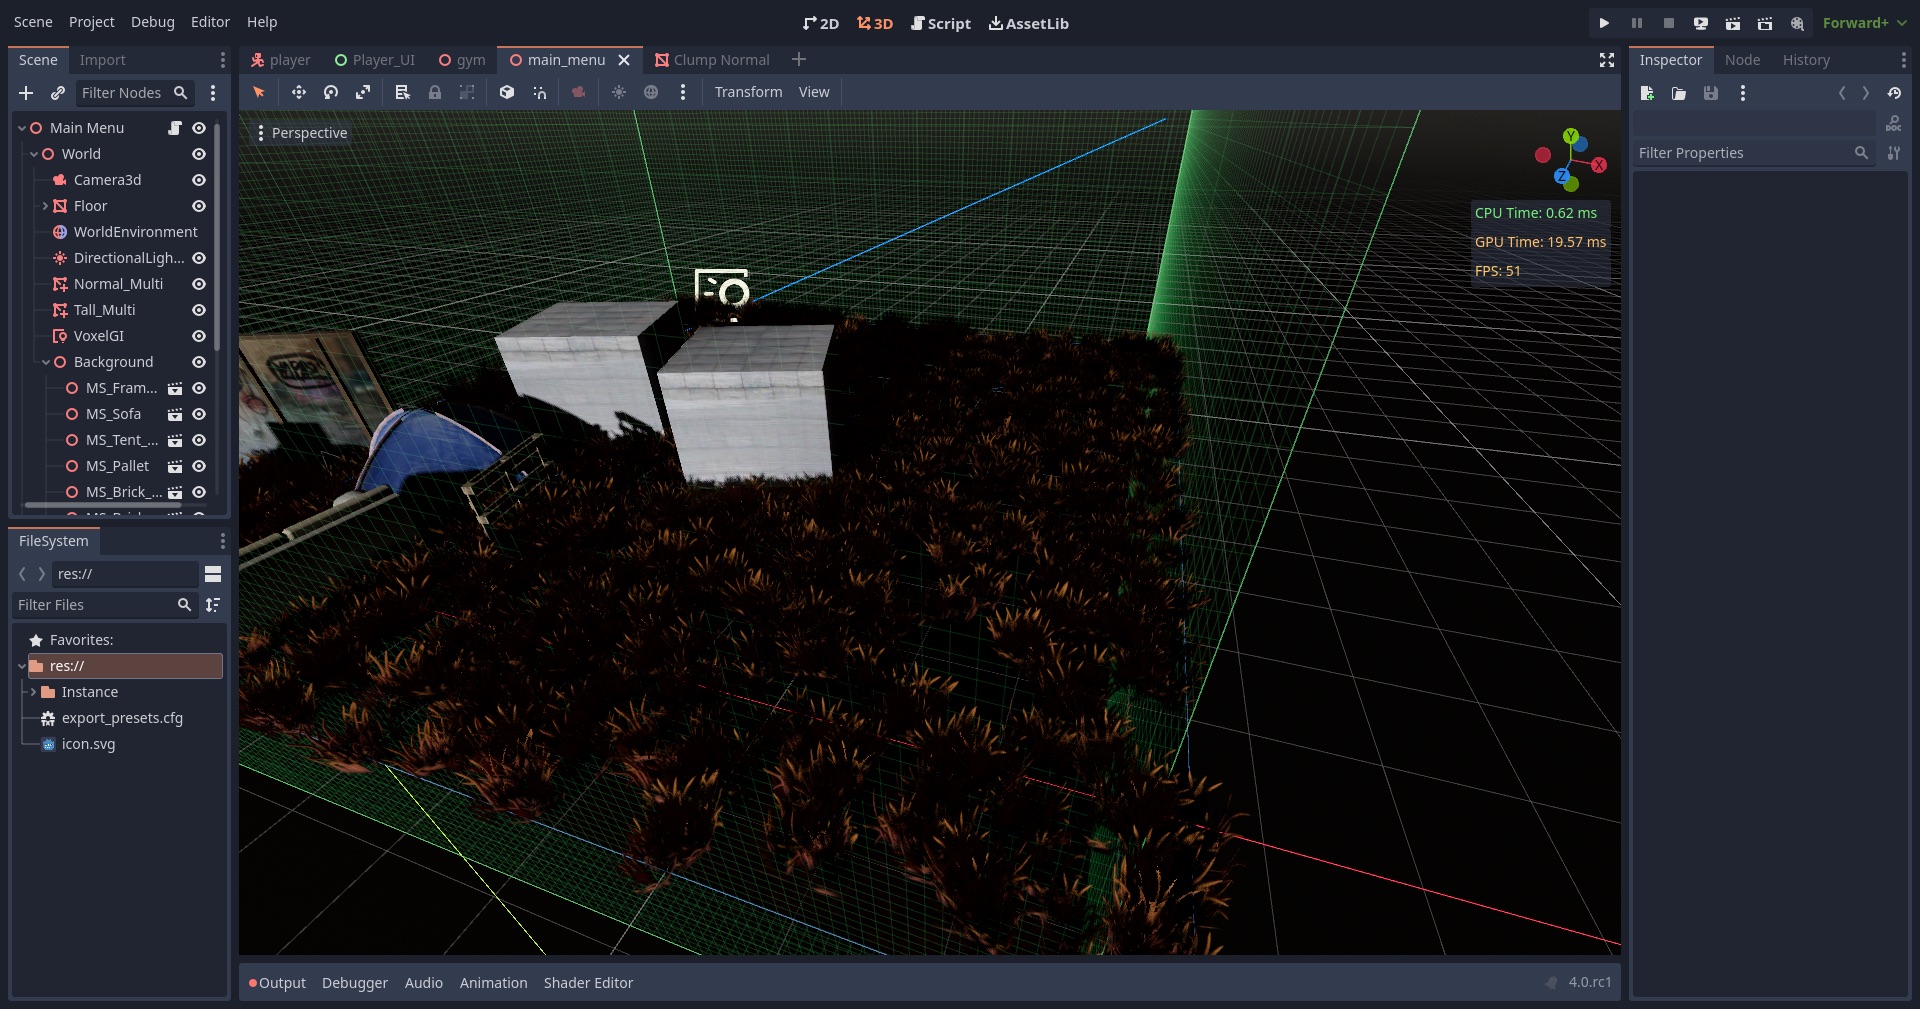
AnimatedSprite2D is a node, and every node has a cost: it processes each frame, sits in the scene tree, and adds to the work the engine does. For a player and a few dozen enemies, that cost is nothing. The problem starts when you need hundreds or thousands of animated instances at once, a bullet-hell screen, a swarm, a crowd. At that scale, node count becomes the bottleneck, and no amount of tuning the animation code fixes it.
This is where a MultiMesh takes over. A single MultiMeshInstance2D draws thousands of copies of one mesh in a single draw call, with a per-instance transform for each. You animate them not by playing frames on a node, but by feeding each instance custom data that a shader reads to offset the sprite sheet, so the GPU does the animation without any per-node overhead.
@onready var mm: MultiMesh = $MultiMeshInstance2D.multimesh

func _ready() -> void:
	mm.instance_count = 2000
	for i in mm.instance_count:
		mm.set_instance_transform_2d(i, Transform2D(0.0, Vector2(i * 8, 0)))
		# A canvas shader reads INSTANCE_CUSTOM to choose the frame
		mm.set_instance_custom_data(i, Color(0, 0, 0, 0))
The tradeoffs are real, so do not reach for it too early. A MultiMesh has no per-instance culling; visibility is all-or-none for the whole batch, so you split the world into several MultiMeshes for large scenes. Animation must be shader-driven, which is more work than clicking frames into SpriteFrames. And individual instances are not nodes, so they cannot have their own scripts or collision shapes.
⚡ Rule of thumb: Keep AnimatedSprite2D for unique, scripted characters like the player and named enemies. Switch to MultiMesh once you have hundreds or more identical animated instances and the profiler shows node processing or draw calls as the cost. Do not convert your player; do convert the swarm.
The same pattern scales to 3D and to mobile, where the draw-call budget is tighter. Our guides on CharacterBody3D vs MultiMesh and rendering 1,000+ units on mobile go deep on the switch and the numbers behind it.
Common Mistakes
Do This
- Pick the animation from the character’s state each frame, not from scattered input checks.
- Loop cycles like run and idle; leave attack and death un-looped so you can react on finish.
- Use
flip_hto face both directions from one animation instead of drawing two. - Connect
animation_finishedto chain one-shots back to a resting state. - Profile before optimizing, then move swarms to a MultiMesh when node count is the cost.
Avoid This
- Worrying that calling
play()every frame restarts the animation, it does not. - Using AnimatedSprite2D nodes for thousands of instances and then blaming the CPU.
- Reaching for MultiMesh on your player, where its lack of per-node scripting hurts.
- Forgetting to turn off Loop on a one-shot, so
animation_finishednever fires. - Animating position with AnimatedSprite2D; that is an AnimationPlayer job.
Frequently Asked Questions
How do you animate a 2D character in Godot 4?
Add an AnimatedSprite2D node, create a SpriteFrames resource on it, and add animations by slicing a sprite sheet into frames with a Speed (FPS) and Loop setting each. Then play them in code with sprite.play(“run”), using flip_h to face left or right.
What is the difference between AnimatedSprite2D and AnimationPlayer?
AnimatedSprite2D plays a sequence of sprite-sheet frames, which is ideal for character animation. AnimationPlayer animates any property over time, such as position, scale, or color, which suits tweened effects and cutscenes. Many games use both together.
Does calling play() every frame restart the animation in Godot 4?
No. Calling play() with the name of the animation that is already playing does nothing, so it does not restart from the first frame. That is why it is safe to call play() every physics frame when you drive animation from a character’s movement state.
How do you know when an animation finishes in Godot 4?
AnimatedSprite2D emits the animation_finished signal when a non-looping animation reaches its last frame. Connect it with sprite.animation_finished.connect(_on_finished), and check sprite.animation inside the handler to see which one ended. Looping animations do not emit it.
When should you use MultiMesh instead of AnimatedSprite2D?
Use AnimatedSprite2D for a player and dozens of scripted characters. Switch to a MultiMesh when you need hundreds or thousands of identical animated instances, like a bullet-hell screen or a swarm, and the profiler shows node processing or draw calls as the bottleneck. MultiMesh draws them all in one call but has no per-instance culling or scripting.
Gear for Coding Sessions
Animation work is half code and half art, so a fast machine, a display you can draw on, and a sharp second screen all pull their weight. Here are three picks from the deals database, current as of July 2026.

MacBook Pro 14″ (M1 Pro)
Apple Silicon runs the Godot editor smoothly and previews animations without a stutter, all on all-day battery.

XPPen Artist 22
A 22-inch pen display for drawing sprite frames directly on-screen instead of wrestling a mouse.

KOORUI 27″ 4K
4K sharpness for pixel-level frame work, with room for the editor and the running game at once.
Away from the keyboard, Berry Finds tracks real-time Amazon deals on thousands of everyday products across home, kitchen, beauty, and more so you never overpay on the stuff you buy regularly.
Summary
Godot 4 2D animation starts simple: an AnimatedSprite2D node, a SpriteFrames resource, and a few named animations sliced from a sprite sheet. Drive them from your character’s velocity and floor state, react to one-shots with the animation_finished signal, and you have a character that feels alive. The one habit that saves you later is watching the scale: node-based sprites are right for the player and named enemies, but a MultiMesh is the answer once you are drawing hundreds or thousands of animated instances.
With movement, a TileMapLayer level, signals, and now animation in place, you have the core of a 2D game. The next steps are enemies, UI, and audio, all of which build on these same nodes and patterns. Godot 4 UI guide covers that HUD step, binding a health bar with signals.