Most WordPress server setup tutorials hand you a wall of terminal commands and expect you to understand what each one does. That works if you already know Linux administration. For everyone else, it’s a recipe for a misconfigured server you don’t know how to fix when something breaks. Claude Code changes the equation. You SSH into a fresh server, install one tool, and have an AI sysadmin that explains what it’s doing at every step while building your entire stack.
TL;DR
- Spin up a $12-24/mo DigitalOcean droplet running Ubuntu 24.04, create a non-root user, and install Claude Code with one command.
- Claude Code installs your full LEMP stack (Nginx, MySQL, PHP 8.3), configures everything, and explains each decision so you actually learn server admin.
- Security hardening happens conversationally — tell Claude to lock down SSH, set up a firewall, and configure Fail2ban. It writes the configs and applies them.
- WordPress installs in minutes via WP-CLI — database creation, wp-config generation, core install, file permissions, and plugin setup all handled through natural language.
- Cloudflare integration gives Claude DNS and WAF control — add the MCP server or use API tokens to manage records, SSL settings, and firewall rules without touching the dashboard.
What you need before you start
This walkthrough uses four things, three of which are free:
| Service | Cost | What it does |
|---|---|---|
| DigitalOcean | $12-24/mo | Your server (Ubuntu 24.04 droplet) |
| Claude Pro plan | $20/mo | Powers Claude Code on the server |
| Domain name | ~$10/year | Your site’s address |
| Cloudflare | Free | DNS, SSL, CDN, and WAF |
For the droplet, the $12/month tier (1 vCPU, 2GB RAM, 50GB SSD) runs WordPress fine. If you want Claude Code running on the same server for ongoing management, bump to $24/month (2 vCPU, 4GB RAM) since Claude Code recommends 4GB minimum. Either way, add swap space. A 2GB droplet without swap will kill MySQL processes when memory gets tight.
The Claude Pro plan ($20/month) gives you access to Claude Code. Since your server is headless (no browser), you’ll authenticate by forwarding a port over SSH and completing a one-time login in your local browser. After that, Claude Code stays authenticated on the server. If you’d rather skip the OAuth step, you can use an Anthropic API key instead (pay-as-you-go, billed separately from Pro), but the Pro plan is simpler for most people.
Create the droplet and install Claude Code
This is the only part you do without Claude Code. Once it’s installed, it handles everything else.
Generate SSH keys
On your local machine, generate an Ed25519 key pair if you don’t already have one:
ssh-keygen -t ed25519 -C "wordpress-server"Copy the public key contents (cat ~/.ssh/id_ed25519.pub). You’ll paste this into DigitalOcean when creating the droplet.
Spin up the droplet
In the DigitalOcean dashboard, click Create > Droplets. Select Ubuntu 24.04 LTS, pick the $12 or $24 plan, choose a datacenter region closest to your audience, paste your SSH public key, and pick a hostname. The droplet provisions in about 60 seconds.
First login and Claude Code install
SSH in as root, create a non-root user (Claude Code refuses to run as root for safety), and install:
ssh root@YOUR_DROPLET_IP

# Create a non-root user
adduser wordpress_admin
usermod -aG sudo wordpress_admin

# Copy SSH keys to the new user
rsync --archive --chown=wordpress_admin:wordpress_admin ~/.ssh /home/wordpress_admin

# Switch to the new user
su - wordpress_admin

# Install Claude Code (one command, no dependencies)
curl -fsSL https://claude.ai/install.sh | bash
Now authenticate Claude Code with your Pro plan. On your local machine, reconnect with port forwarding so the OAuth login can reach your browser:
# Run this from your local machine (not the server)
ssh -L 9876:localhost:9876 -p 22 wordpress_admin@YOUR_DROPLET_IP

# Then on the server, launch Claude Code
claude

# It will print a URL — open that in your local browser to log in
# After authenticating once, Claude Code stays logged in on the server
The installer bundles its own runtime, so you don’t need to install Node.js or any other dependencies. If you’re curious about what else Claude Code can do beyond server management, we compared it head-to-head with Cursor in our Cursor vs Claude Code breakdown.
⚠️ Keep secrets out of your prompts. Everything you send to Claude Code goes through Anthropic’s servers. Don’t paste database passwords, API keys, or private credentials directly into the conversation. Instead, have Claude Code read them from environment variables or config files already on the server. Anthropic’s privacy policy covers how they handle your data, but the safest approach is to never put a secret in a prompt if you can avoid it.
⚡ Important: Always run Claude Code inside tmux so your session survives if your SSH connection drops. Run tmux new -s setup before launching Claude Code, and use tmux a -t setup to reattach later.
Install the LEMP stack
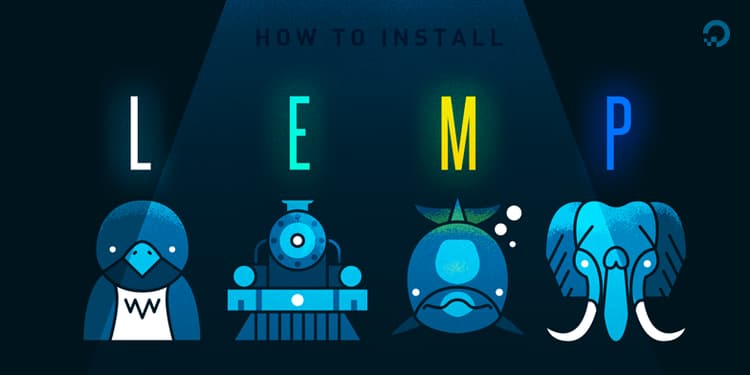
Start tmux, launch Claude Code, and tell it what you want. This is where the workflow shifts from “follow a tutorial” to “have a conversation.” You describe the outcome, Claude Code writes the commands and configs, explains what each one does, and runs them with your approval.
tmux new -s setup
claude
Now tell it:
“Set up a LEMP stack on this Ubuntu 24.04 server for WordPress. I need Nginx, MySQL 8, and PHP 8.3 with all the extensions WordPress requires. Also set up 2GB of swap space.”
Claude Code will run through the full installation sequence: system updates, Nginx from the default repos, MySQL 8 with secure installation settings, PHP 8.3 with the FPM module and every extension WordPress needs (mysql, gd, curl, mbstring, xml, zip, opcache, intl, imagick, soap, bcmath). It creates swap space so MySQL doesn’t get killed on smaller droplets.
The key difference from a traditional tutorial: Claude Code explains why it’s making each decision. Why pm = dynamic over pm = static in PHP-FPM for a small server. Why server_tokens off matters in your Nginx config. Why it sets upload_max_filesize to 64M. You’re learning server administration through context, not memorization.
After the base packages are installed, ask Claude to configure the Nginx server block for your domain:
“Create an Nginx server block for example.com. Configure it for WordPress with pretty permalinks, proper PHP-FPM passthrough, static asset caching, and a 64MB upload limit.”
It will write the config to /etc/nginx/sites-available/example.com, symlink it to sites-enabled, remove the default config, test with nginx -t, and restart the service. If the test fails, it reads the error, fixes the config, and tries again. That feedback loop is exactly what makes this approach work. A traditional tutorial can’t debug itself when something goes wrong on your specific server.
Harden the server
A fresh server with default settings is an open target. SSH brute-force bots will find it within hours. Tell Claude Code to lock things down:
“Harden this server. Set up UFW firewall allowing only SSH, HTTP, and HTTPS. Install and configure Fail2ban for SSH protection. Change the SSH port to 2222, disable password authentication, disable root login, and enable automatic security updates.”
Claude Code handles this in a specific order, and the order matters. It will:
- Configure UFW first — allow ports 22 (temporarily), 80, 443, and 2222 before enabling the firewall
- Edit sshd_config — change the port, disable root login, disable password auth, limit max auth retries to 3
- Test SSH before applying — it will tell you to open a second terminal and verify you can still log in with your key on the new port before removing the old SSH rule
- Install Fail2ban — create a jail config that watches the new SSH port and bans IPs after 5 failed attempts for 1 hour
- Enable unattended upgrades — automatic security patches without rebooting
⚠️ Don’t skip the SSH test. Disabling password auth before confirming your key works on the new port will lock you out permanently. Claude Code knows this and will warn you, but make sure you actually do it. Open a second terminal, connect via ssh -p 2222 wordpress_admin@YOUR_IP, and confirm it works before proceeding.
If you want to go further, you can ask Claude to set up log monitoring, configure ModSecurity with Nginx, or install CrowdSec for more intelligent threat detection. Our fail2ban Nginx guide covers custom jails for brute force, rate limiting, and WordPress login protection. For bot traffic specifically, our bot traffic defense guide covers additional layers you can add on top of these server-level protections.
Install WordPress with WP-CLI
With the LEMP stack running and the server locked down, WordPress installation takes one conversation:
“Install WP-CLI, create a MySQL database and user for WordPress, download and install WordPress to /var/www/example.com, set up the site with the title ‘My Site’ and admin email [email protected]. Set permalinks to post name, set correct file permissions, and install Wordfence for security.”
Claude Code runs the full sequence:
- Installs WP-CLI — downloads the phar file, makes it executable, moves it to
/usr/local/bin/wp - Creates the database — logs into MySQL, creates the database with
utf8mb4charset, creates a dedicated user with a strong generated password, grants privileges - Downloads WordPress — runs
wp core downloadas the www-data user in your site directory - Generates wp-config.php — uses
wp config createwhich automatically generates unique authentication salts - Runs the install —
wp core installwith your site URL, title, admin credentials, and--skip-email(since SMTP isn’t configured yet) - Sets permissions — directories to 755, files to 644, all owned by www-data
- Configures permalinks — sets the structure to
/%postname%/and flushes rewrite rules - Installs plugins — whatever you asked for, activated and ready
Every wp command runs as www-data (the web server user), not root. Claude Code knows this matters for file ownership and will use sudo -u www-data wp ... consistently. If you’ve ever dealt with WordPress permission errors because someone ran commands as root, you know how much headache this prevents.
After the install, visit your server’s IP in a browser and you’ll see a fresh WordPress site. But we’re not done. The site is running on HTTP with the server IP. You need a domain pointed to it with SSL.
Connect Cloudflare for DNS and security
Cloudflare sits between your visitors and your server. It handles DNS, provides free SSL, caches static content, and blocks malicious traffic before it reaches Nginx. The free tier covers everything a WordPress site needs.
Set up your domain on Cloudflare
Add your domain to Cloudflare through their dashboard and update your domain registrar’s nameservers to the ones Cloudflare provides. This part you do manually since it involves your registrar’s interface. Once the nameservers propagate (usually under 30 minutes), Cloudflare controls your DNS.
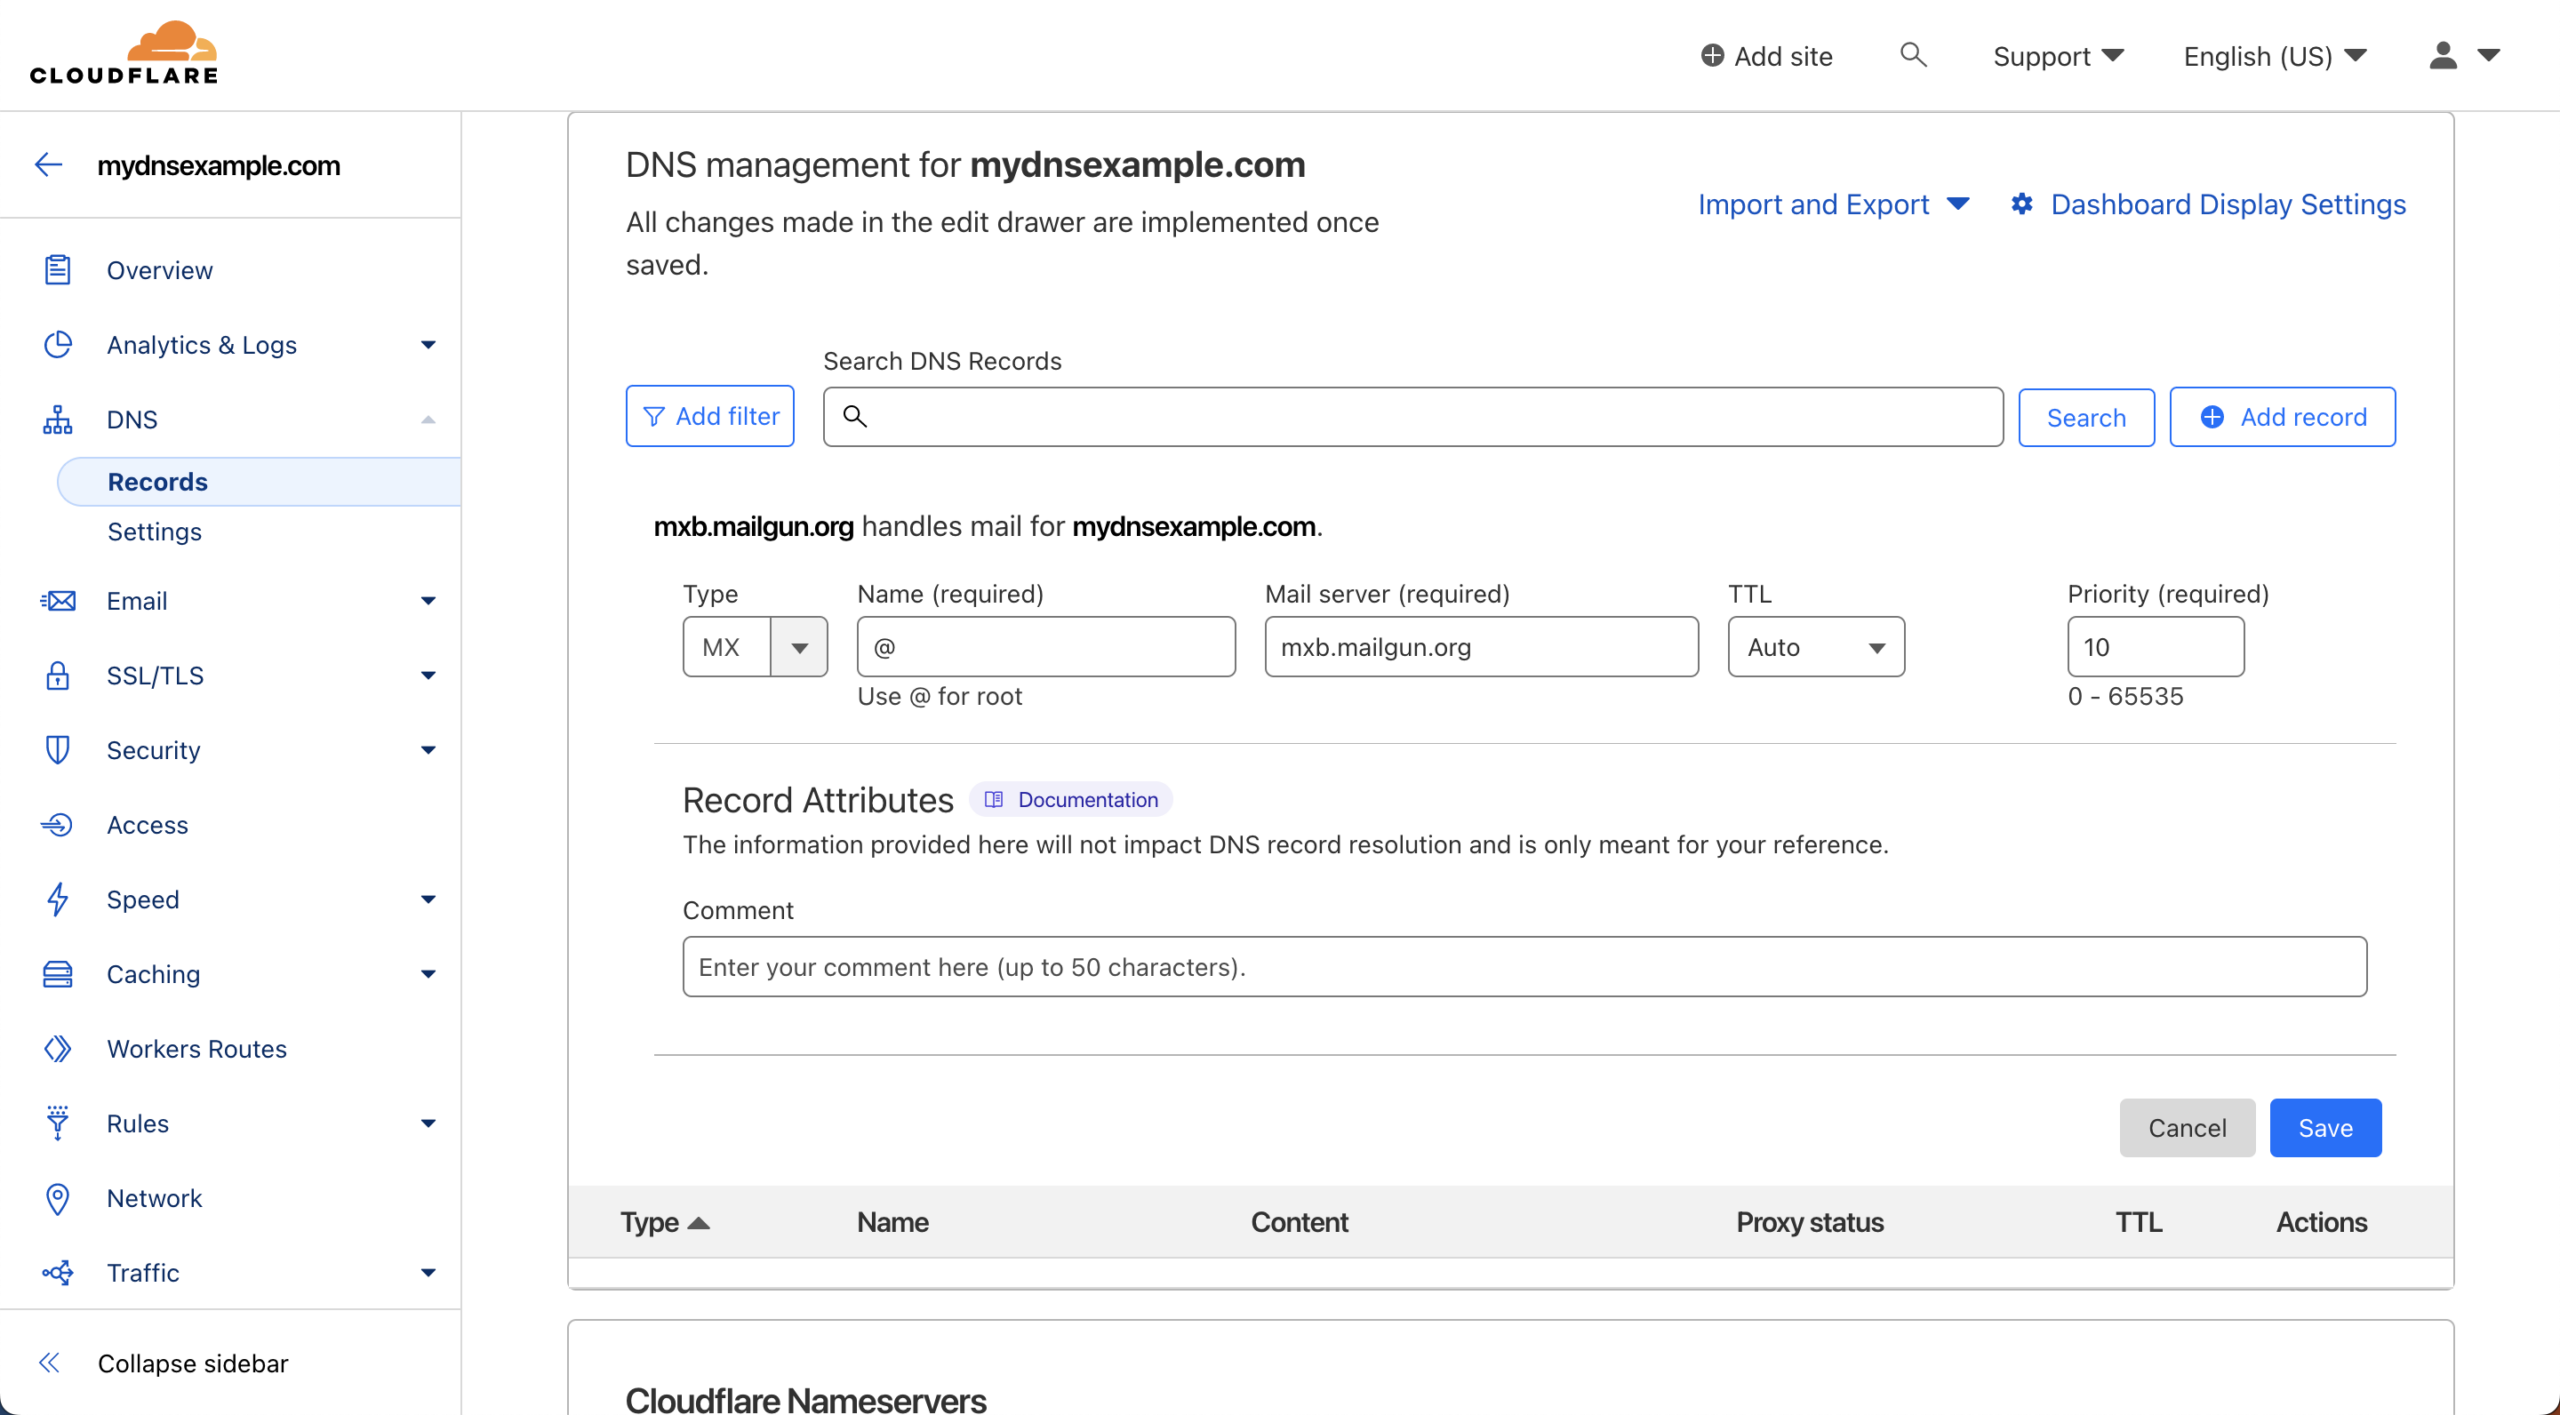
Let Claude Code manage DNS via API
You have two options for giving Claude Code control over Cloudflare: the MCP server or a scoped API token.
Option A: Cloudflare MCP server — if you’re running Claude Code interactively, add the official MCP server:
claude mcp add cloudflare --transport http https://docs.mcp.cloudflare.com/mcpThis gives Claude Code access to the entire Cloudflare API through natural language. “Add an A record for example.com pointing to 167.71.x.x” just works. The MCP server authenticates via OAuth, so it does need a browser for the initial login. On a headless server, you’d forward a port via SSH to complete the auth flow once.
Option B: Scoped API token — for automation or if you want tighter control, create a Cloudflare API token with minimal permissions:
- Zone > DNS > Edit
- Zone > SSL and Certificates > Edit
- Zone > Firewall Services > Edit
Restrict the token to your specific zone (domain). Store it as an environment variable on the server, and Claude Code can use it with curl commands to manage your Cloudflare settings without needing MCP.
Either way, tell Claude Code what you need:
“Point example.com and www.example.com to this server’s IP address on Cloudflare with proxied enabled. Set SSL to Full (Strict). Add a page rule to cache everything under /wp-content/* with an edge TTL of 1 month. Create a WAF rule to block requests from known bot user agents.”
After DNS propagates and SSL is active, go back to Claude Code to install an SSL certificate on the server side:
“Install Certbot and get an SSL certificate for example.com and www.example.com via Nginx. Set up auto-renewal.”
With Cloudflare set to Full (Strict), traffic is encrypted between the visitor and Cloudflare and between Cloudflare and your server. No mixed content warnings, no insecure connections.
What Claude Code can manage going forward
The initial setup is the big win, but Claude Code stays useful for ongoing server management. SSH in, start tmux, launch Claude Code, and tell it what you need:
- Plugin and core updates — “Update all WordPress plugins and core, tell me if anything breaks”
- Nginx tuning — “Optimize my Nginx config for a site getting 5000 daily visitors”
- Log analysis — “Check the Nginx error logs and PHP-FPM logs for anything concerning”
- Database maintenance — “Optimize the WordPress database and clean up transients”
- PHP upgrades — “Upgrade PHP from 8.3 to 8.4 and test that WordPress still works”
- Backup configuration — “Set up automated daily database backups saved to /backups with 7-day rotation”
- Performance tuning — “Enable Redis object caching for WordPress and configure PHP OPcache settings”
Lock down file permissions between updates
WordPress needs write access to update itself, but leaving files writable 24/7 is an open invitation for malware. The fix is simple: lock permissions tight during normal operation and only unlock them when you need to run updates.
Ask Claude Code to create shell functions you can call anytime:
“Create two zsh functions in my .zshrc: wp-unlock that sets WordPress file permissions to allow updates (775 directories, 664 files, www-data ownership), and wp-lock that sets them back to read-only (755 directories, 644 files, root ownership on everything except wp-content). Include the site path as a variable at the top.”
Claude Code will write both functions, add them to your shell config, and source it. Your workflow becomes: wp-unlock, run your updates, wp-lock. Between updates, even if an attacker exploits a plugin vulnerability, they can’t write to your filesystem. It takes ten seconds and blocks an entire class of attacks that hit WordPress sites every day.
This is where the vibe coding approach really shines for infrastructure work. You don’t need to memorize Nginx directives or MySQL optimization commands. You describe the outcome, Claude Code writes and applies the configuration, and you learn the system through the conversation. For WordPress-specific performance tuning beyond server config, our WordPress performance optimization guide covers the full stack from hosting through Core Web Vitals.
Frequently Asked Questions
How much does this whole setup cost per month?
The server runs $12-24/month on DigitalOcean depending on the tier you pick. Claude Pro is $20/month and includes Claude Code access. Cloudflare’s free plan covers DNS, SSL, CDN, and basic WAF. A domain is about $10/year. Total: roughly $35-55/month for a production WordPress server with an AI sysadmin on call. If you already have Claude Pro for coding work, your only new cost is the server.
Is it safe to let Claude Code run commands on a production server?
Claude Code asks for permission before running each command by default. You see exactly what it plans to run and approve or reject it. For automated/unattended use, you can enable --dangerously-skip-permissions, but for server management you should always run interactively and review what it’s doing. Create a non-root user with sudo access rather than giving it root.
Can I use an API key instead of a Pro subscription?
Yes. Set the ANTHROPIC_API_KEY environment variable on the server and Claude Code will use that instead of OAuth. API access is pay-as-you-go and billed separately. A full server setup session typically costs $2-5 in API usage. This is a good option if you only need Claude Code occasionally and don’t want a monthly subscription.
What if Claude Code makes a mistake or breaks something?
Take a DigitalOcean snapshot before the setup ($0.05/GB/month) so you can restore from scratch. During the session, Claude Code can undo most changes since it tracks what it modified. For critical operations like SSH config changes, always keep a second terminal connected so you don’t get locked out. The interactive approval mode means you see every command before it runs.
Why not just use managed WordPress hosting instead?
Managed hosting (Cloudways, Kinsta, WP Engine) costs $25-35/month for comparable specs and handles updates, security, and backups for you. If you don’t want to touch a terminal, managed hosting is the right choice. Self-hosting costs a similar amount when you factor in Claude Pro, but you get full control over the server and learn the fundamentals. If you already pay for Claude Pro for coding work, the server is your only added cost ($12-24/month), which undercuts managed hosting significantly.
Summary
You started with a blank DigitalOcean droplet and ended with a fully configured WordPress server: Nginx serving pages, MySQL storing data, PHP processing WordPress, UFW and Fail2ban blocking threats, Cloudflare managing DNS and caching, and SSL encrypting everything. Claude Code handled the heavy lifting while you learned how each piece fits together.
The real value isn’t just the setup. It’s that you now have a sysadmin on call for $0 per hour. If you want to deploy non-WordPress apps on a VPS (Node.js, Python, or anything else), our VPS deployment guide covers the full stack from Nginx to GitHub Actions CI/CD. Once your server is running, you can start building custom post types to turn WordPress into a structured content platform with its own REST API. If you’re still deciding whether a self-managed VPS is right for you, our shared hosting vs VPS comparison covers the cost and complexity tradeoffs. Once you’re ready to automate deployments, our GitHub Actions WordPress deployment guide sets up push-to-deploy with maintenance mode and database backups. Need to upgrade PHP next year? SSH in, launch Claude Code, tell it what you want. Need to debug a 502 error at midnight? Same thing. The server isn’t a black box anymore. You understand what’s running on it because Claude Code explained it while building it.
If you want to understand your server at a deeper level, this is the book to read next:
Go deeper with Linux
Covers everything happening under the hood of your server: how the kernel manages hardware, how networking works, how processes and users interact, and how the boot sequence gets your system running. If Claude Code is your sysadmin, this book is what teaches you to be the one asking the right questions.