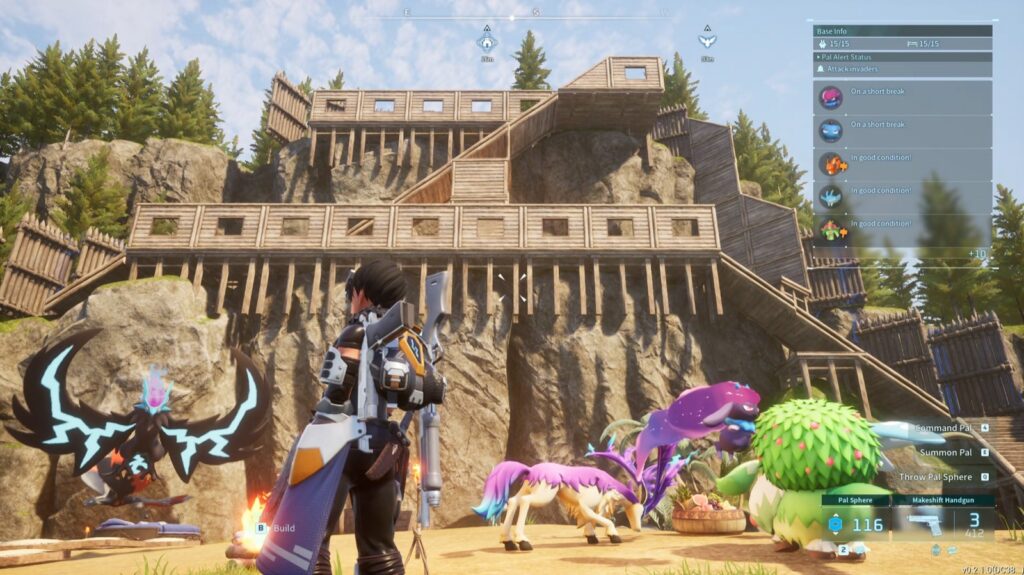
The best base locations in Palworld are the ones that bring the resources to you instead of making you haul them across the map. A spot sitting on ore and coal nodes with flat ground and a cliff at its back will out-produce a prettier base every single time, and picking the right one early saves you the misery of tearing everything down to move later. This guide ranks the strongest base spots for every stage of Palworld 1.0, from your safe first camp to endgame oil and Soralite farms, with coordinates, nearby resources, and which ones raids simply cannot reach.
Key Takeaways
- Best all-around base: the ore-and-coal peak near 190, -40 stacks the two metals you burn through most, sits by trees, and raids struggle to path up to it.
- Best first base: Ore Galore at 156, -397 has eight ore nodes behind a single bridge you can defend, right next to a farmable Chillet tower boss.
- Coordinates are approximate: read them off your in-game map cursor, and expect node counts and enemy levels to shift a little between patches.
- You get up to four bases: a second unlocks around level 10 and a third around 15, so plan a balanced main base plus dedicated resource outposts.
- Raid-safe is a genuine strategy: build on a cliff raiders cannot climb, such as the ledge south of Relaxaurus Lux, or just switch raids off in World Settings.
- What Makes a Good Base Location in Palworld
- The Best All-Around Base Location
- Best Early-Game Base Locations
- Best Mid-Game Base Locations
- Best Late-Game and Endgame Base Locations
- Every Base Location at a Glance
- Raid-Safe and Unraidable Base Spots
- How to Move Your Base Without Losing Everything
- Gear for Long Base-Building Sessions
- Frequently Asked Questions
- Summary
What Makes a Good Base Location in Palworld
Before the coordinates, it helps to know what you are looking for. Four things separate a great base spot from one you will regret.
- Resource nodes on the plot: ore, coal, and sulfur nodes inside your base radius respawn on a timer, so a Pal with Mining works them forever. Build directly on the nodes.
- Flat, solid ground: foundations need solid terrain, and you can only stair or cantilever a tile or two past an edge before the game refuses to place structures. A large flat plot saves hours of fighting the builder.
- Natural defense: cliffs, single bridges, and narrow approaches funnel raiders into a choke point, and some elevated spots block their pathing entirely.
- Distance from fast travel: placing a base on top of a statue or teleport point wastes the coverage, so good spots sit a short ride away from existing fast-travel markers.
You are not limited to one base, either. Palworld gives you up to four bases by default, with a second unlocking around level 10 and a third around 15, and each holds up to 15 working Pals. If you want more room, the World Settings menu lets you raise both the base count and the worker cap, up to ten bases and fifty Pals. The standard high-output setup uses that room to specialize: one balanced main base, one mining outpost, and one resource-specific farm for oil or Soralite later. New players should start with our Palworld beginner guide before committing to a spot.
The Best All-Around Base Location
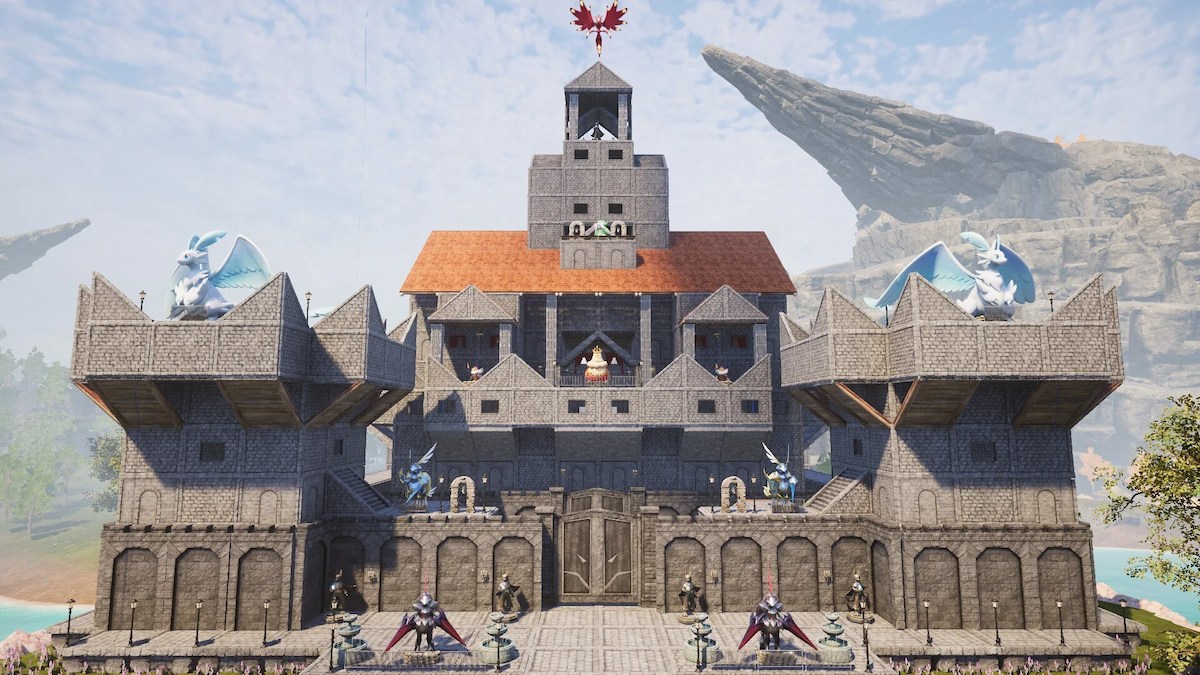
If you only build one serious base, put it on the ore-and-coal peak at roughly 190, -40, near the Sealed Realm of the Guardian. It is the most complete plot in the game: several ore nodes and several coal nodes share the same summit, trees ring the edges for wood, and the two metals it produces, ingots and refined ingots, are exactly what you spend the whole mid-game short on. Assign a couple of mining Pals and a Kindling Pal and it feeds your entire crafting chain without a second base.
The peak has a second gift: raiders have a hard time reaching the top. Attacks spawn on the lower ground and often get stuck trying to climb, which turns the spot into a near-unraidable main base. The one catch is that it sits in a level 30 to 35 zone, so the trek out there is dangerous before you have a flying mount and some gear. Treat it as the base you graduate to once you can survive the neighborhood, and pair it with the best Pals for every base job to keep the smelters running.
Best Early-Game Base Locations
Early on you want ore, safety, and space, in that order. These three spots all sit in low-level zones near the starting islands and give you room to learn the builder without raiders wiping you at level 6.
| Location | Coordinates | Resources | Why It Works |
|---|---|---|---|
| Ore Galore (first tower) | 156, -397 | 8 ore nodes, wood, stone | A single wooden bridge is the only way in, so raids funnel into one defensible line. The nearby level 11 Chillet tower boss is farmable for early XP |
| Hill of Beginnings (South) | 264, -548 | Ore, Paldium, beach access | Enemies are level 1 to 3 and a dungeon sits right behind it for extra ore and Pal Spheres. The safest easy starter |
| Southwest of Small Settlement | 8, -520 | 7 to 8 ore nodes, wood | A wide, open plateau with lots of ore and room to automate, a little far from fast travel so the coverage is all yours |
Ore Galore is the pick if you want one base you never have to move. The choke-point bridge means a couple of defensive walls and a fighting Pal hold off almost every raid, and the Chillet tower next door doubles as a repeatable boss you can farm to level up fast in the early hours. If you would rather stay completely safe while you learn, Hill of Beginnings South is the gentler option.
Best Mid-Game Base Locations
Mid-game is when sulfur enters the picture. You need it for gunpowder, which means ammunition, so the ideal mid-game base stacks sulfur on top of the ore and coal you already rely on. The standout is south of Cinnamoth Forest at -77, -310: a large flat plot with several ore nodes, plenty of wood, and sulfur nodes within the base radius. Enemies here run level 16 to 25, a step up from the starter zones but manageable once you have a few boss drops.
Having ore, coal-adjacent metal, and sulfur in one place means you can craft weapons and ammo without shuttling materials between camps. If you already claimed the 190, -40 peak as your main, this makes a natural second base dedicated to sulfur and gunpowder, exactly the kind of specialization the four-base system rewards.
Best Late-Game and Endgame Base Locations
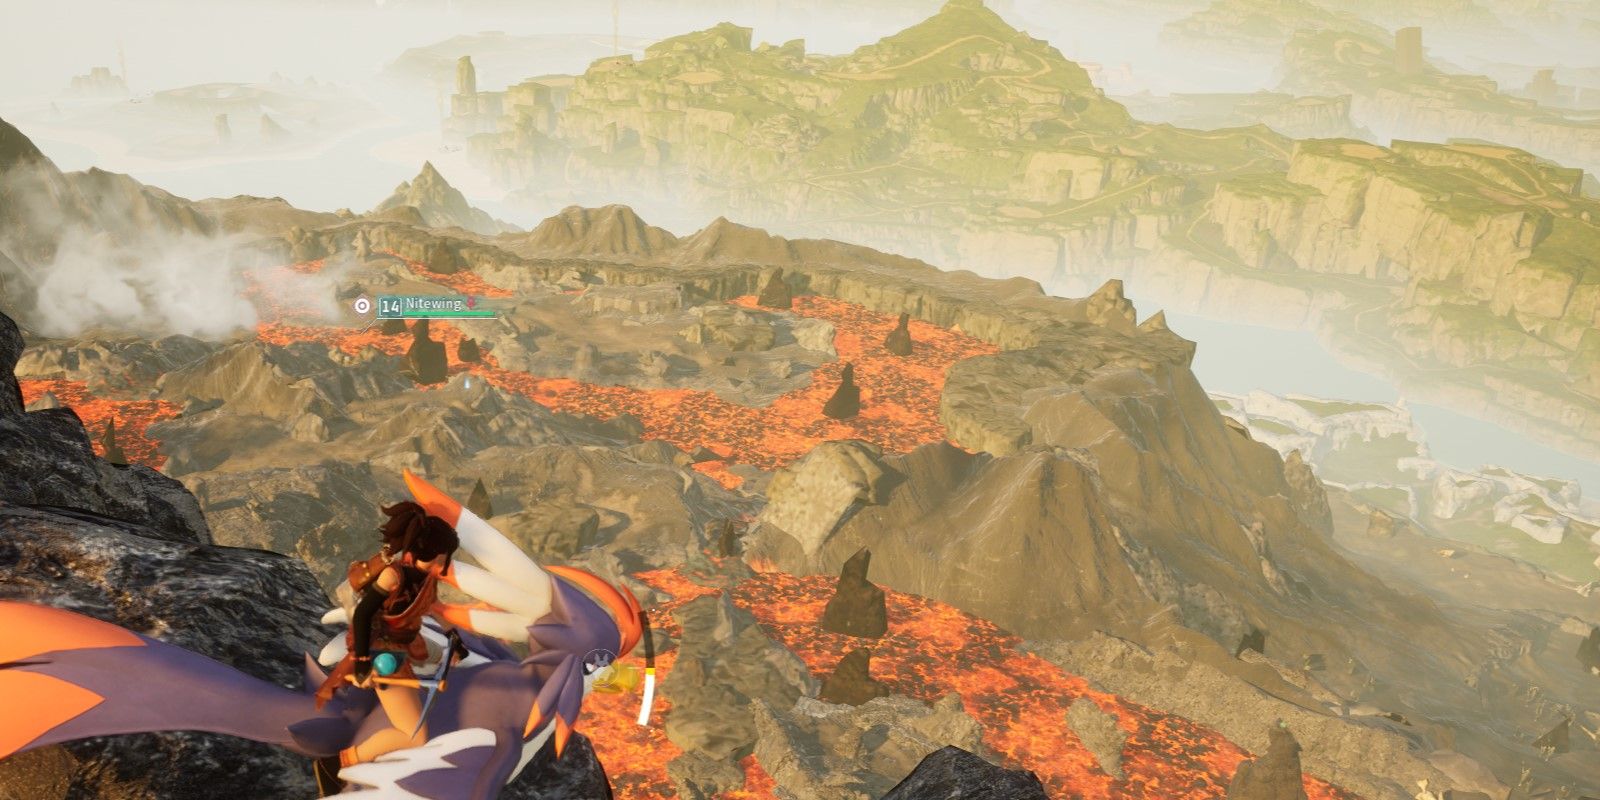
Late-game bases are about single high-value resources: crude oil for advanced production, deep sulfur for endless ammo, and Soralite for the strongest 1.0 weapons. Each of these plots sits in a punishing zone, so bring your best combat Pals and gear before you plant a Palbox.
- Sakurajima Oil Fields (-646, 270): a large, flat plot built directly on an oil field, which is the only place Oil Extractors can pull crude oil. Enemies run level 50 and up. This is the definitive late-game oil base.
- Mount Obsidian, west side (-744, -442): around seven sulfur nodes clustered tightly for a dedicated ammo farm. Space is tight and lava pools sit close, so wall off the edges to stop your Pals wandering into the fire.
- Sunreach Soralite Cluster (583, 144): a dense patch of Soralite on an open ridge in the sky region. Soralite feeds the best endgame weapons, so camping on it keeps that material within walking distance.
One thing worth knowing before you build a dedicated resource base: the Sakurajima update added Coal Mine and Sulfur Mine structures, and an Ore Mining Site unlocks later, all of which pull a steady stream of raw material at a single machine. Those reduce how badly you need a node-farming base in the very late game, so weigh a specialized plot against just running the mine structure at your main base.
Every Base Location at a Glance
Here is the full set of recommended plots in one place, sorted roughly by when you will want them. Coordinates are approximate and read best off your in-game map cursor.
| Location | Coordinates | Best For | Stage | Raid Note |
|---|---|---|---|---|
| Hill of Beginnings (South) | 264, -548 | Safe first base, ore | Early | Low-level zone |
| Ore Galore (first tower) | 156, -397 | Defensible ore main | Early | Bridge choke point |
| Southwest of Small Settlement | 8, -520 | Open ore plateau | Early | Standard |
| South of Cinnamoth Forest | -77, -310 | Ore, coal, and sulfur | Mid | Standard |
| Ore and coal peak | 190, -40 | All-around main base | Mid to late | Hard to path, near unraidable |
| Mount Obsidian (west) | -744, -442 | Dedicated sulfur farm | Late | Lava hazard |
| Sakurajima Oil Fields | -646, 270 | Crude oil | Late | Level 50+ zone |
| Sunreach Soralite Cluster | 583, 144 | Soralite for top weapons | Endgame | Open ridge, high level |
Raid-Safe and Unraidable Base Spots
Raids in Palworld send waves of enemies at your Palbox, and they path toward it on foot. That pathing is the exploit: if you build somewhere the raiders physically cannot walk, they spawn, mill around below, and never touch your base. The most reliable unraidable spots are flat ledges on top of cliffs with no ramp up from the surrounding ground.
The community favorite is the cliff just south of the Relaxaurus Lux boss. Raiders always spawn on the low ground and cannot find a route to the top, so they give up. The ore-and-coal peak at 190, -40 behaves the same way. There is a fun bonus to going unraidable rather than turning raids off: some players park on an unreachable ledge, then fly down and capture the stranded raid Pals with spheres, farming free Pals and condenser fodder every wave.
If defense-by-terrain sounds like too much fuss, a choke-point base like Ore Galore does most of the job with a couple of walls, and the World Settings menu lets you disable raids entirely. Pick whichever matches how much you enjoy the combat side of base defense.
How to Move Your Base Without Losing Everything
Almost everyone plants their first Palbox where they spawned and regrets it. Moving a base means dismantling every structure and hauling the materials to the new plot, which is slow and easy to bungle. A few habits from players who have done it save the most pain.
- Dismantle the Palbox last. It anchors your storage, so keep it standing until everything else is packed. Tear it down first and you scatter your materials with nowhere to put them.
- Swap your whole party to Cattiva for the move. Each one adds carry weight through its partner skill, and a full team of them lets you haul far more per trip, cutting the number of runs dramatically.
- Reset your grapple cooldown. Unequipping and re-equipping the grappling gun resets its cooldown, so you can zip back and forth between the old and new plots faster.
- Scout the new spot first. Confirm the nodes, flat ground, and enemy level before you commit, because moving twice is the only thing worse than moving once.
Gear for Long Base-Building Sessions
Base building is a game of long, comfortable sessions: laying foundations, sorting storage, and watching your Pals work. A big, easy-on-the-eyes screen and a comfortable headset do more for those hours than any single upgrade. Here is the setup most /SKILL readers run for marathon survival-crafting sessions on PC and Xbox.

Samsung 32" Odyssey G55C
A 32-inch curved QHD panel that wraps your whole base in view, currently 42% off, so laying out foundations and reading resource menus is easy on the eyes.

Logitech G Pro X Wireless
A light wireless headset at 58% off, comfortable enough for the multi-hour build sessions Palworld pulls you into.

Xbox Wireless Controller
The default pad for Palworld on PC and Xbox, on sale here, and far comfier than keyboard for cruising the map on a mount.
Between building sessions, Berry Finds tracks real-time Amazon deals on thousands of everyday products across home, kitchen, beauty, and more so you never overpay on the stuff you buy regularly.
Frequently Asked Questions
What is the best base location in Palworld?
For an all-around main base, the ore-and-coal peak near 190, -40 by the Sealed Realm of the Guardian is the strongest pick, since it stacks ore, coal, and wood on one plot and raids struggle to reach the top. If you want a defensible first base instead, Ore Galore at 156, -397 has eight ore nodes behind a single bridge you can wall off.
How many bases can you have in Palworld?
You can have up to four bases by default. A second base unlocks around level 10, a third around 15, and each base holds up to 15 working Pals. In the World Settings menu you can raise those limits, up to ten bases and fifty Pals per base.
What is an unraidable base in Palworld?
An unraidable base is built where raid enemies cannot path to it, usually a flat ledge on top of a cliff with no route up from the surrounding ground. Raiders spawn below, fail to find a path, and never reach your structures. The cliff south of the Relaxaurus Lux boss and the peak at 190, -40 are two well-known examples.
Where is the best base for ore in Palworld?
Early on, Southwest of Small Settlement at 8, -520 offers a wide plateau with seven to eight ore nodes. For a longer-term ore base, the peak at 190, -40 combines ore and coal on one plot. If you also need sulfur for ammo, build south of Cinnamoth Forest at -77, -310.
Do base resource nodes respawn in Palworld?
Yes. Ore, coal, and sulfur nodes inside your base radius respawn on a timer, so a Pal with the Mining work suitability keeps harvesting them indefinitely. That is why building directly on the nodes, rather than near them, is the whole point of a good base spot.
Summary
The best base locations in Palworld all share the same logic: put the resources under your feet, keep the ground flat, and let terrain do your raid defense. Start safe at Hill of Beginnings South or a defensible Ore Galore, graduate to the ore-and-coal peak at 190, -40 as your all-around main, and add specialized outposts for sulfur, oil, and Soralite as the four-base system opens up. Read coordinates off your map cursor, scout before you commit, and you will never haul materials across the island again.
Once your base is placed, staffing it well is the next step. Our guide to the best Pals for every base job covers who to assign to mining, kindling, and transport, and the Palworld tier list ranks the strongest workers and mounts in 1.0.