You set up a VPS, installed WordPress, built a custom theme. Now every time you push a change, you SSH into the server and run git pull. Or worse, you open FileZilla and drag files over FTP. It works, but it’s slow, error-prone, and one misclick away from breaking production.
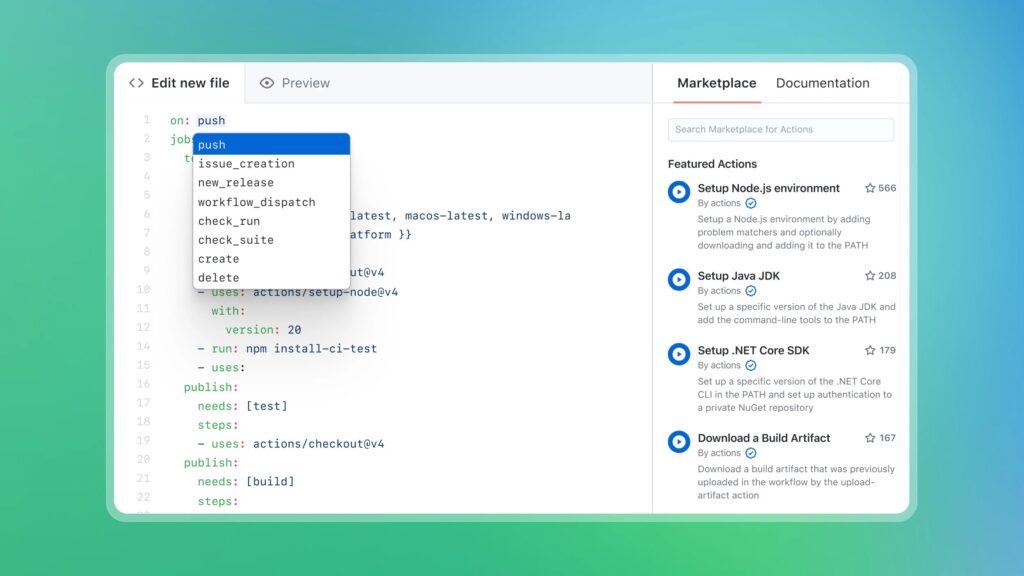
GitHub Actions can automate the entire process. Push to your main branch, and your theme (or plugin, or full site) deploys to your VPS automatically via SSH and rsync. No manual steps, no FTP, no forgotten files. The pipeline handles dependency installation, asset compilation, maintenance mode, cache clearing, and rollback if something goes wrong.
This tutorial walks through the complete setup from scratch. By the end, you’ll have a working CI/CD pipeline that deploys your WordPress project to a VPS on every push. If you haven’t set up a VPS yet, start there first.
Key Takeaways
- Automated deploys: GitHub Actions pushes your WordPress theme or plugin to your VPS via SSH and rsync on every commit to your production branch
- Zero downtime: The pipeline enables WordPress maintenance mode before syncing files and disables it after, so visitors never see a broken page
- Built-in safety net: A pre-deploy database backup via WP-CLI means you can roll back if a deploy breaks something
- Free for public repos: GitHub Actions gives you 2,000 minutes per month on the free tier, and public repos get unlimited minutes
What This Pipeline Does
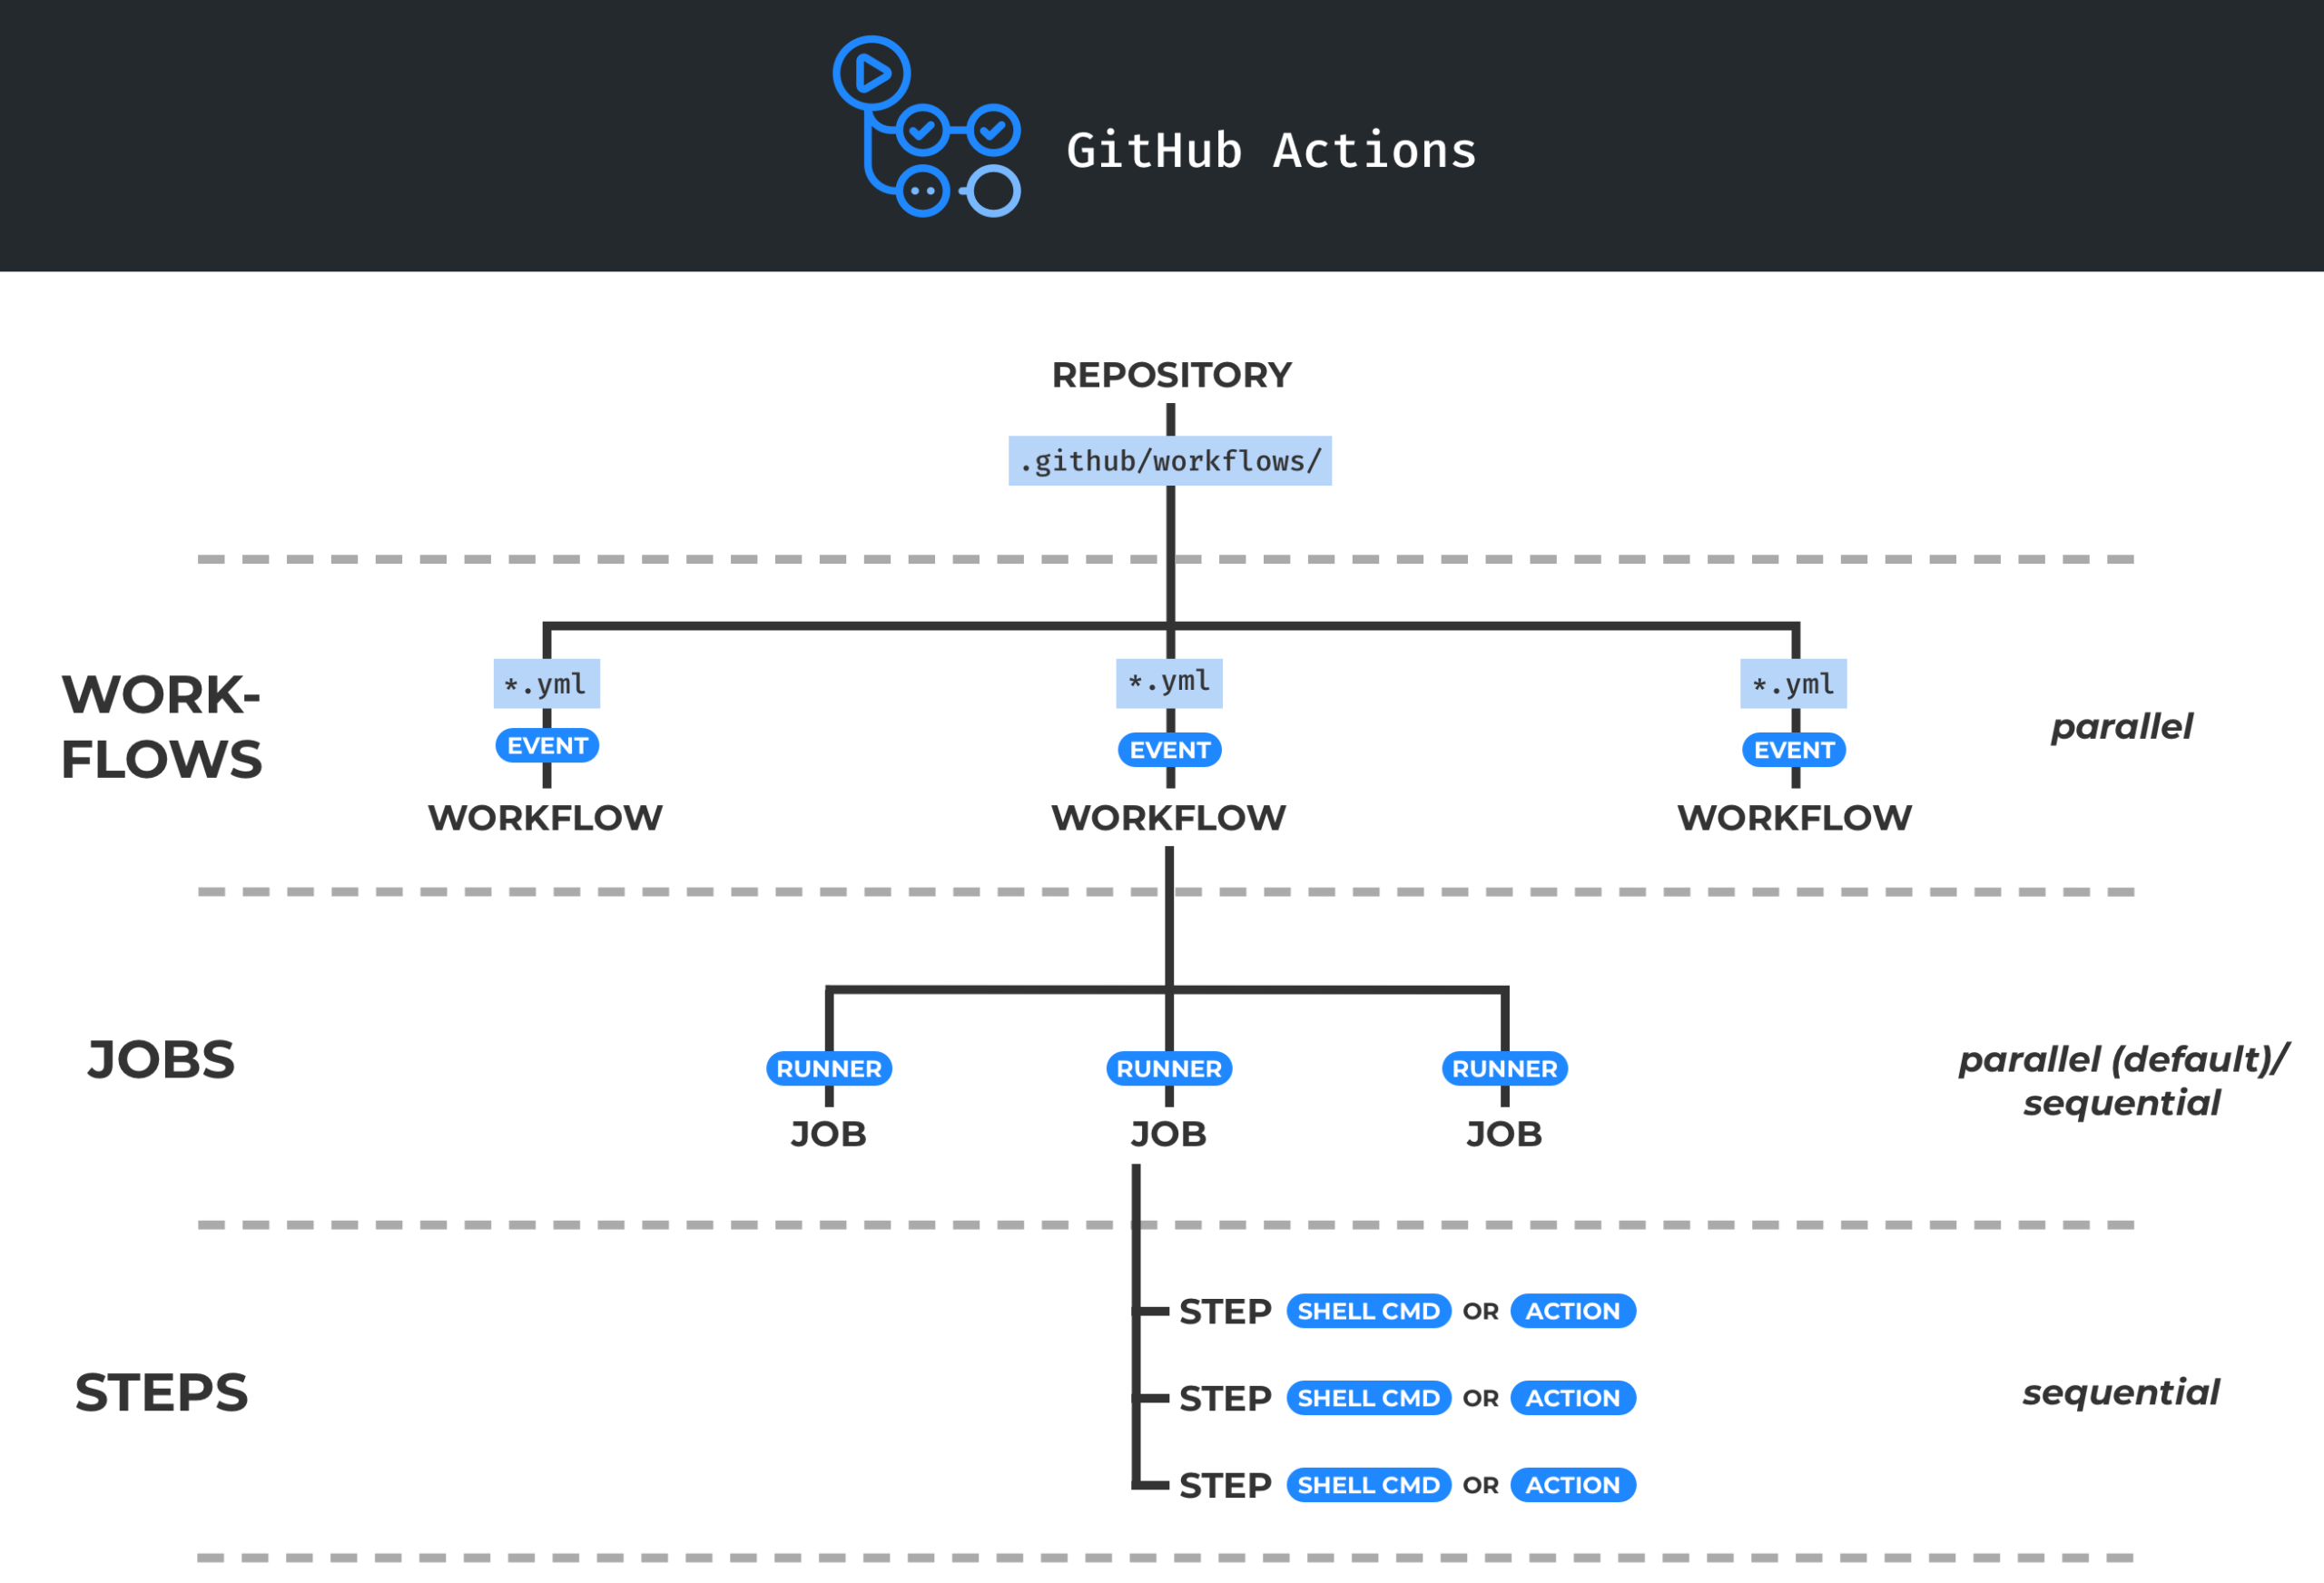
The deploy workflow with GitHub Actions follows this sequence every time you push code:
- Trigger: You push to the
mainbranch (or a dedicatedproductionbranch) - Build: GitHub’s runner installs PHP and Node.js dependencies, then compiles your assets (Sass, JavaScript bundles, etc.)
- Pre-deploy: An SSH command enables WordPress maintenance mode and backs up the database
- Deploy: rsync transfers only the changed files to your VPS over SSH
- Post-deploy: Another SSH command clears the object cache, flushes rewrite rules, and disables maintenance mode
The entire process takes 30-90 seconds depending on the size of your project and how many files changed. rsync is the key here. Unlike FTP or a full file copy, rsync only transfers files that actually changed, making deploys fast even on large codebases.
Prerequisites
Before setting up the pipeline, you need:
- A VPS running WordPress with SSH access. Any provider works: DigitalOcean, Linode, Hetzner, or a self-managed server. If you need help with initial server setup, our WordPress server setup guide covers it from scratch.
- WP-CLI installed on the server. This lets you toggle maintenance mode and clear caches from the command line. Install it with
curl -O https://raw.githubusercontent.com/wp-cli/builds/gh-pages/phar/wp-cli.phar && chmod +x wp-cli.phar && sudo mv wp-cli.phar /usr/local/bin/wp. - Your WordPress theme or plugin in a GitHub repository. The repo should contain only the theme (or plugin) files, not the entire WordPress installation.
- A non-root deploy user on your server. Running deploys as root is a security risk. Create a dedicated user:
sudo adduser deployand give it ownership of your wp-content directory.
Set Up SSH Keys for GitHub Actions
GitHub Actions needs SSH access to your server. You’ll generate a dedicated keypair for this purpose. Don’t reuse your personal SSH key.
Generate the Key
On your local machine, generate an Ed25519 key (the modern standard, replacing RSA):
ssh-keygen -t ed25519 -C "github-actions-deploy" -f ~/.ssh/github_actions_deployPress Enter when asked for a passphrase. GitHub Actions can’t type a passphrase interactively, so this key must be passphraseless. The key is stored as an encrypted GitHub Secret, so it’s still protected.
Add the Public Key to Your Server
Copy the public key to your deploy user’s authorized keys on the server:
ssh-copy-id -i ~/.ssh/github_actions_deploy.pub deploy@your-server-ipTest the connection to make sure it works:
ssh -i ~/.ssh/github_actions_deploy deploy@your-server-ip "echo 'Connection successful'"Store the Private Key in GitHub Secrets
Go to your GitHub repository, then Settings → Secrets and variables → Actions → New repository secret. Create these three secrets:
SSH_PRIVATE_KEY: paste the entire contents of~/.ssh/github_actions_deploy(the private key, not the .pub file)SSH_HOST: your server’s IP address or domainSSH_USER: the deploy username (e.g.,deploy)
You can also create secrets from the terminal with the GitHub CLI: gh secret set SSH_PRIVATE_KEY < ~/.ssh/github_actions_deploy.
Create the Deployment Workflow
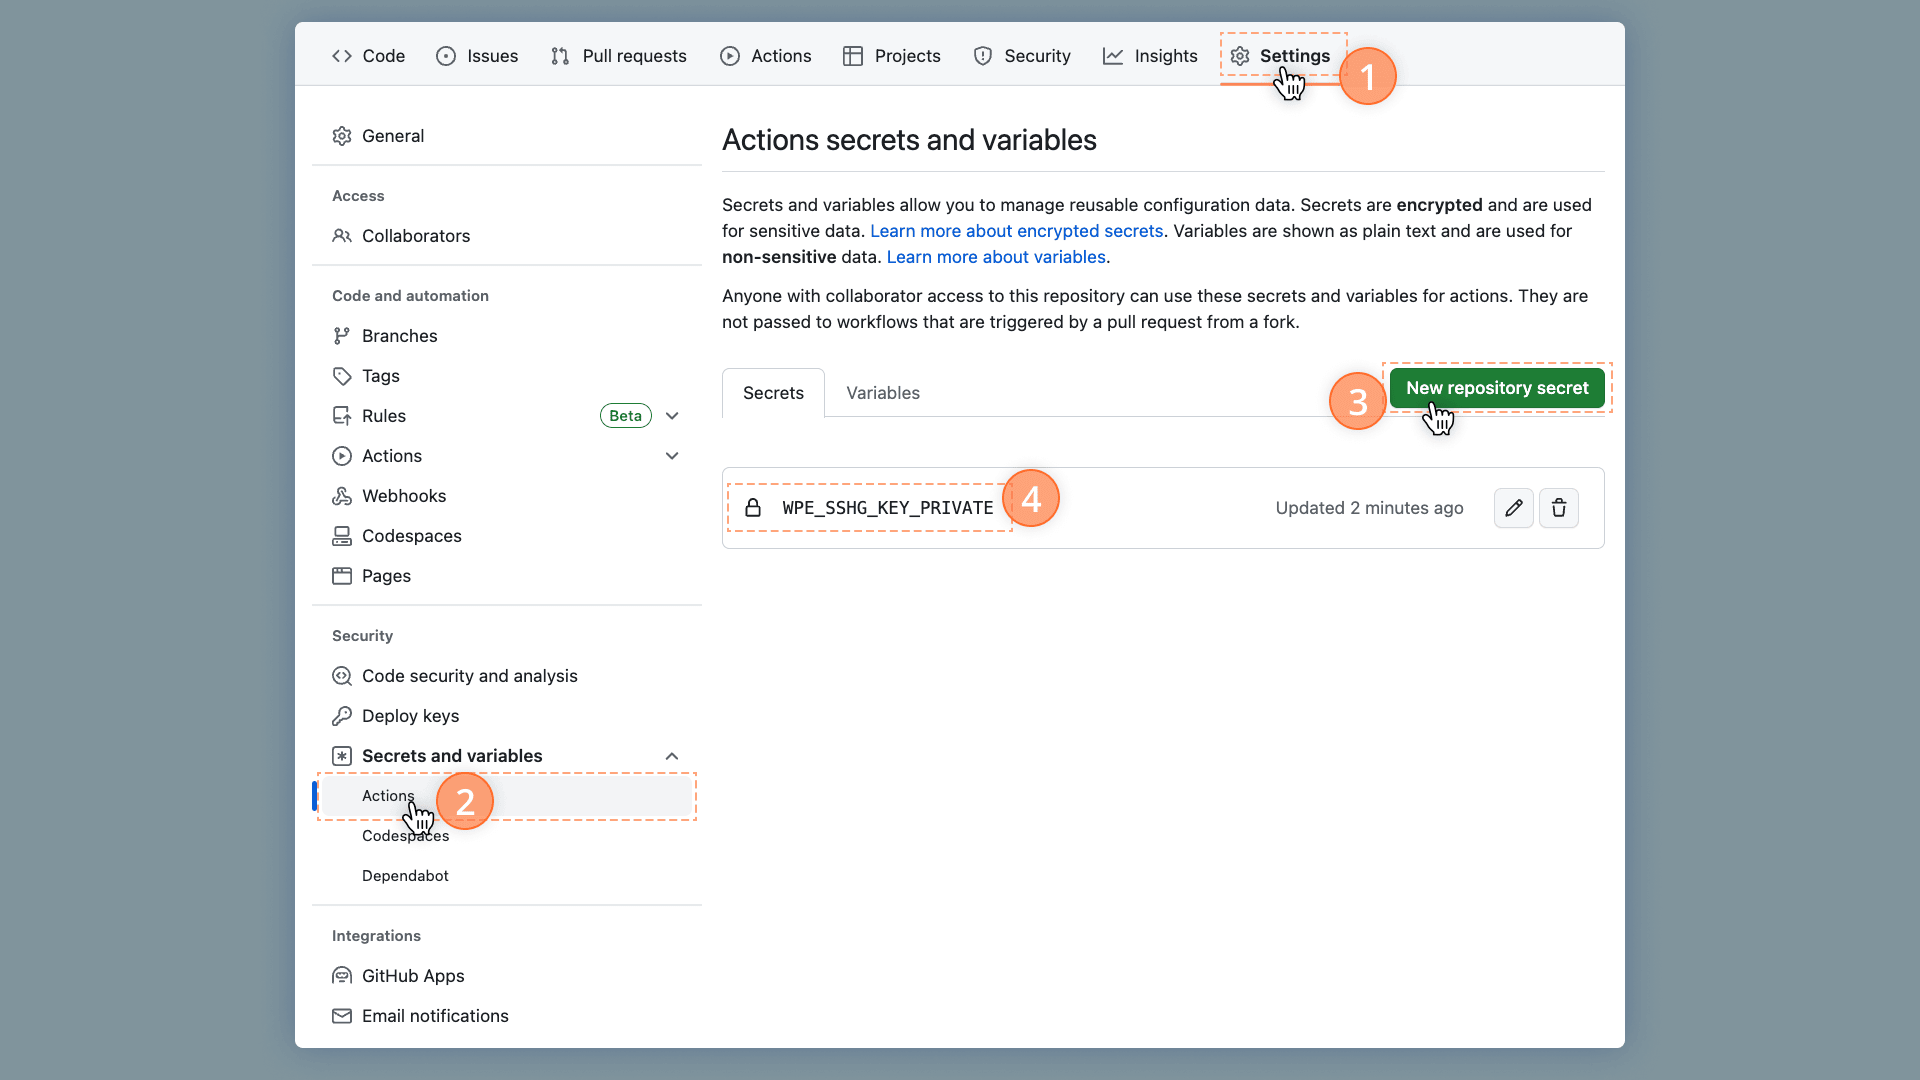
Create a file at .github/workflows/deploy.yml in your repository. This is the full workflow that builds your project and deploys it to your VPS:
name: Deploy to VPS

on:
  push:
    branches: [main]

jobs:
  deploy:
    runs-on: ubuntu-latest
    steps:
      - name: Checkout code
        uses: actions/checkout@v4

      - name: Set up Node.js
        uses: actions/setup-node@v4
        with:
          node-version: 20
          cache: 'npm'

      - name: Install and build
        run: |
          npm ci
          npm run build

      - name: Deploy via rsync
        env:
          SSH_KEY: ${{ secrets.SSH_PRIVATE_KEY }}
          SSH_HOST: ${{ secrets.SSH_HOST }}
          SSH_USER: ${{ secrets.SSH_USER }}
        run: |
          mkdir -p ~/.ssh
          echo "$SSH_KEY" > ~/.ssh/deploy_key
          chmod 600 ~/.ssh/deploy_key
          ssh-keyscan -H "$SSH_HOST" >> ~/.ssh/known_hosts

          rsync -avz --delete \
            -e "ssh -i ~/.ssh/deploy_key" \
            --exclude '.git/' \
            --exclude '.github/' \
            --exclude 'node_modules/' \
            --exclude '.env' \
            --exclude '.gitignore' \
            ./ "$SSH_USER@$SSH_HOST:/var/www/yoursite/wp-content/themes/your-theme/"
Breaking Down the Workflow
Trigger: The on: push: branches: [main] block means this workflow runs every time you push to the main branch. Pushes to feature branches won’t trigger a deploy.
Checkout: actions/checkout@v4 pulls your repository code into the runner. Without this, the runner starts with an empty workspace.
Node.js setup: actions/setup-node@v4 installs Node.js 20 and caches your npm packages. The cache speeds up subsequent runs because dependencies don’t need to download every time.
Build: npm ci installs dependencies from the lockfile (deterministic, unlike npm install). Then npm run build compiles your assets. Skip this step if your theme doesn’t use a build process.
SSH setup: The deploy step writes the private key to a file, sets strict permissions (chmod 600), and runs ssh-keyscan to add the server’s host key to known_hosts. This prevents the “Host key verification failed” error on first connection.
rsync: The -avz --delete flags mean: archive mode (preserves permissions), verbose output, compress during transfer, and delete files on the server that no longer exist in the repo. The --exclude flags prevent syncing development files to production.
Deploying a Plugin Instead
The only change for a plugin is the destination path. Replace the rsync target:
# Theme deployment
./ "$SSH_USER@$SSH_HOST:/var/www/yoursite/wp-content/themes/your-theme/"

# Plugin deployment
./ "$SSH_USER@$SSH_HOST:/var/www/yoursite/wp-content/plugins/your-plugin/"
Everything else in the workflow stays identical.
Add Maintenance Mode and Cache Clearing
The basic workflow works, but it deploys files while WordPress is still serving requests. If a visitor hits the site mid-deploy, they might see a partially updated theme. WP-CLI fixes this.
Add these steps before and after the rsync step in your workflow:
      - name: Pre-deploy (maintenance mode + backup)
        uses: appleboy/ssh-action@v1
        with:
          host: ${{ secrets.SSH_HOST }}
          username: ${{ secrets.SSH_USER }}
          key: ${{ secrets.SSH_PRIVATE_KEY }}
          script: |
            cd /var/www/yoursite
            wp maintenance-mode activate
            wp db export /var/www/backups/pre-deploy-$(date +%Y%m%d-%H%M%S).sql

      # ... rsync step goes here ...

      - name: Post-deploy (cache + maintenance mode)
        uses: appleboy/ssh-action@v1
        with:
          host: ${{ secrets.SSH_HOST }}
          username: ${{ secrets.SSH_USER }}
          key: ${{ secrets.SSH_PRIVATE_KEY }}
          script: |
            cd /var/www/yoursite
            wp cache flush
            wp rewrite flush
            wp maintenance-mode deactivate
The pre-deploy step activates maintenance mode (visitors see a “briefly unavailable” message) and exports the database to a timestamped SQL file. If the deploy breaks something, you can restore with wp db import /var/www/backups/pre-deploy-YYYYMMDD-HHMMSS.sql.
The post-deploy step flushes the object cache and rewrite rules, then deactivates maintenance mode. If you use a page caching plugin like WP Super Cache or W3 Total Cache, add the relevant flush command here too (e.g., wp super-cache flush).
⚡ Backup retention: Timestamped SQL dumps will pile up over time. Add a cron job on your server to delete backups older than 30 days: find /var/www/backups -name "pre-deploy-*.sql" -mtime +30 -delete.
Handle Sensitive Files
Your repo shouldn’t contain wp-config.php, .env files, or any credentials. These live on the server only. The rsync --exclude flags in the workflow prevent accidentally overwriting them, but you should also create a .rsyncignore file in your repo for more fine-grained control:
# .rsyncignore
.git/
.github/
node_modules/
.env
.env.*
*.log
.DS_Store
tests/
phpunit.xml
README.md
package-lock.json
composer.lock
Then reference it in your rsync command:
rsync -avz --delete \
  -e "ssh -i ~/.ssh/deploy_key" \
  --exclude-from='.rsyncignore' \
  ./ "$SSH_USER@$SSH_HOST:/var/www/yoursite/wp-content/themes/your-theme/"
This keeps your rsync command clean and makes exclusions easy to manage. When a new developer joins the project, they can see exactly which files stay out of production by reading one file.
File Permissions After Deploy
rsync preserves file permissions from your local machine by default. If your local files have different ownership than what the web server expects, you’ll get permission errors. Add a chmod step after rsync to normalize permissions:
      - name: Fix permissions
        uses: appleboy/ssh-action@v1
        with:
          host: ${{ secrets.SSH_HOST }}
          username: ${{ secrets.SSH_USER }}
          key: ${{ secrets.SSH_PRIVATE_KEY }}
          script: |
            find /var/www/yoursite/wp-content/themes/your-theme -type d -exec chmod 755 {} \;
            find /var/www/yoursite/wp-content/themes/your-theme -type f -exec chmod 644 {} \;
Directories get 755 (readable and executable by everyone, writable by owner) and files get 644 (readable by everyone, writable by owner). These are the WordPress-recommended permissions.
Add a Staging Environment
Deploying straight to production on every push works for solo projects, but a staging environment catches problems before they reach your live site. You can extend the workflow with branch-based deployments:
name: Deploy WordPress

on:
  push:
    branches: [main, staging]

jobs:
  deploy:
    runs-on: ubuntu-latest
    steps:
      - uses: actions/checkout@v4

      - uses: actions/setup-node@v4
        with:
          node-version: 20
          cache: 'npm'

      - run: npm ci && npm run build

      - name: Set deploy target
        id: target
        run: |
          if [ "${{ github.ref_name }}" = "main" ]; then
            echo "path=/var/www/yoursite/wp-content/themes/your-theme/" >> $GITHUB_OUTPUT
            echo "host=${{ secrets.SSH_HOST }}" >> $GITHUB_OUTPUT
          else
            echo "path=/var/www/staging/wp-content/themes/your-theme/" >> $GITHUB_OUTPUT
            echo "host=${{ secrets.STAGING_HOST }}" >> $GITHUB_OUTPUT
          fi

      - name: Deploy via rsync
        env:
          SSH_KEY: ${{ secrets.SSH_PRIVATE_KEY }}
        run: |
          mkdir -p ~/.ssh
          echo "$SSH_KEY" > ~/.ssh/deploy_key
          chmod 600 ~/.ssh/deploy_key
          ssh-keyscan -H "${{ steps.target.outputs.host }}" >> ~/.ssh/known_hosts

          rsync -avz --delete \
            -e "ssh -i ~/.ssh/deploy_key" \
            --exclude-from='.rsyncignore' \
            ./ "${{ secrets.SSH_USER }}@${{ steps.target.outputs.host }}:${{ steps.target.outputs.path }}"
Push to staging to test changes on your staging server. Push to main when you’re ready for production. If both environments are on the same VPS, use the same SSH_HOST secret and change only the path.
Troubleshooting Common Issues
Permission Denied (publickey)
This means the SSH key isn’t matching. Check three things: the private key in GitHub Secrets has no extra whitespace or missing lines, the public key is in ~/.ssh/authorized_keys on the server for the correct user, and the SSH_USER secret matches the user who has the authorized key.
Host Key Verification Failed
The ssh-keyscan step in the workflow handles this automatically. If you’re still seeing the error, make sure the ssh-keyscan line runs before the rsync command, not after. You can also manually add your server’s host key to the workflow by storing it as a secret.
rsync: Failed to Set Permissions
The deploy user doesn’t own the destination directory. Fix ownership on the server: sudo chown -R deploy:www-data /var/www/yoursite/wp-content/themes/your-theme/. The www-data group lets the web server read the files while the deploy user writes them.
WP-CLI: Command Not Found
WP-CLI might not be in the deploy user’s PATH. Use the full path in your SSH commands: /usr/local/bin/wp maintenance-mode activate. Alternatively, add export PATH=$PATH:/usr/local/bin at the top of your SSH script block.
Build Fails but Deploy Continues
GitHub Actions stops a job on the first failed step by default. If you see deploys happening after a failed build, you might have continue-on-error: true set somewhere. Remove it. You want the pipeline to halt if the build breaks.
If your server is exposed to the internet and you haven’t hardened it yet, set up Fail2ban on Nginx to block brute-force SSH attempts. This protects both your personal access and the automated deploy key.
Recommended Dev Gear
Long coding sessions demand comfortable peripherals. These three upgrades made the biggest difference in my daily workflow.
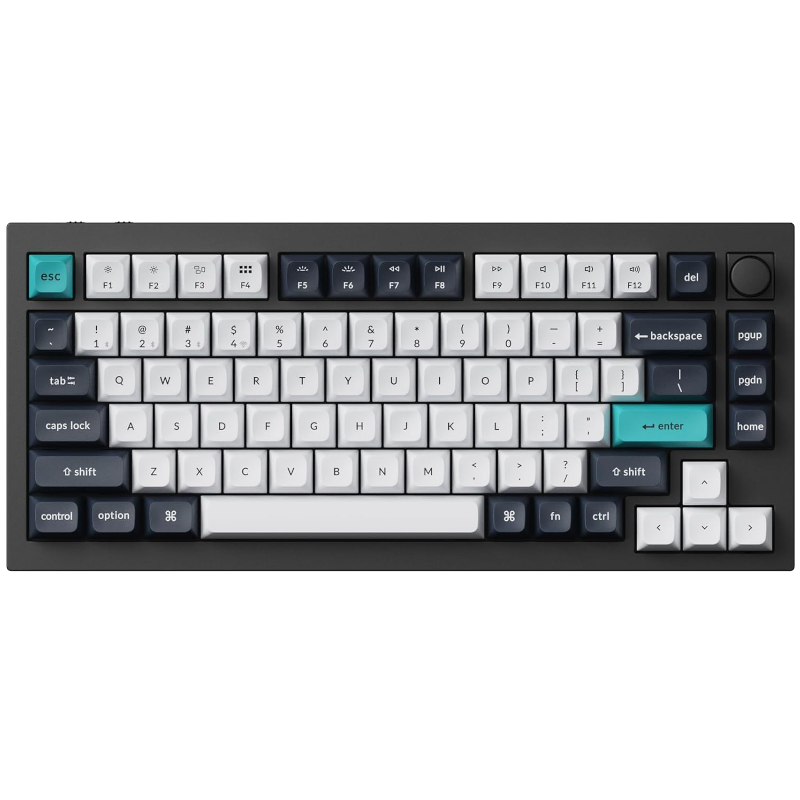
Keychron Q1 Max
Hot-swappable mechanical keyboard with wireless, QMK/VIA programmability, and a satisfying knob.

Logitech MX Master 3S
Ergonomic wireless mouse with MagSpeed scroll, quiet clicks, and multi-device support.

Quntis RGB Pro+ Light Bar
Monitor-mounted light bar with Ra95 CRI and RGB backlighting. Reduces eye strain during night sessions.
Frequently Asked Questions
Does this work with managed WordPress hosting like Cloudways or Kinsta?
Managed hosts usually provide their own deployment tools (Git push integration, staging environments). This tutorial targets self-managed VPS deployments where you have full SSH access. If you’re deciding between managed and self-hosted, our Cloudways vs Kinsta comparison breaks down the tradeoffs.
Can I deploy the entire WordPress installation, not just a theme?
You can, but it’s not recommended. Deploying WordPress core files via Git creates version conflicts with WordPress’s built-in updater. The best practice is to keep only your custom code (themes, plugins, mu-plugins) in Git and let WordPress handle its own core updates.
How do I roll back a bad deploy?
The workflow backs up the database before every deploy. To roll back, SSH into your server and run wp db import /var/www/backups/pre-deploy-YYYYMMDD-HHMMSS.sql. For file rollback, push a revert commit to your main branch and the pipeline will deploy the previous state automatically.
Is rsync better than using Git pull on the server?
rsync is safer for production. Running git pull on the server means your production directory is a Git repo with full history, which exposes your .git directory if your web server isn’t configured to block it. rsync copies only the files you want, with no Git metadata on the server.
How much does this cost?
Nothing for most projects. Public GitHub repos get unlimited Actions minutes. Private repos get 2,000 free minutes per month on the free tier. A typical WordPress deploy uses 1-2 minutes, so you’d need over 1,000 deploys per month to hit the limit.
Summary
A GitHub Actions pipeline replaces manual FTP and SSH-based deploys with a single git push. The workflow we built handles dependency installation, asset compilation, maintenance mode, database backups, file syncing via rsync, and post-deploy cache clearing. It runs in under two minutes and costs nothing for most projects. If you manage multiple servers and want to streamline your SSH connections, check out our shell helper functions guide for mapping server names to IPs with a single command. If you are evaluating whether to keep WordPress as a traditional setup or go headless with a separate frontend, our headless WordPress guide covers the decision framework.
If you’re still deploying manually, start with the basic rsync workflow and add the maintenance mode and staging steps once you’re comfortable. The time investment is about 30 minutes to set up and saves hours over the course of a project. For a broader look at moving your project to a VPS in the first place, check our complete VPS deployment guide. And if you’re moving from one host to another, our WordPress migration guide covers zero-downtime transfers.