TL;DR
- Apple’s MLX framework lets you fine-tune LLMs directly on your Mac using unified memory and LoRA, no NVIDIA GPU required
- 16GB Macs can fine-tune 3B models, 32GB handles 7B models comfortably, and 64GB+ opens the door to 13B+
- Start-to-finish takes under 30 minutes for your first fine-tune using mlx-lm, including setup, training, and testing
What Fine-Tuning Actually Does
You download a pre-trained model like Llama 3 or Mistral. It already knows how to generate text, follow instructions, and reason about problems. Fine-tuning takes that general knowledge and sharpens it for your specific use case. Want a model that writes SQL from natural language? Fine-tune it on SQL examples. Need one that answers questions about your product docs? Feed it Q&A pairs from your support tickets.
The catch has always been hardware. Full fine-tuning on a 7B parameter model needs around 112GB of memory. That ruled out most consumer machines. But two things changed the equation for Mac users.
First, LoRA (Low-Rank Adaptation) appeared as a training technique. Instead of updating every weight in the model, LoRA freezes the original weights and trains small adapter matrices alongside them. This cuts memory usage by roughly 65% and speeds up training dramatically. A 7B model that needed 45GB of memory for full fine-tuning drops to around 17GB with LoRA.
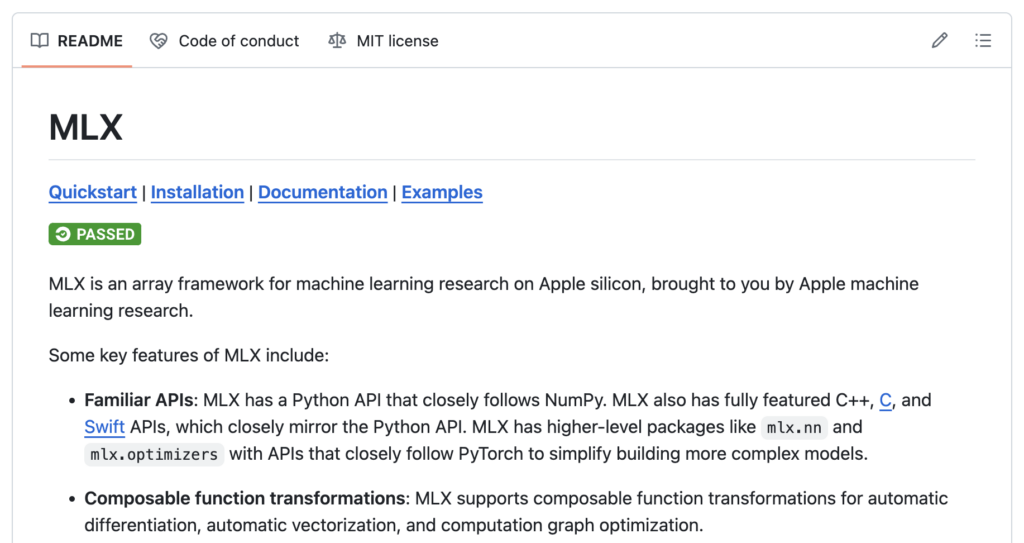
Second, Apple released MLX, an array framework built specifically for Apple Silicon. MLX takes advantage of the unified memory architecture in M-series chips, where the CPU and GPU share the same memory pool. No copying data between CPU and GPU memory. No CUDA requirement. Just native Metal acceleration on hardware you might already own.
Put LoRA and MLX together and you can fine-tune an LLM on a MacBook Pro in under 30 minutes. That is what this guide walks through, step by step.
What You Need
The good news: if you have a Mac with Apple Silicon (M1 or newer), you can fine-tune locally. The model size you can work with depends on your unified memory.
| Unified Memory | Max Model Size (LoRA) | Recommended Models |
|---|---|---|
| 16GB | 3B (quantized 7B) | Phi-3-mini, Llama 3.2 3B, Mistral-7B-4bit |
| 32GB | 7B-8B | Llama 3.1 8B, Mistral-7B, Ministral-8B |
| 64GB | 13B+ | Llama 3.1 13B, CodeLlama-13B |
| 128GB+ | 34B+ | CodeLlama-34B, larger Llama variants |
If you are on 16GB, you are not locked out. Quantized models from the mlx-community on HuggingFace compress 7B models down to around 4GB using 4-bit quantization. You lose a small amount of quality, but the model fits and trains.
For 32GB and above, you have plenty of room. A MacBook Pro with M5 Pro handles 7B model fine-tuning without breaking a sweat. If you want a dedicated ML workstation, the Mac Mini M4 Pro is a solid budget option that runs 24/7. For a full breakdown of Mac vs PC options for local AI, see our guide to the best hardware for running LLMs locally.
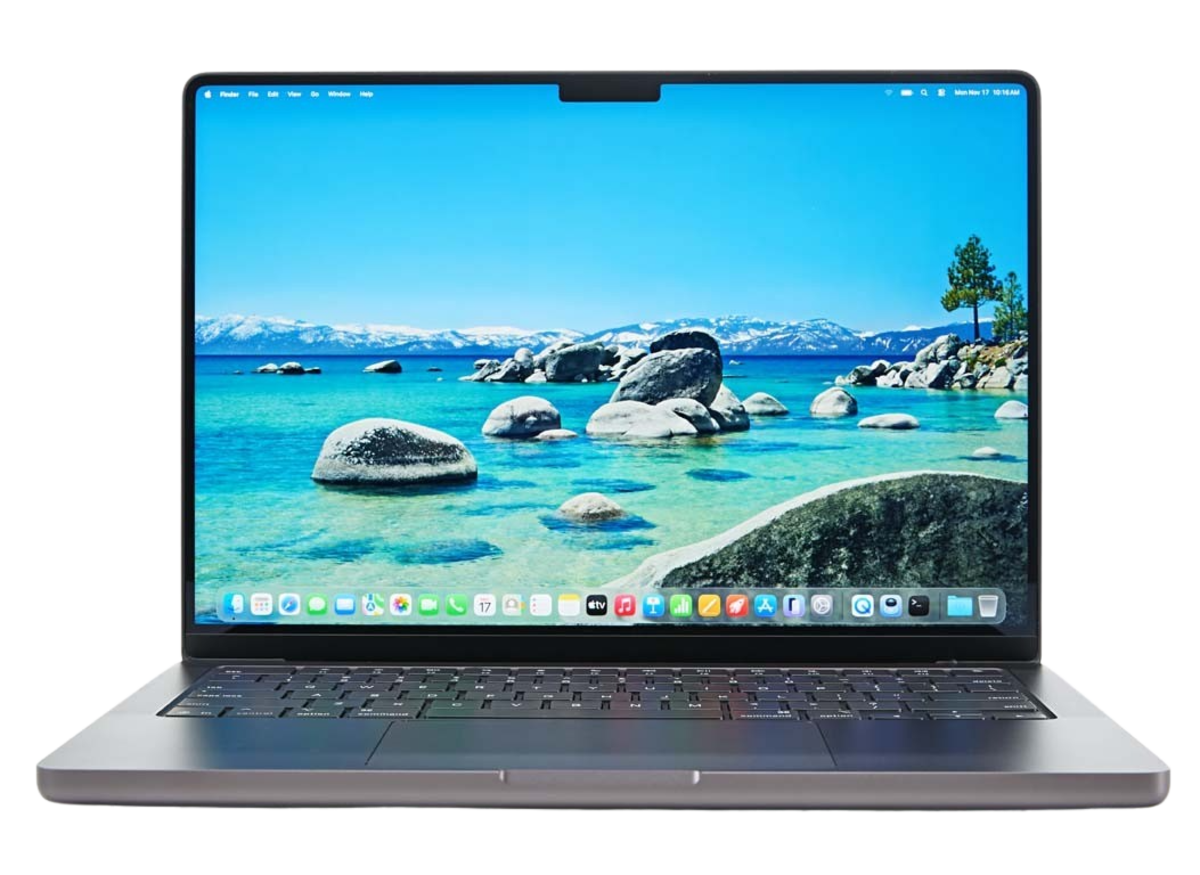
MacBook Pro M5 Pro
Portable fine-tuning powerhouse
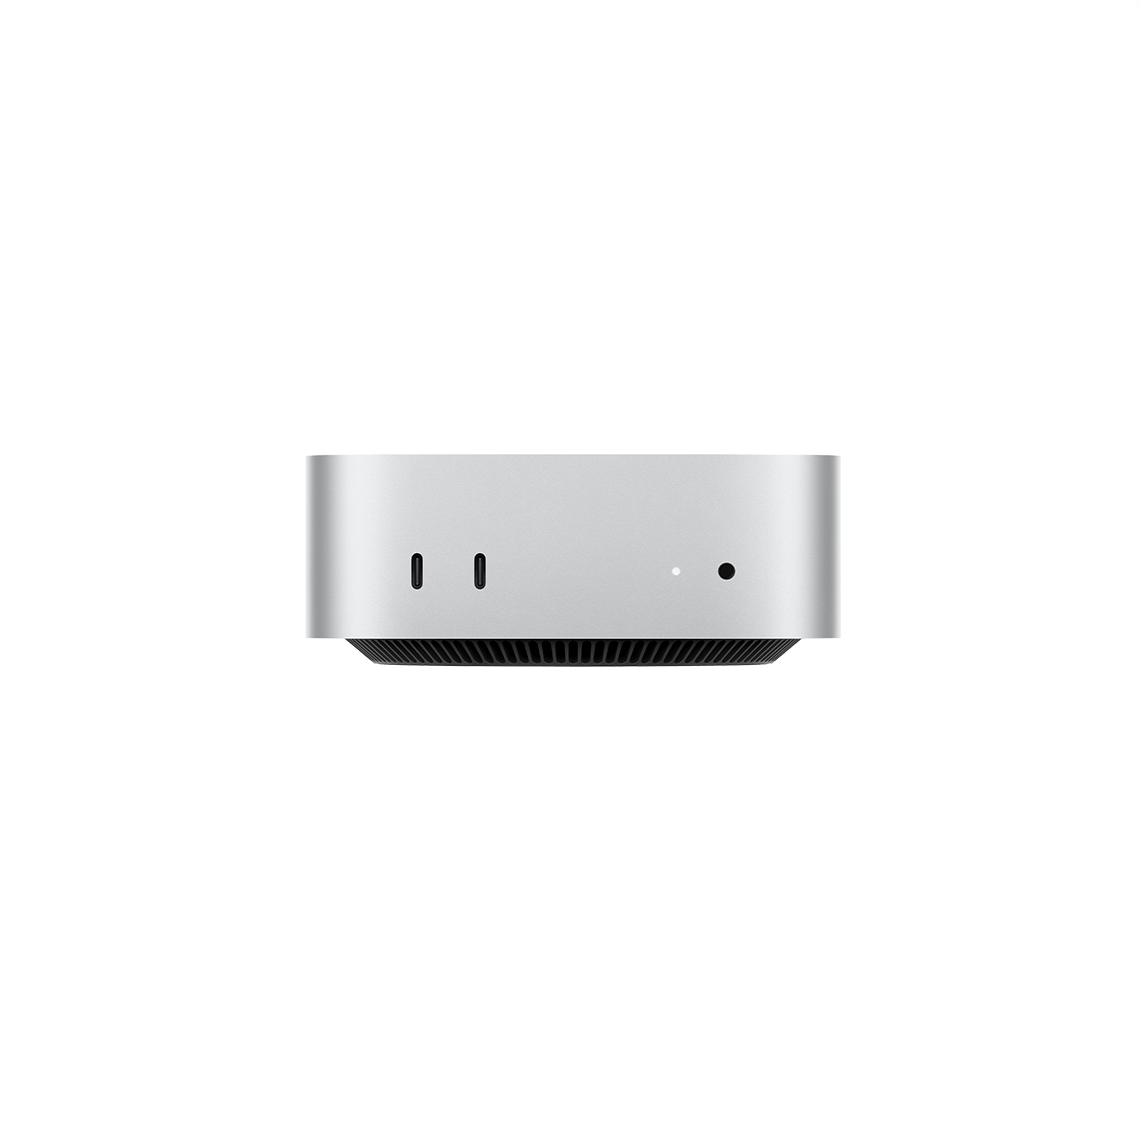
Mac Mini M4 Pro (24GB)
Always-on ML workstation
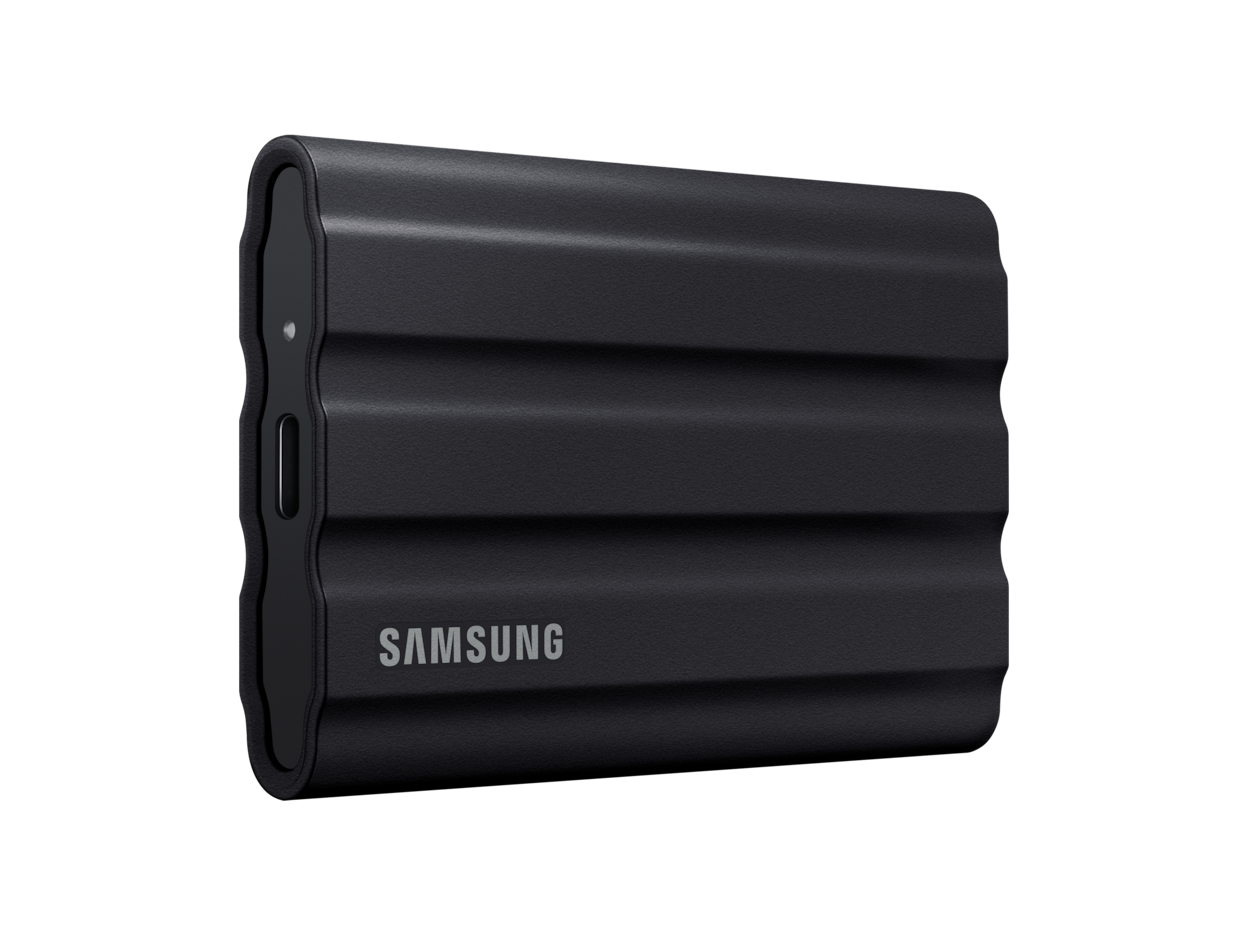
Samsung T7 Shield 2TB
Fast external storage for model cache
The MacBook Pro M5 Pro is the best all-around option — unified memory handles 7B model fine-tuning comfortably, and you can train anywhere. The Mac Mini M4 Pro gives you the same Apple Silicon architecture for less money if you already have a monitor, and it makes a great dedicated ML workstation that runs 24/7. Either way, grab a Samsung T7 Shield for external model storage — a single 7B model is about 14GB and the HuggingFace cache grows fast.
Software requirements:
- macOS 13.5 or later
- Python 3.10 or later
- A free HuggingFace account (for downloading models)
Step 1: Set Up Your Environment
Open Terminal and create a dedicated directory and virtual environment for your fine-tuning work.
mkdir ~/mlx-finetune && cd ~/mlx-finetune
python3 -m venv venv
source venv/bin/activate
Install the MLX language model package with training support:
pip install "mlx-lm[train]"This pulls in mlx-lm along with its training dependencies. The package includes everything you need: model loading, LoRA training, evaluation, generation, and model conversion.
Next, install the HuggingFace CLI and log in:
pip install huggingface_hub
huggingface-cli login
Paste your HuggingFace access token when prompted. You can generate one at huggingface.co/settings/tokens with read access.
Verify everything works by checking that MLX can see your GPU:
python3 -c "import mlx.core as mx; print(mx.default_device())"This should output Device(gpu, 0). If it says cpu, something went wrong with the install. Reinstall mlx and make sure you are running on Apple Silicon, not under Rosetta.
Step 2: Pick a Base Model
Your base model is the pre-trained LLM you will fine-tune. Pick one that fits your memory and matches your task.
For your first fine-tune, start with Mistral-7B-Instruct-v0.3 or Llama-3.2-3B-Instruct. Both have strong instruction-following out of the box, active community support, and plenty of documentation. Mistral-7B is the sweet spot for 32GB Macs. Llama 3.2 3B fits comfortably on 16GB.
MLX supports models from HuggingFace in safetensors format. The mlx-community namespace on HuggingFace hosts pre-converted versions optimized for MLX, including quantized variants for lower memory usage.
Download your chosen model:
# For 32GB+ Macs:
huggingface-cli download mistralai/Mistral-7B-Instruct-v0.3

# For 16GB Macs (4-bit quantized):
huggingface-cli download mlx-community/Mistral-7B-Instruct-v0.3-4bit
The download lands in your HuggingFace cache at ~/.cache/huggingface/hub/. A full-precision 7B model is about 14GB. The 4-bit quantized version is around 4GB.
Step 3: Prepare Your Training Data
Your training data is what teaches the model your specific task. Quality matters more than quantity here. Fifty well-written examples will outperform five hundred sloppy ones.
MLX expects JSONL files (one JSON object per line) in a specific directory structure:
my-data/
├── train.jsonl    # Training examples (required)
├── valid.jsonl    # Validation examples (optional but recommended)
└── test.jsonl     # Test examples (optional)
Each line in the JSONL file follows one of three formats. Pick the one that matches your use case.
Chat Format (Best for Conversational Tasks)
Use this for Q&A, chatbots, or any task where you want the model to follow instructions:
{"messages": [{"role": "system", "content": "You are a SQL expert."}, {"role": "user", "content": "List all users who signed up this month"}, {"role": "assistant", "content": "SELECT * FROM users WHERE created_at >= DATE_TRUNC('month', CURRENT_DATE);"}]}Completion Format (Best for Input-Output Pairs)
Use this for translation, summarization, or any clear prompt-to-response mapping:
{"prompt": "Translate to French: Hello, how are you?", "completion": "Bonjour, comment allez-vous?"}Text Format (Best for Continued Pre-Training)
Use this when you want the model to absorb knowledge from a corpus of text:
{"text": "The mitochondria is the powerhouse of the cell. It produces ATP through oxidative phosphorylation..."}Important rules for your data:
- Each example must be on a single line. No multi-line JSON.
- Aim for 50-100 examples to start. You can always add more and re-train.
- Split roughly 80/10/10 between train/valid/test.
- Keep examples consistent in format and quality. One bad example in a small dataset can throw off training.
You can also pull datasets directly from HuggingFace using a YAML config file. This is useful for well-known datasets like WikiSQL or Alpaca:
# config.yaml
hf_dataset:
  path: "b-mc2/sql-create-context"
  prompt_feature: "question"
  completion_feature: "answer"
  train_split: "train[:80%]"
  valid_split: "train[80%:90%]"
  test_split: "train[90%:]"
Step 4: Fine-Tune Your LLM on Mac with LoRA
This is where it happens. One command kicks off the training run:
mlx_lm.lora \
  --model mistralai/Mistral-7B-Instruct-v0.3 \
  --train \
  --data ./my-data \
  --iters 600 \
  --batch-size 4 \
  --num-layers 16 \
  --adapter-path ./my-adapters
Here is what each parameter does:
| Parameter | What It Does | Recommended Starting Value |
|---|---|---|
--model |
HuggingFace model ID or local path | Your downloaded model |
--iters |
Number of training iterations | 600 (more for larger datasets) |
--batch-size |
Examples processed per step | 4 (drop to 1 on 16GB) |
--num-layers |
How many model layers LoRA touches | 16 (drop to 4 on 16GB) |
--adapter-path |
Where to save trained adapters | Any directory you choose |
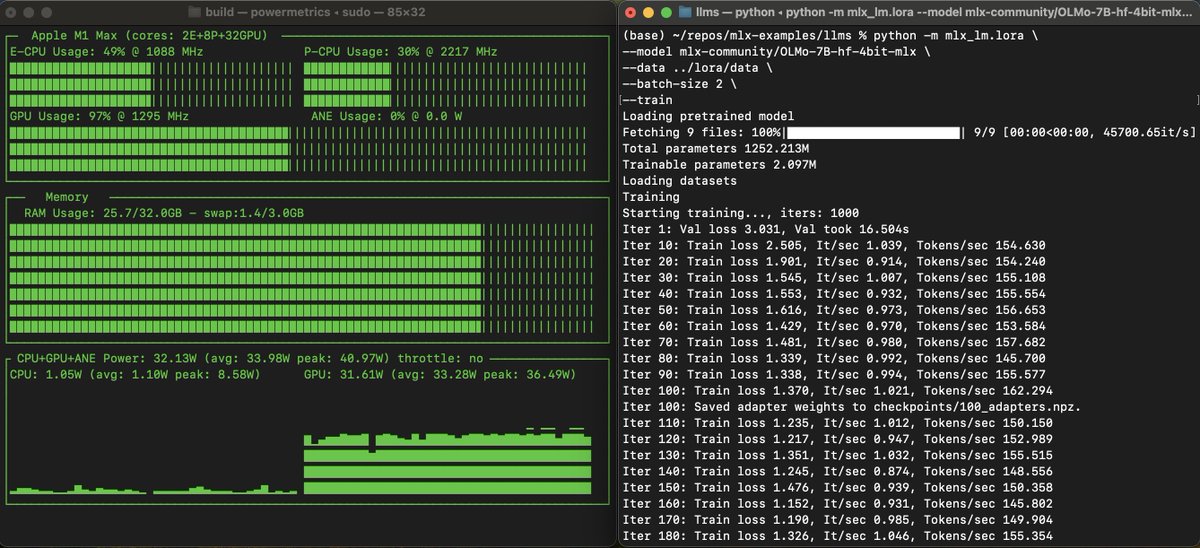
Training prints loss values as it runs. You want the training loss to decrease steadily. If it plateaus early, your dataset might be too small or too repetitive. If it spikes, reduce your learning rate.
Memory-saving flags for tighter machines:
# 16GB Mac configuration
mlx_lm.lora \
  --model mlx-community/Mistral-7B-Instruct-v0.3-4bit \
  --train \
  --data ./my-data \
  --iters 600 \
  --batch-size 1 \
  --num-layers 4 \
  --grad-checkpoint \
  --adapter-path ./my-adapters
The --grad-checkpoint flag trades compute time for memory by recalculating activations during the backward pass instead of storing them. It slows training slightly but cuts peak memory usage significantly.
On an M3 Pro with 36GB, training 1,000 iterations on 100 examples takes about 10 minutes. On M1 with 16GB and aggressive memory settings, expect 20-30 minutes for the same run. The result is a small adapter file (usually a few MB) saved to your adapter path.
Step 5: Test Your Model
Before you deploy anything, test the fine-tuned model against your use case. MLX gives you two ways to do this.
Quick generation test:
mlx_lm.generate \
  --model mistralai/Mistral-7B-Instruct-v0.3 \
  --adapter-path ./my-adapters \
  --prompt "List all orders from the past 7 days"
This loads the base model, applies your LoRA adapters on top, and generates a response. Compare the output against what the base model produces without the adapter. You should see a clear difference in the domain you trained on.
Formal evaluation:
mlx_lm.lora \
  --model mistralai/Mistral-7B-Instruct-v0.3 \
  --adapter-path ./my-adapters \
  --data ./my-data \
  --test
This runs your test split through the model and reports the loss. Lower test loss means better performance on unseen examples from your domain. If test loss is much higher than training loss, you might be overfitting. Try reducing iterations, adding more training data, or decreasing --num-layers.
Step 6: Use Your Model with Ollama
MLX is great for training and quick testing, but for day-to-day use you probably want your fine-tuned model running in Ollama or LM Studio. That means converting your adapters into a standalone model.
Step 1: Fuse adapters into the base model
mlx_lm.fuse \
  --model mistralai/Mistral-7B-Instruct-v0.3 \
  --adapter-path ./my-adapters \
  --save-path ./my-fused-model
This bakes your LoRA weights permanently into the model, producing a new set of safetensors files in ./my-fused-model.
Step 2: Convert to GGUF format
mlx_lm.fuse \
  --model mistralai/Mistral-7B-Instruct-v0.3 \
  --adapter-path ./my-adapters \
  --export-gguf
GGUF is the format Ollama uses. This command produces a .gguf file ready for import. Note that GGUF export currently supports Mistral, Mixtral, and Llama model architectures at fp16 precision.
Step 3: Create an Ollama model
Create a Modelfile that points to your GGUF:
# Modelfile
FROM ./my-fused-model.gguf

PARAMETER temperature 0.7
PARAMETER top_p 0.9

SYSTEM "You are a SQL expert. Generate correct SQL queries from natural language questions."
Then build and run:
ollama create my-sql-model -f Modelfile
ollama run my-sql-model
Your fine-tuned model is now running locally through Ollama, accessible via its API on localhost:11434. You can integrate it with any application that supports the OpenAI-compatible API format.
Frequently Asked Questions
Can I fine-tune on an M1 Mac?
Yes. MLX supports all Apple Silicon chips from M1 onward. The M1 is slower and has less memory bandwidth than newer chips, but it works. Stick to 3B models or quantized 7B models on M1 with 16GB, and use the memory-saving flags (batch-size 1, num-layers 4, grad-checkpoint).
How long does training take?
It depends on your model size, dataset, and hardware. As a rough benchmark: 1,000 iterations on a 7B model with 100 training examples takes about 10 minutes on an M3 Pro with 36GB. Quantized models on older chips take 2-3x longer. Most first fine-tunes finish in under 30 minutes.
What if I run out of memory during training?
Reduce batch-size to 1, drop num-layers to 4, enable –grad-checkpoint, and use a quantized model from mlx-community. If that is still not enough, try a smaller base model (3B instead of 7B). Close other applications to free up unified memory.
Can I share my fine-tuned model?
Yes. You can upload fused models to HuggingFace directly using the –upload-repo flag with mlx_lm.fuse. You can also share GGUF files through Ollama’s model library or distribute the adapter files separately (they are only a few MB).
What is the difference between LoRA and QLoRA?
LoRA trains small adapter matrices on a full-precision model. QLoRA does the same thing but on a 4-bit quantized model, using much less memory with minimal quality loss. In MLX, QLoRA happens automatically when you use a quantized base model from mlx-community. You do not need to configure anything extra.
Summary
Fine-tuning an LLM on your Mac is no longer a theoretical exercise. With MLX and LoRA, you can go from a generic base model to a specialized tool in under 30 minutes, all running locally on hardware you already own. No cloud GPU bills. No data leaving your machine.
The workflow is straightforward: install mlx-lm, download a model, prepare your training data as JSONL, run mlx_lm.lora, and test. When you are happy with the results, fuse the adapters, convert to GGUF, and run your model through Ollama for daily use.
If you are new to running models locally, check out our beginner guide to Ollama and LM Studio first. Already comfortable with local AI? Explore how vibe coding with AI tools can accelerate your development workflow.