⚡ Quick Answer
The Mac Mini M4 is one of the best home servers you can buy. It idles at 3-4 watts, runs silent, has hardware-accelerated media transcoding, and costs $549. Install Plex natively (not in Docker) for the best transcoding performance, enable Screen Sharing for headless access, and use Tailscale for remote connectivity.
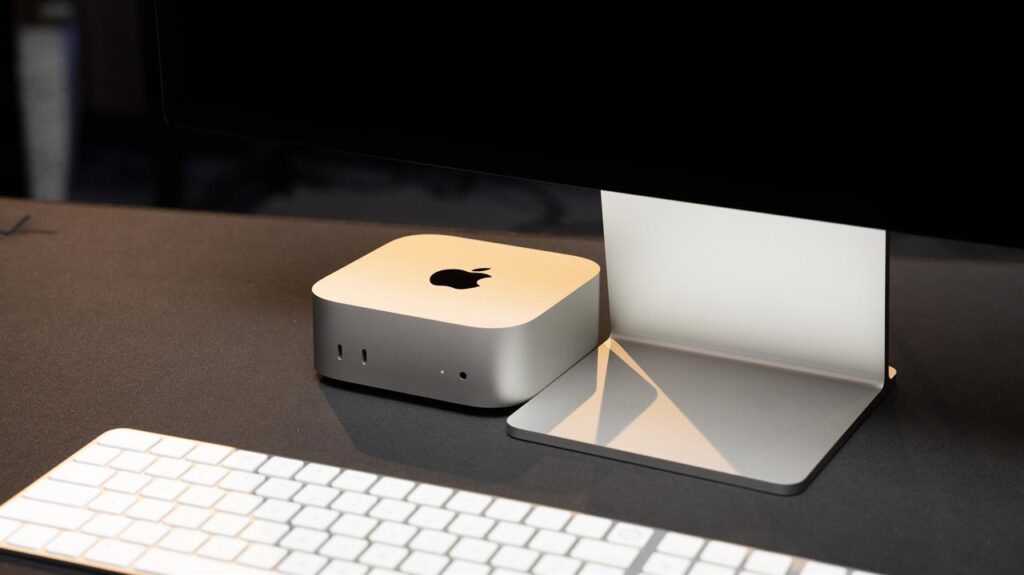
The Mac Mini M4 is quietly becoming one of the most popular home server platforms, and for good reason. It draws less power than a nightlight at idle, runs completely silent, and packs a hardware media engine that handles Plex transcoding without breaking a sweat.
This guide walks you through everything from unboxing to running a 24/7 home server with Plex, file sharing, Time Machine backups, and remote access.
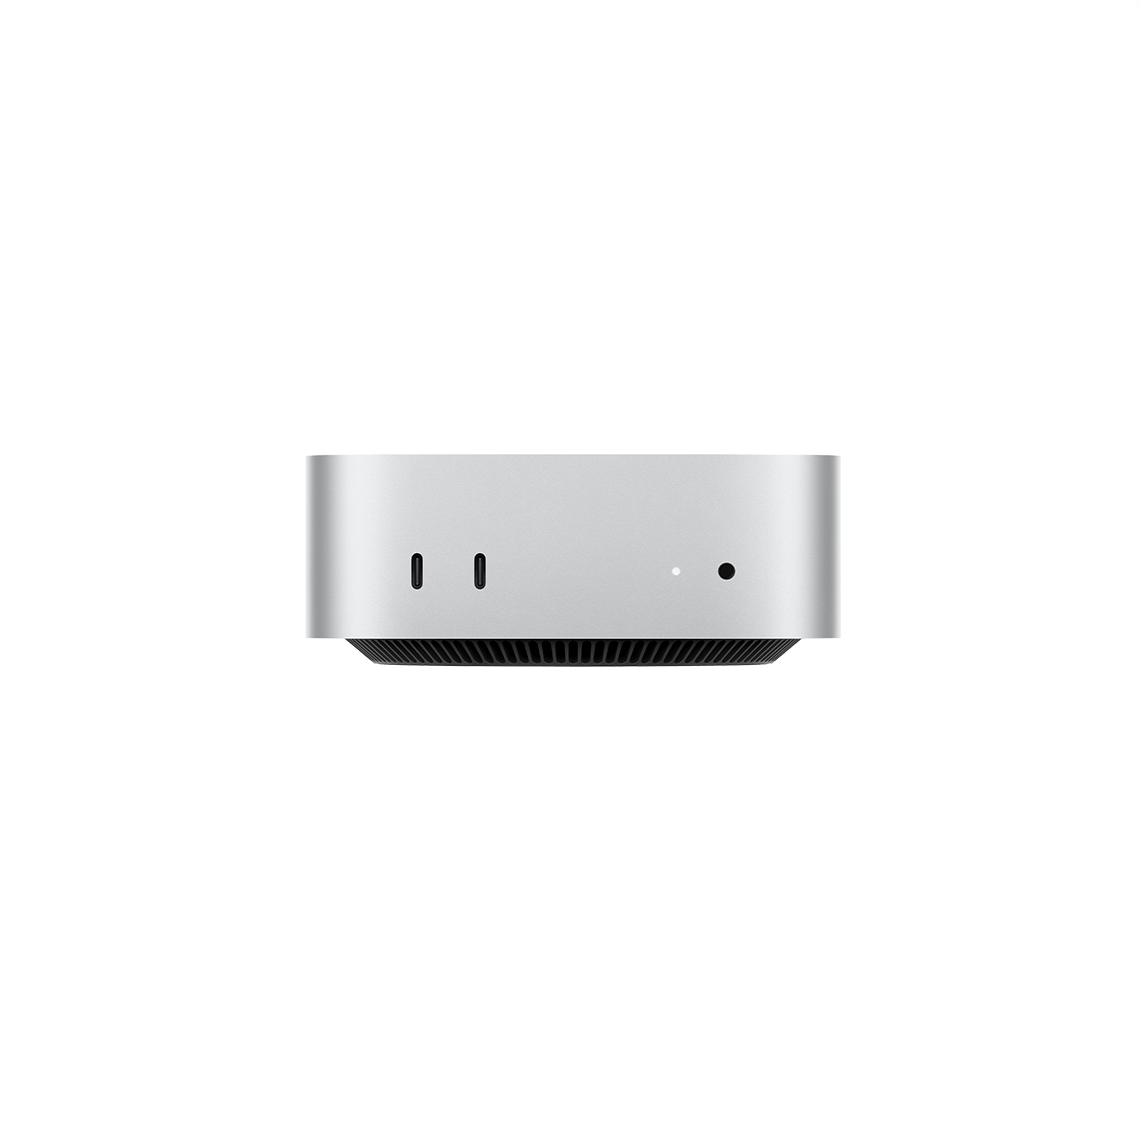
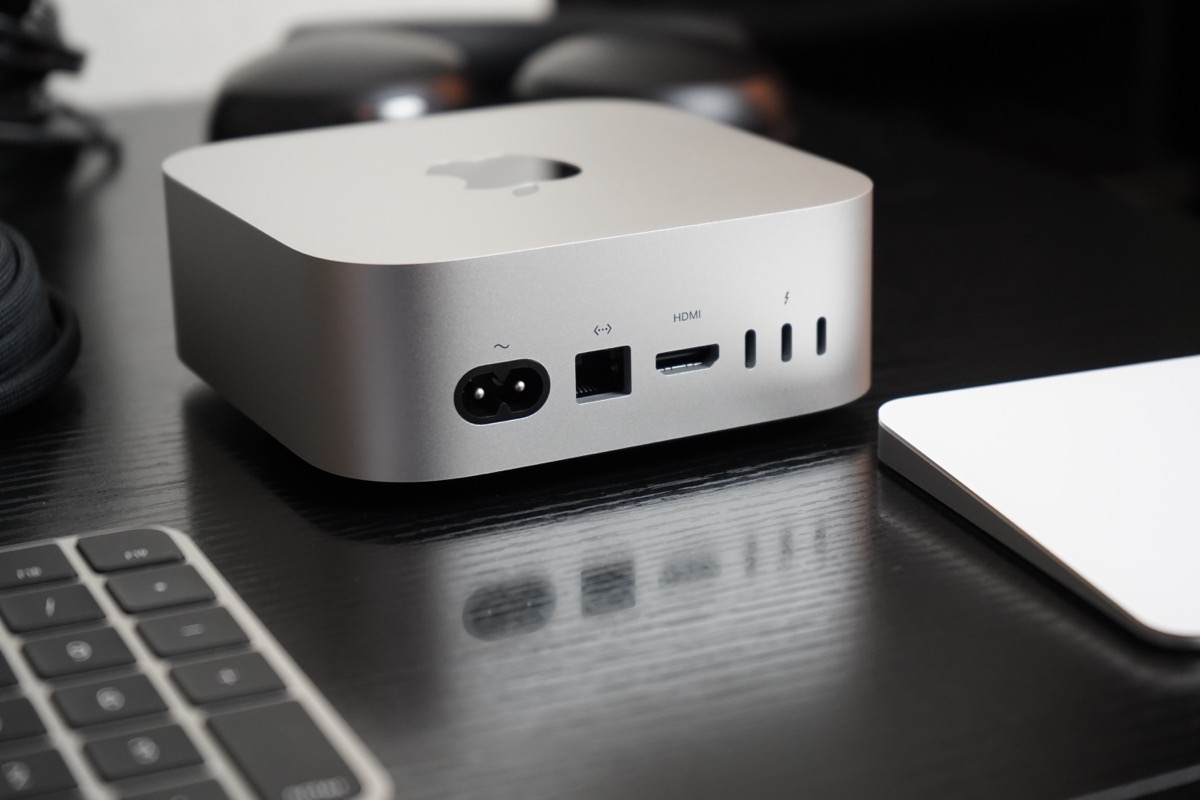
The base Mac Mini M4 is all most home server users need. 10-core CPU, 10-core GPU with hardware media engine, 16GB unified memory, and Thunderbolt 4 connectivity. The 256GB internal SSD is fine since your media lives on external drives.
Why the Mac Mini M4 Makes a Great Home Server
Home servers need to run 24/7, which means power consumption and noise matter more than raw performance. The Mac Mini M4 excels at both.
Power efficiency: The M4 idles at just 3-4 watts. For comparison, a typical Intel NUC idles at 10-15 watts, and a full desktop server pulls 40-80 watts at idle. Over a year, that difference adds up to real money on your electric bill.
Silent operation: At idle and light loads, the Mac Mini M4 is effectively silent at 5 dBA. You can put it in a living room or bedroom without noticing it.
Hardware media engine: The M4 includes dedicated hardware for encoding and decoding H.264, HEVC, ProRes, and AV1. This means Plex transcoding uses the media engine instead of the CPU, handling multiple simultaneous streams without slowing down.
Reliability: macOS is rock-solid for always-on operation. With the right settings, your Mac Mini will restart itself after power outages and keep running indefinitely.
What You Need Before Starting
The base model is enough. The $549 Mac Mini M4 with 16GB RAM and 256GB SSD handles home server duties just fine. Your media library lives on external storage, so the small internal SSD is not an issue.
Consider upgrading if:
- 32GB RAM — Only if you plan to run many Docker containers or virtual machines simultaneously
- 10Gb Ethernet — Only if your network supports it and you transfer large files frequently
- 512GB+ SSD — Only if you want to store databases or Docker volumes internally
Essential accessories:
- External storage: A USB-C or Thunderbolt SSD/HDD for your media library. A 4TB+ external drive is the sweet spot for most users
- Ethernet cable: Wired connection is non-negotiable for a server. Wi-Fi adds latency and drops
- HDMI dummy plug ($8-10): Tricks macOS into thinking a display is connected, which prevents resolution issues during remote access
- UPS (optional but recommended): A small uninterruptible power supply protects against power fluctuations and gives clean shutdowns
Initial Setup for Headless Operation
A headless server runs without a keyboard, mouse, or monitor. Here is how to configure your Mac Mini for remote-only management.
Step 1: Complete Initial Setup
Connect a monitor, keyboard, and mouse for the first-time setup. Create your user account, connect to your network via Ethernet, and install any macOS updates.
Step 2: Enable Remote Access
Go to System Settings → General → Sharing and enable:
- Screen Sharing — Lets you control the Mac Mini remotely from another Mac (use the built-in Screen Sharing app) or from any device via VNC
- Remote Login — Enables SSH access for terminal commands
- File Sharing — We will configure this later
Step 3: Configure Auto-Login
Go to System Settings → Users & Groups → Automatic login and select your user account. This ensures the Mac Mini boots directly to your desktop after power outages.
Step 4: Set Energy Settings
Go to System Settings → Energy and configure:
- Start up automatically after a power failure: ON
- Prevent automatic sleeping when the display is off: ON
- Wake for network access: ON
Step 5: Plug In the HDMI Dummy Plug
With these settings configured, disconnect the monitor and plug in the HDMI dummy plug. You can now manage everything through Screen Sharing or SSH.
Installing Plex: Native vs Docker
This is the most common question in every Mac Mini server thread, and the answer is clear: install Plex natively, not in Docker.
Why native? Docker Desktop on macOS runs inside a Linux virtual machine. That VM does not have access to the M4’s hardware media engine. This means all transcoding happens in software on the CPU — slower and less efficient. Native Plex can use the hardware media engine directly for fast, low-power transcoding.
Installation:
- Download the Plex Media Server from plex.tv
- Install and open it — Plex will appear in your menu bar
- Point it at your external media drive
- Access the web interface at
localhost:32400/web
Plex will launch automatically at login and run in the background. With the M4’s media engine, it can handle multiple 4K transcodes simultaneously.
File Sharing and Time Machine
File Sharing
macOS has built-in file sharing that works well enough for most home server needs. In System Settings → General → Sharing → File Sharing, add the folders you want to share. Other Macs on your network will see them in Finder automatically.
For Windows devices, enable the SMB option in File Sharing settings.
Time Machine Server
You can turn your Mac Mini into a Time Machine destination for every Mac in your house. In File Sharing settings, select a shared folder and enable “Share as Time Machine backup destination.” Other Macs can then select your Mac Mini as their Time Machine backup drive over the network.
Remote Access with Tailscale
Tailscale creates a private VPN between your devices with zero configuration. It is the simplest way to access your home server from anywhere.
- Download Tailscale from tailscale.com on your Mac Mini and your other devices
- Sign in with the same account on all devices
- Your devices are now on a private network — access your Mac Mini by its Tailscale IP from anywhere
With Tailscale running, you can Screen Share into your Mac Mini from a coffee shop, SSH in from your phone, or stream Plex remotely — all through an encrypted connection without opening ports on your router.
Running Docker Services
While Plex should run natively, Docker Desktop is still great for other services that do not need GPU access.
Install Docker Desktop from docker.com. Make sure to download the Apple Silicon version.
Good candidates for Docker on Mac Mini:
- Homebridge — Adds HomeKit support to non-Apple smart home devices
- Pi-hole — Network-wide ad blocking
- AudioBookShelf — Self-hosted audiobook and podcast server
- Uptime Kuma — Monitor your websites and services
- Calibre-Web — eBook library and server
Configure Docker Desktop to start at login so your containers come back after restarts.
Power Efficiency and Always-On Tips
The Mac Mini M4 is already one of the most power-efficient servers available, but a few extra steps ensure reliable 24/7 operation:
- Use a UPS: Even a small $50-80 UPS protects against power surges and gives your Mac Mini time to shut down cleanly during outages
- Auto-restart after power failure: Already configured in the energy settings above — your Mac Mini will boot back up when power returns
- Schedule maintenance restarts: Consider a weekly restart via System Settings → Energy → Schedule to keep macOS fresh
- Monitor temperatures: The Mac Mini M4 runs so cool that overheating is not a real concern, but apps like Stats (free, open-source) let you keep an eye on things
FAQ
Should I use Docker or install services natively?
Use native installs for anything that benefits from hardware acceleration (Plex, HandBrake). Use Docker for everything else — it keeps services isolated and easy to manage. The key limitation is that Docker on macOS cannot access the M4’s GPU or media engine.
Do I need 32GB RAM?
For most home server use (Plex, file sharing, a few Docker containers), 16GB is plenty. Only upgrade to 32GB if you plan to run many containers simultaneously or use virtual machines.
Can the Mac Mini M4 replace a NAS?
Partially. It handles media serving and file sharing well, but it lacks the multi-bay drive support and RAID options of a dedicated NAS like Synology. For large media libraries (20TB+), you may want a NAS for storage with the Mac Mini running services on top.
How much does it cost to run 24/7?
At 3-4 watts idle and an average electricity rate of $0.15/kWh, running the Mac Mini M4 around the clock costs roughly $4-5 per year. Even under moderate load, annual power costs stay under $15.
Last updated: February 2026