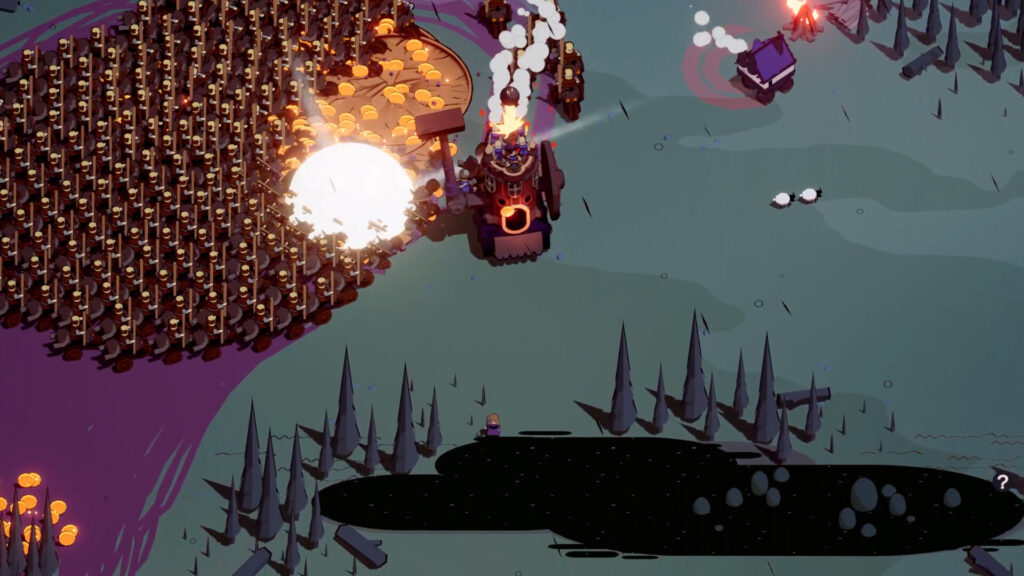
Wanderburg best builds start with one damage engine, then add the movement and survival support that keeps it working. Turrets are safest. Mines and mortars adapt early.
This guide covers five build families for the Early Access launch build, checked against launch evidence on September 10, 2026. Demo evidence stays marked.
Key Takeaways
- Strongest complete build: Combine Turret Layer, Archer Tower, and Side Ballista for damage while retreating.
- Strongest early build: Combine Mine Layer and Top Mortar for coverage without rare support pieces.
- Boss damage: Cannon and ram builds hit hard, but both need good movement and weapon alignment.
- Upgrade order: Improve the main damage engine before spending levels on secondary weapons.
- Early Access limit: Balance can change quickly, so treat each setup as a build family.
How Wanderburg Builds Work
Every strong build needs one primary damage source, supported by matching modules, captains, crew, artifacts, and castle movement. Start there.
Module position matters because every weapon attacks through a fixed arc that changes how you approach and leave each fight. Front weapons reward direct approaches. Side weapons need broadside passes, while rear mines punish pursuit.
- Damage engine: Choose turrets, mines, cannons, ram damage, or fire effects.
- Uptime support: Add range, cooldown, activation, or coverage upgrades for that engine.
- Movement support: Add speed, Dash, Nitro, or turning help when positioning limits damage.
- Survival support: Add repair, regeneration, health, or crowd control after the engine works.
Vehicle slots can block a planned combination. Check them first. Read the available positions before committing several levels to one module type.
The same drafting principle drives synergy-first roguelike builds, where each new choice must support the pieces already working. Build connections.
Wanderburg Best Builds: Quick Rankings
| Rank | Build | Core Modules | Strongest Use | Main Limit |
|---|---|---|---|---|
| 1 | Turret and Arrow | Turret Layer, Archer Tower, Side Ballista | Safe scaling and boss control | Needs several developed unlocks |
| 2 | Mine and Mortar | Mine Layer, Top Mortar | Early progression and pursuit damage | Fast targets can leave damage zones |
| 3 | Ram and Dash | Front Ram, Dash | Burst damage against isolated targets | Steering errors cost health |
| 4 | Cannon Broadside | Cannon Tower, Front Cannon, Side Cannon | Direct boss damage | Firing arcs demand careful positioning |
| 5 | Fire Control | Fire Mage, Top Mortar | Area damage and crowded fights | Weak drafts can split damage scaling |
These rankings favor repeatable damage and safe positioning across the incomplete drafts that a normal run produces. Perfect runs differ.
The Steam page lists the September 8, 2026 Early Access launch. The developer also said the launch build changed significantly from the retired demo.
SteamDB recorded 9,858 concurrent players on September 10, two days after the game entered Early Access. Track its position through our Steam player-count tracker.
1. Turret and Arrow Build
The Turret and Arrow build offers the safest complete plan because Turret Layer keeps attacking while you retreat. Stay mobile.
- Core modules: Turret Layer, Archer Tower, and Side Ballista.
- Optional front slot: Add a Ram when the vehicle provides a useful front position.
- Upgrade first: Improve Turret Layer damage and cooldown.
- Upgrade second: Improve Archer Tower range and damage.
- Upgrade last: Treat Side Ballista as infantry cleanup unless it starts carrying the run.
Drop turrets before the boss reaches you, then turn away while the turrets and Archer Tower keep applying damage. Keep distance.
One documented launch-build run used this core through a long draft. Results vary.
2. Mine and Mortar Build
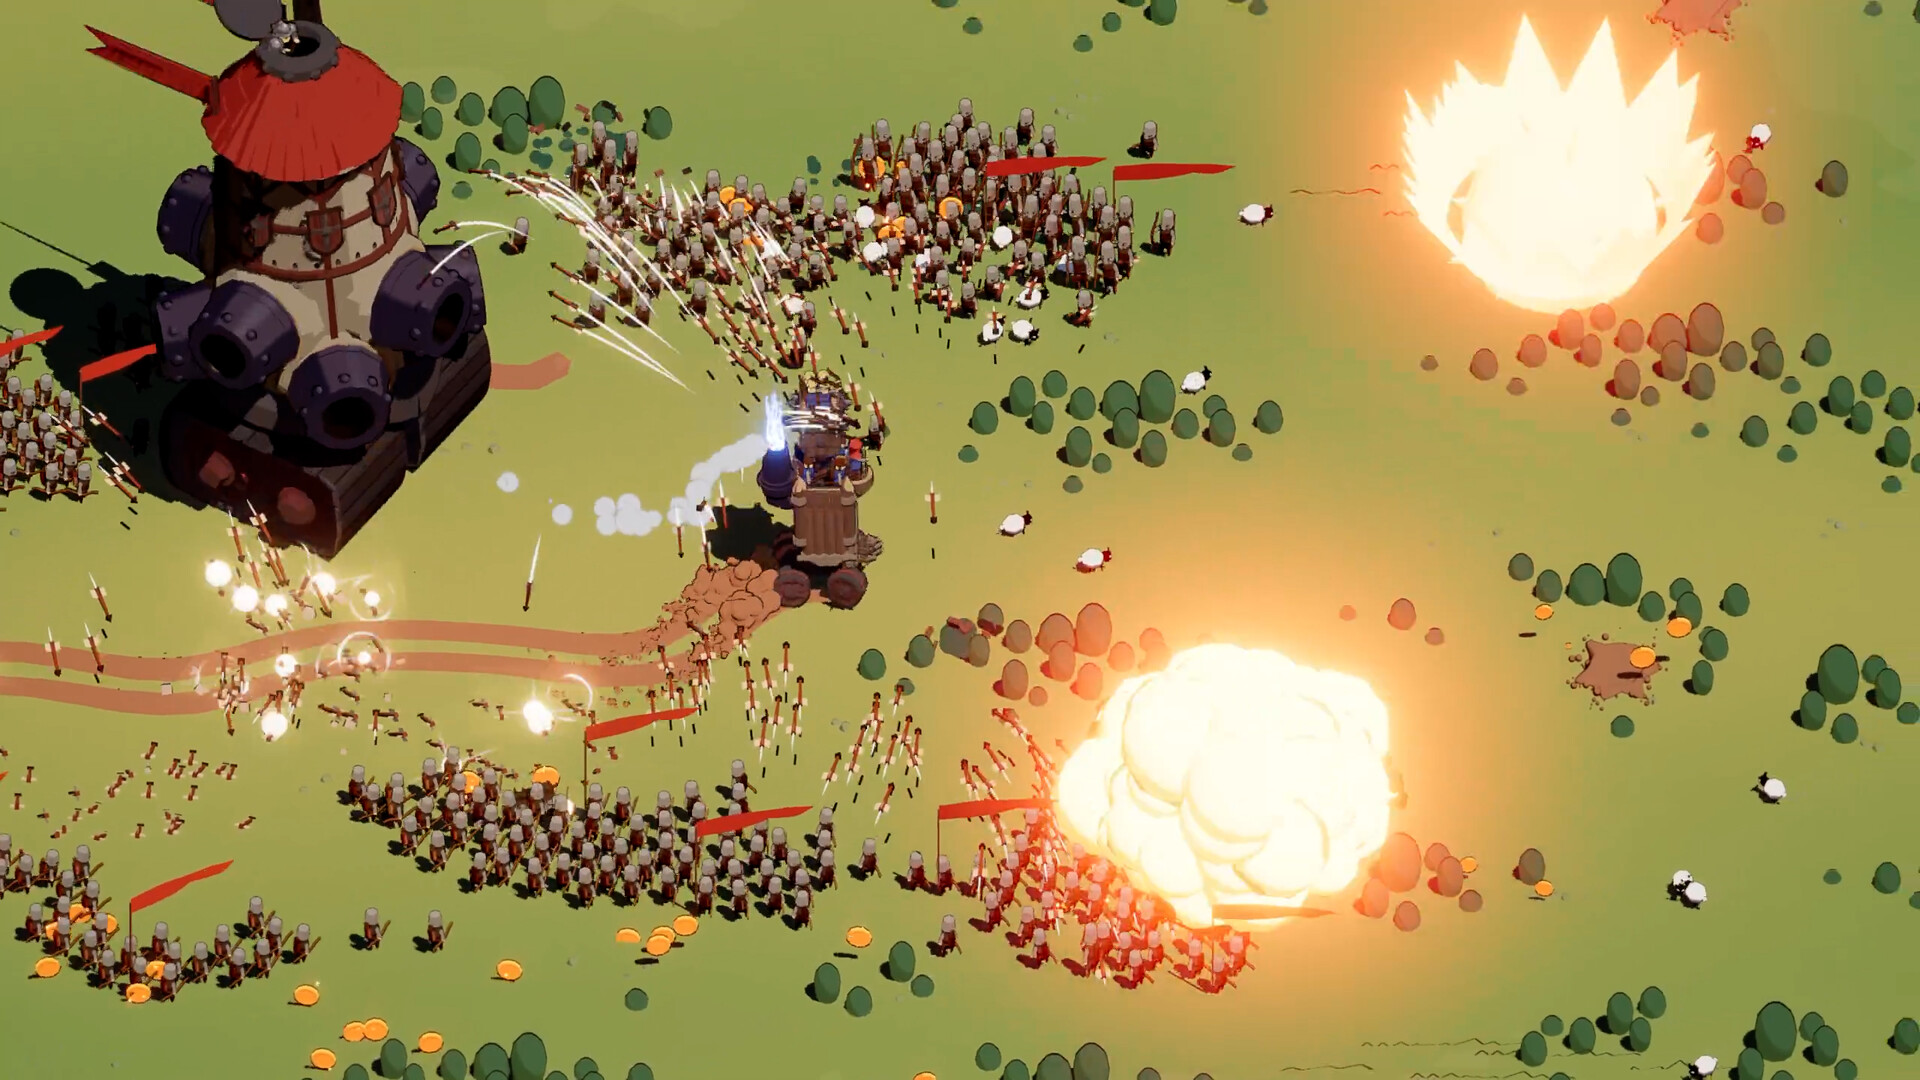
Mine Layer and Top Mortar form the most practical early foundation, damaging groups without forcing a head-on approach. Keep moving.
- Core modules: Mine Layer and Top Mortar.
- Flexible slot: Add Side Ballista or another weapon covering your weakest arc.
- Upgrade first: Improve mine damage and deployment uptime.
- Upgrade second: Improve mortar damage and coverage.
- Movement goal: Stay ahead of large groups and lead them across your damage zones.
Mines punish anything chasing the castle, while mortars pressure enemies outside your immediate weapon arc. Use both zones.
The build loses value when quick enemies escape its damage zones, so add speed before adding another weak weapon. Do not chase.
3. Ram and Dash Build
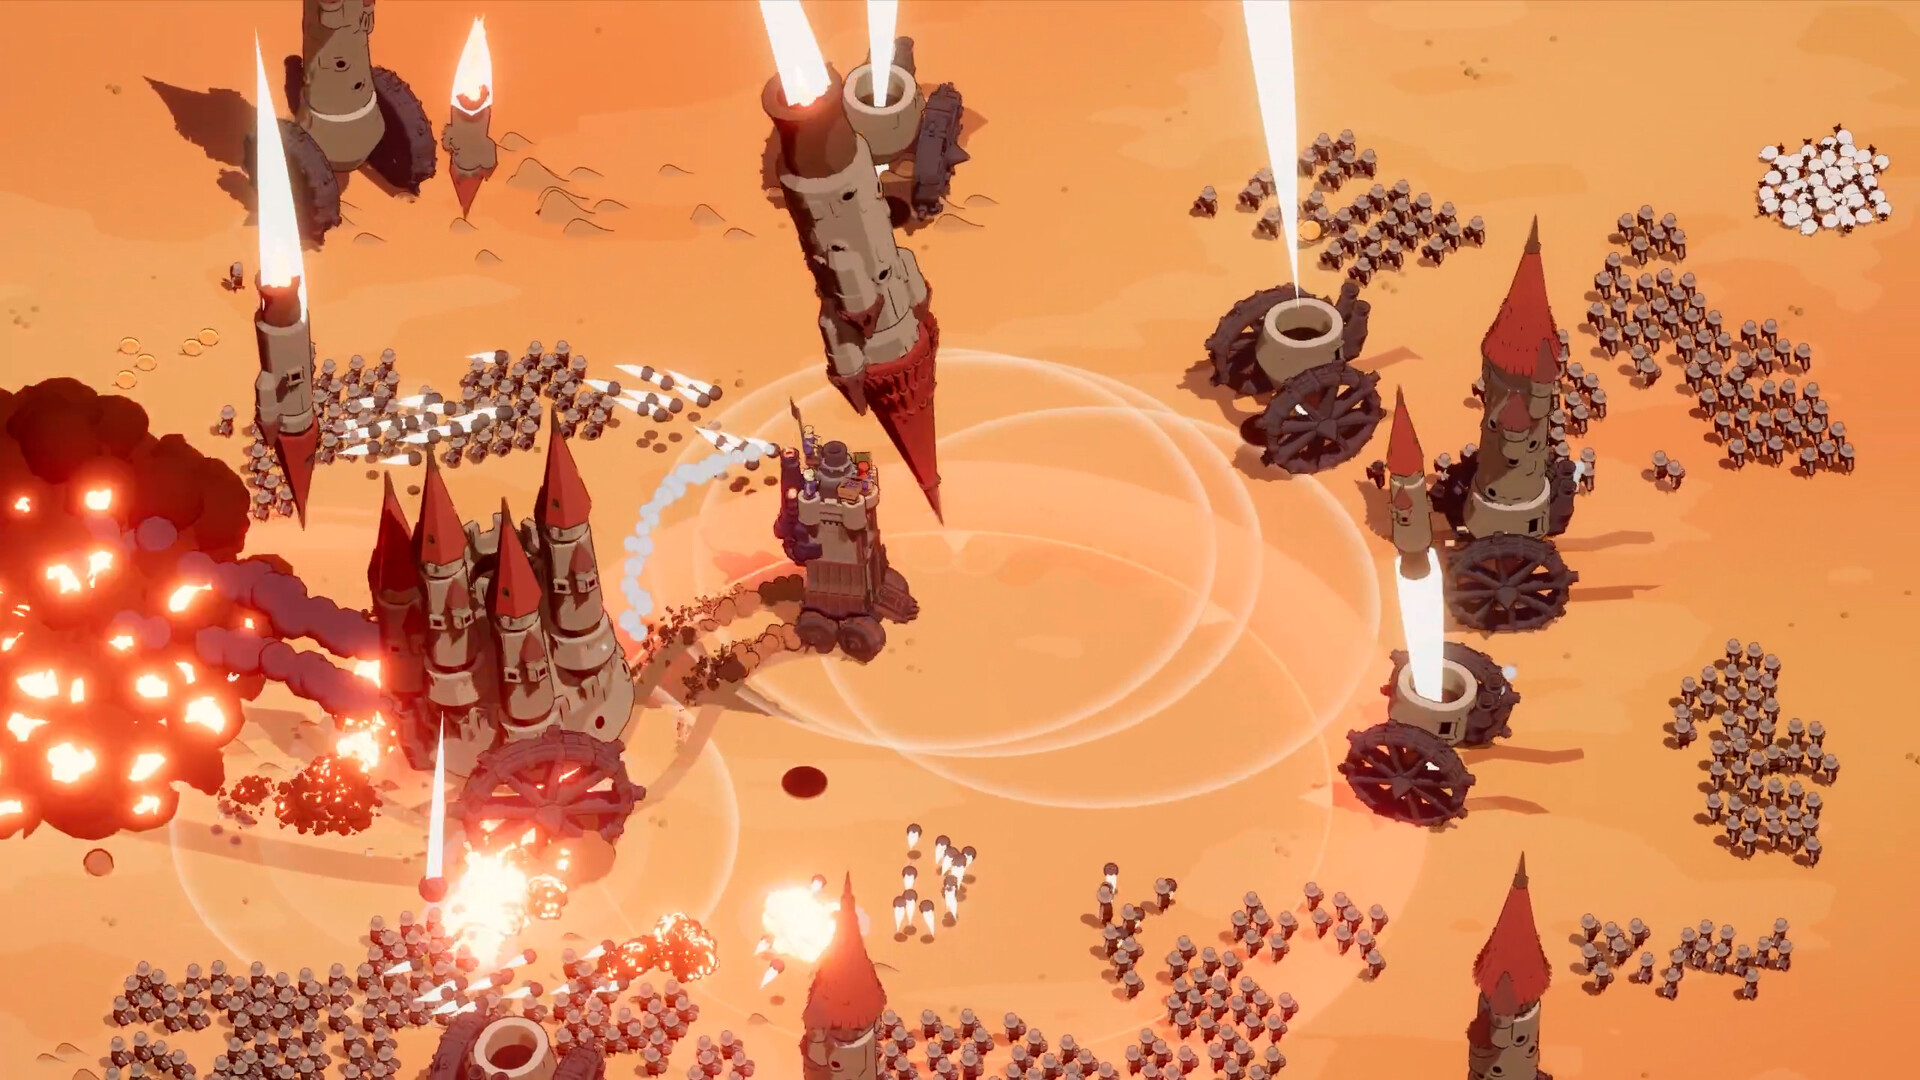
The Ram and Dash build converts movement into direct impact damage against isolated targets before nearby groups can close. Aim first.
- Core modules: Front Ram and Dash.
- Captain support: Dieter The Drunk appeared in the documented demo build.
- Crew support: Use regeneration or repair support to recover from missed charges.
- Artifact support: Favor melee damage, speed scaling, or full-health opening damage.
- Upgrade order: Improve ram damage, then speed, Dash uptime, and recovery.
Start each charge with enough room to turn, then use Dash after alignment to protect the planned impact angle. Commit late.
The named Dieter The Drunk combination came from the demo, which changed before the Early Access launch. Confirm each piece.
4. Cannon Broadside Build
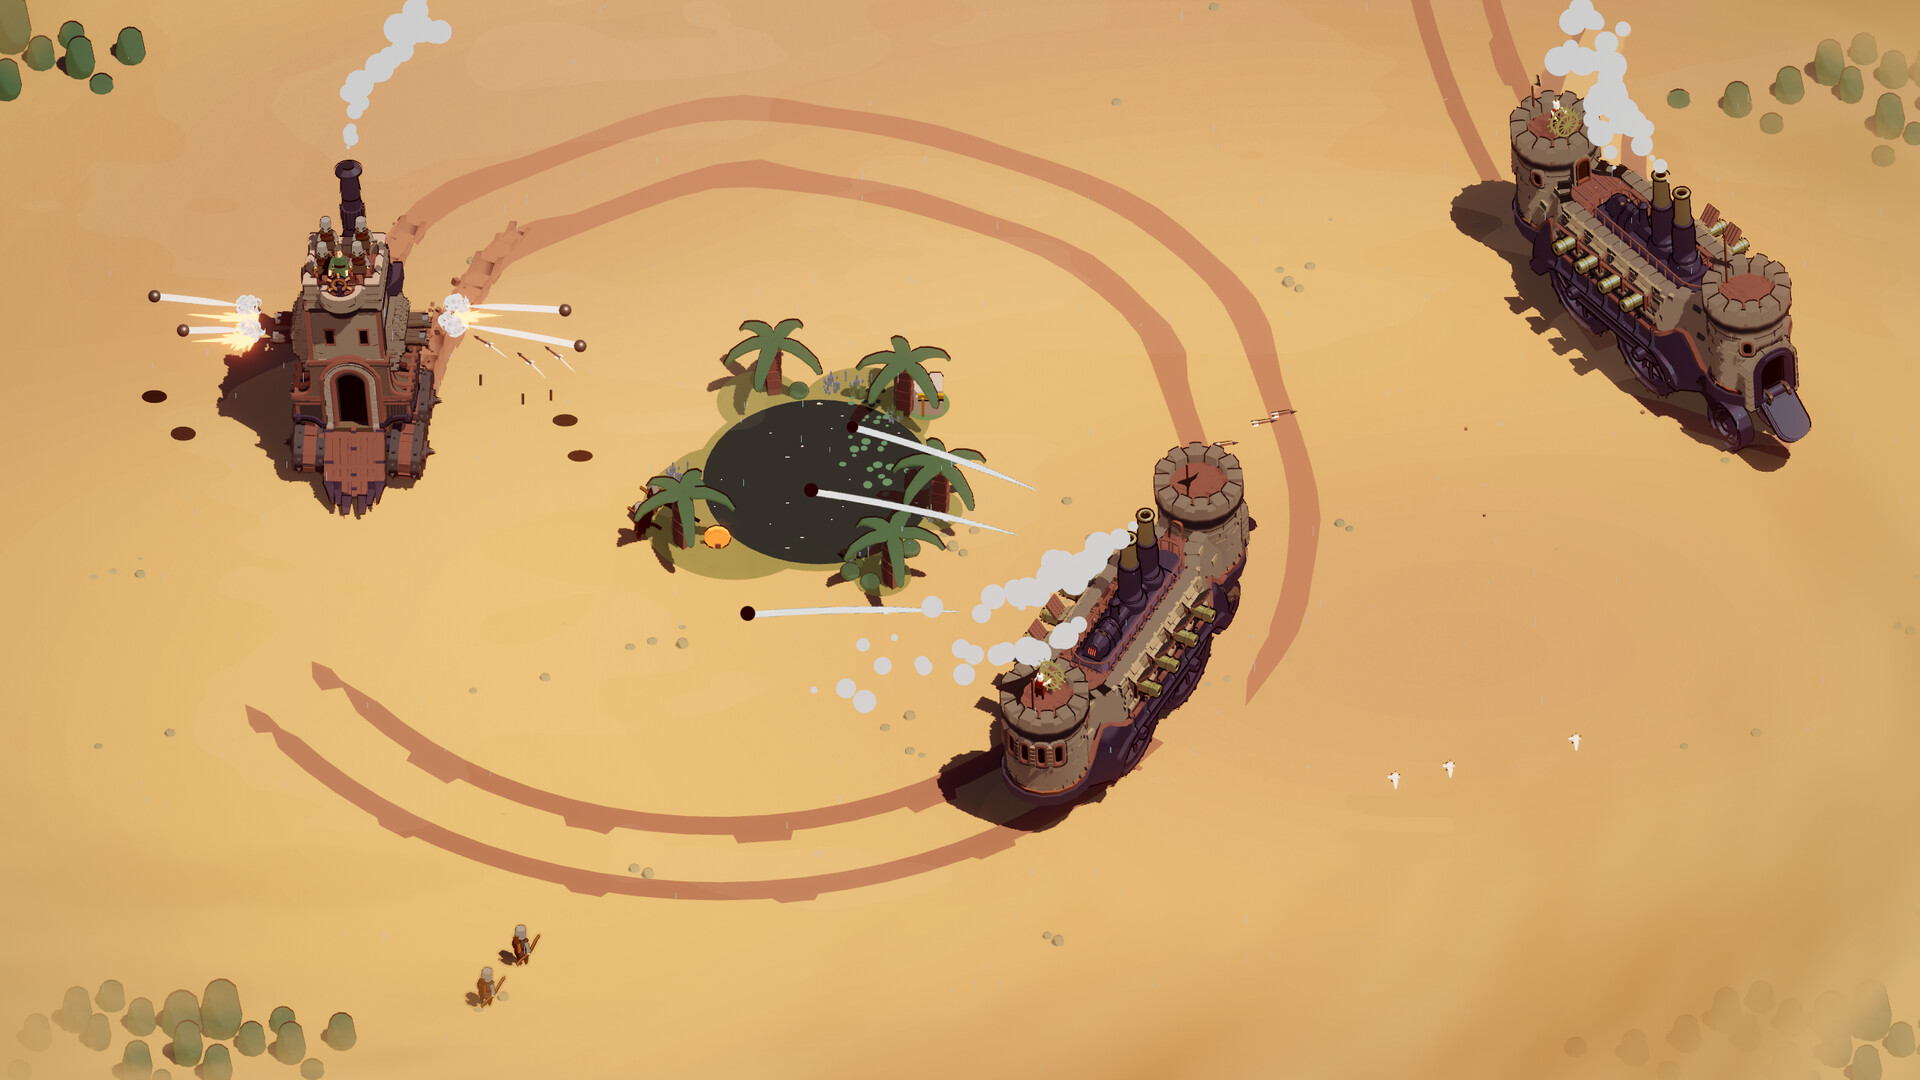
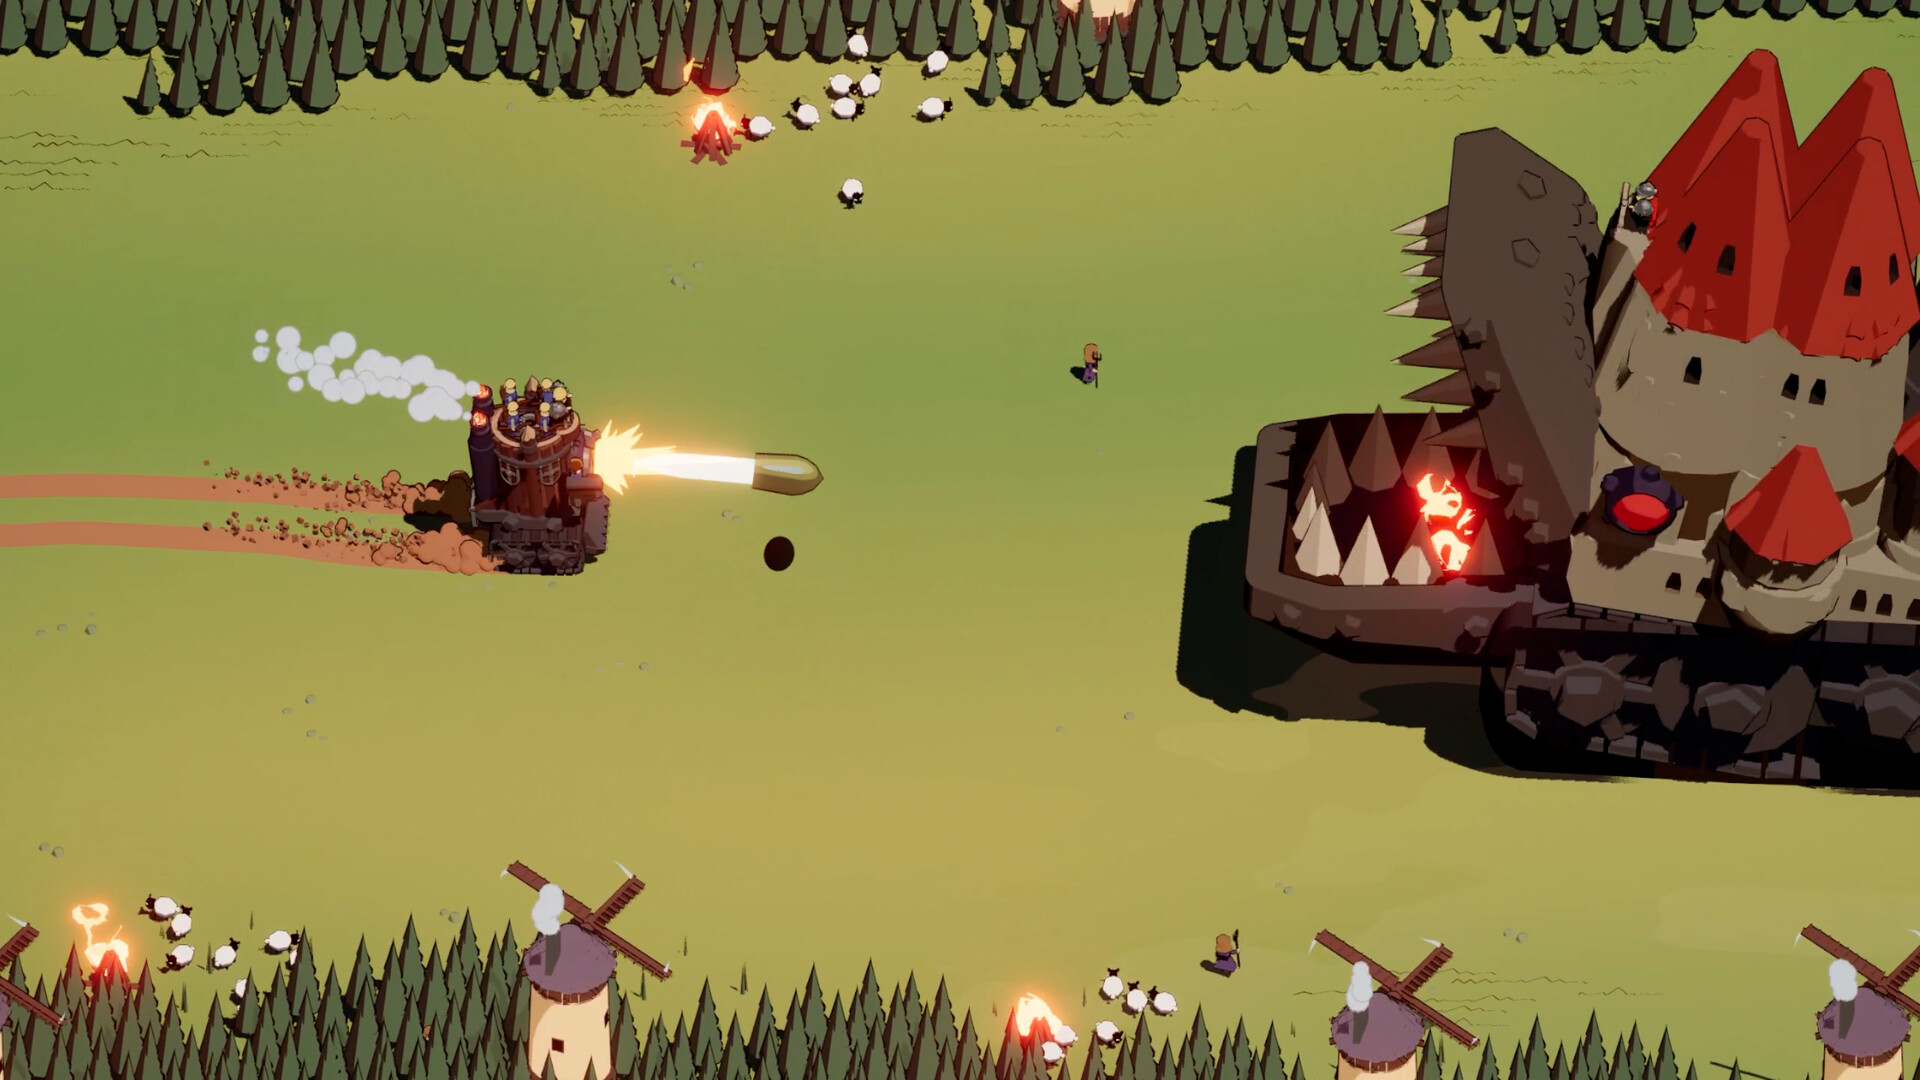
The Cannon Broadside build focuses several weapon arcs on one boss when you can control both range and alignment. Position carefully.
- Core modules: Cannon Tower, Front Cannon, and Side Cannon.
- Upgrade first: Improve cannon damage and crew damage.
- Upgrade second: Improve movement enough to circle shields and keep the correct firing arc.
- Ability support: Favor active abilities when your current effects restore attack speed or improve uptime.
- Flexible upgrade: Take coverage upgrades after the cannon damage core works.
Approach with the Front Cannon, then turn into a broadside before the enemy castle can trap your weaker side. Leave early.
One documented launch run cleared a Golden Dunes map with this core and careful shield positioning. Conditions matter.
5. Fire Control Build
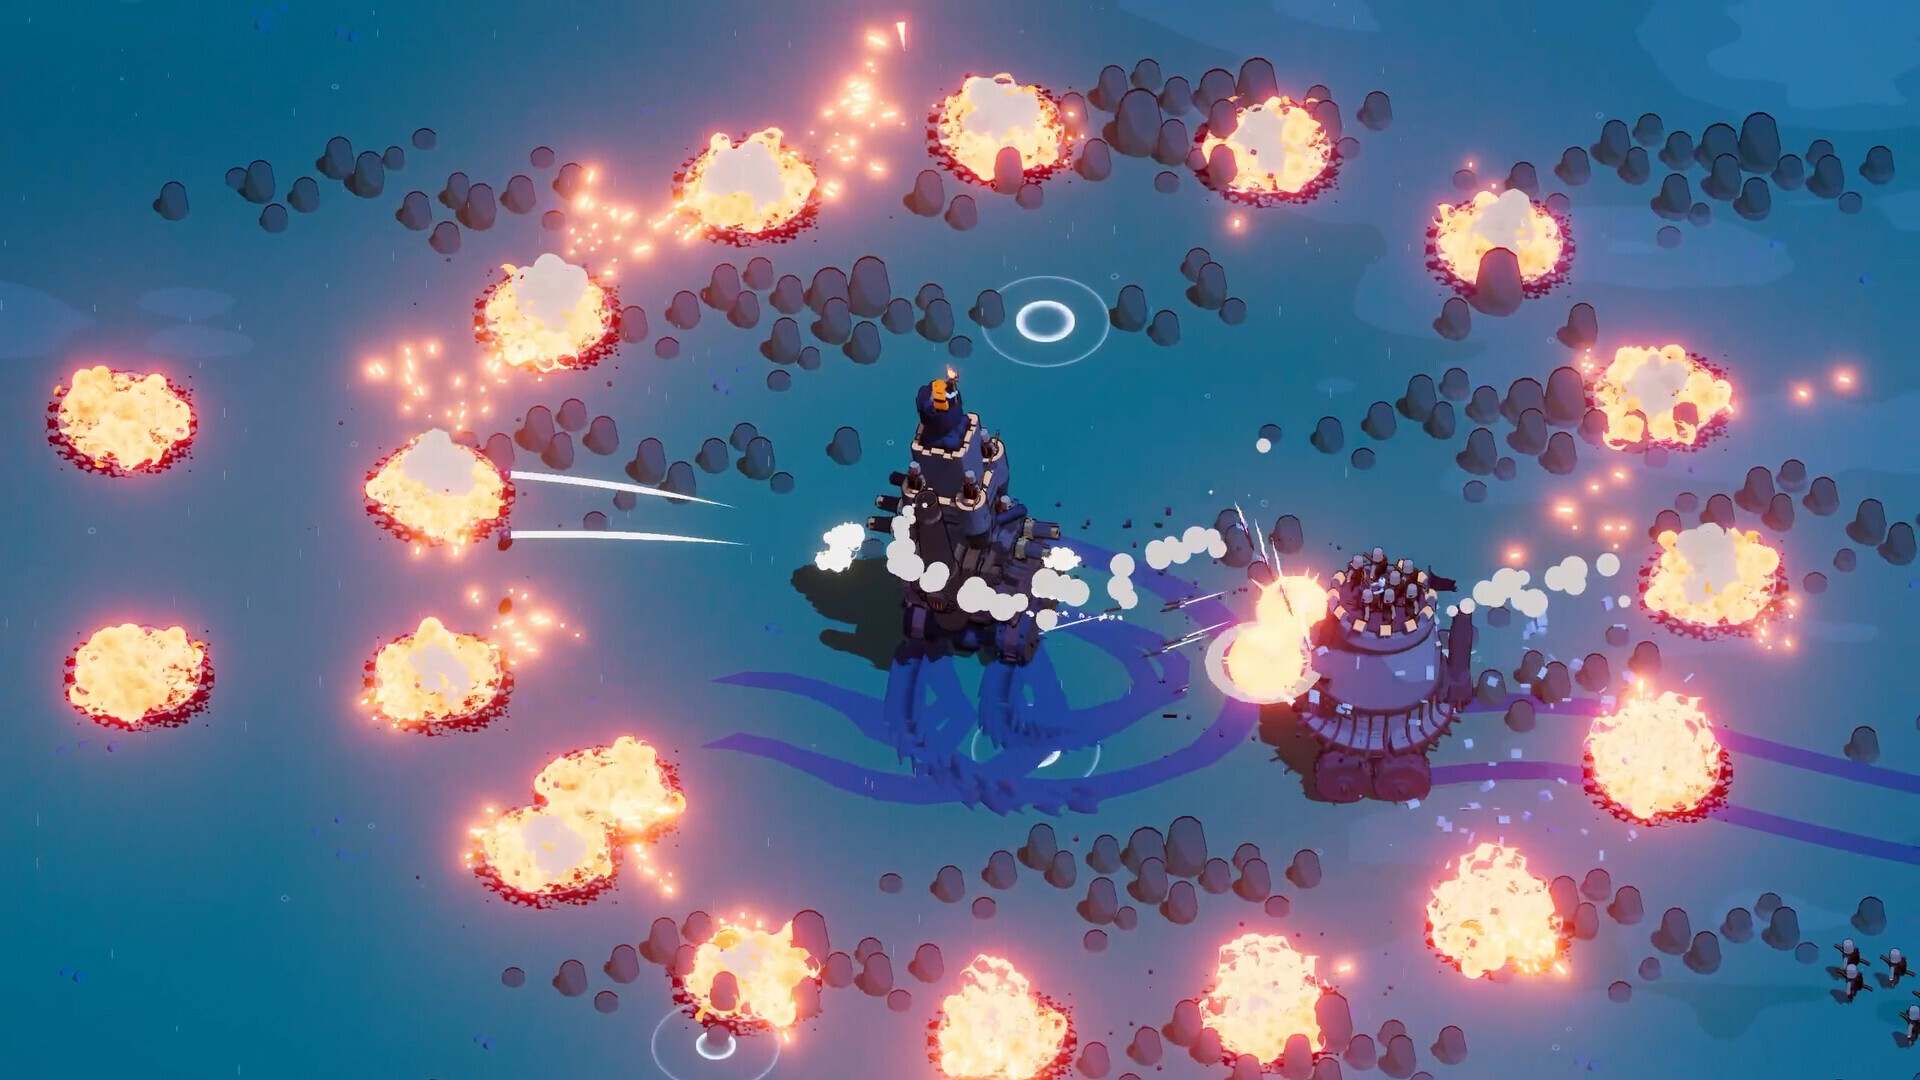
The Fire Control build uses repeated area damage against dense groups and another reliable module to cover its downtime. Circle wide.
- Core support: Use Fire Mage.
- Coverage module: Add Top Mortar for damage outside the nearest fire zone.
- Captain support: Choose The Count for healing or Pyromaniac for contact fire.
- Upgrade first: Improve the source already applying most of your area damage.
- Upgrade second: Add cooldown, movement, or repair according to the current threat.
Circle large formations instead of driving through their center, keeping enemies inside overlapping fire and mortar zones. Avoid contact.
Fire drafts can split into unrelated effects when every offered flame receives an upgrade. Scale the current leader.
How to Pivot Mid-Run
A fixed recipe fails when the draft never offers its missing piece, so judge the modules already dealing damage. Pivot early.
- Identify the leader: Find the module that handles ordinary groups without help.
- Improve its uptime: Add damage, range, cooldown, or the movement needed to keep it firing.
- Cover one weakness: Add survival, a missing weapon arc, or boss damage.
- Reject dead picks: Skip upgrades that require unavailable slots or an unrelated damage engine.
Suppose the run offers strong Mine Layer upgrades but no Top Mortar. Scale mines and add movement. Do not force mortar support.
The same principle appears in another deep roguelike build guide, where current drafts matter more than planned lists. Adapt.
Captain, Crew, and Artifact Priorities
Support picks should solve the limit currently stopping your main damage engine from working across an entire fight. Fix that limit.
| Priority | Take It When | Useful Support |
|---|---|---|
| 1. Damage | Ordinary targets survive too long | Matching captain, crew damage, focused artifacts |
| 2. Uptime | The main weapon spends too long idle | Cooldown, range, activation, deployment |
| 3. Movement | You lose the needed firing angle | Speed, Dash, Nitro, turning support |
| 4. Survival | Contact damage ends otherwise strong runs | Repair, regeneration, health, control |
Patchy The Pirate supports cannon builds. The Count converts consumed units into healing. Match each captain carefully.
Do not take a named captain only because a completed build used it successfully in one recorded run. Match current modules.
What to Unlock First
Focused unlocks keep the draft pool easier to read because every added option can appear in later selections. Expand carefully.
- Unlock one early damage pair: Mine Layer and Top Mortar create a complete foundation.
- Add movement support: Unlock the options needed for pursuit, broadside turns, or ram charges.
- Add one developed engine: Build toward Turret Layer and Archer Tower after the early pair works.
- Expand carefully: Unlock specialized captains and artifacts after their matching modules become usable.
A Steam discussion reported weaker drafts after expansion, and a developer representative said the team would review that feedback. The outcome remains open.
Recommended Controls for Wanderburg
Wanderburg makes turning, aiming, and ability timing part of every build, so the selected controls should support all three tasks. Choose for comfort.

GameSir G7 Pro Wired Xbox Controller
Use analog steering with wired input and extra controls.

Logitech G305 Lightspeed Wireless Gaming Mouse
Keep a simple wireless setup with six buttons.

Logitech G502 Hero Wired Gaming Mouse
Assign active abilities across several accessible buttons.
The GameSir G7 Pro suits analog steering, while the Logitech G305 offers a simple wireless mouse. Pick an input style.
The Logitech G502 Hero offers more buttons, and all three listed prices were checked in September 2026. Prices can change.
Frequently Asked Questions
What is the strongest Wanderburg build?
Turret Layer, Archer Tower, and Side Ballista form the strongest complete build because they keep dealing damage while you retreat. Stay mobile.
What is the easiest early Wanderburg build?
Start with Mine Layer and Top Mortar because the pair covers groups and pursuit without needing many support unlocks. Keep moving.
Which Wanderburg build works best against bosses?
Cannon Broadside damages bosses when you maintain its firing arcs, while the Ram and Dash build delivers more burst. Position first.
Do Wanderburg unlocks dilute the draft pool?
More unlocks add more draft choices, and some players reported weaker drafts after broad expansion. The developer acknowledged the feedback.
Should you use a controller or mouse for Wanderburg?
Use the input method that gives you better turning control and comfortable access to every active ability. Test both.
Summary
Use Turret Layer and Archer Tower when your pool supports them, or start with Mine Layer and Top Mortar. Build around one core.
Ram, cannon, and fire builds work when the draft supplies their movement needs, so improve one damage engine first. Expand later.