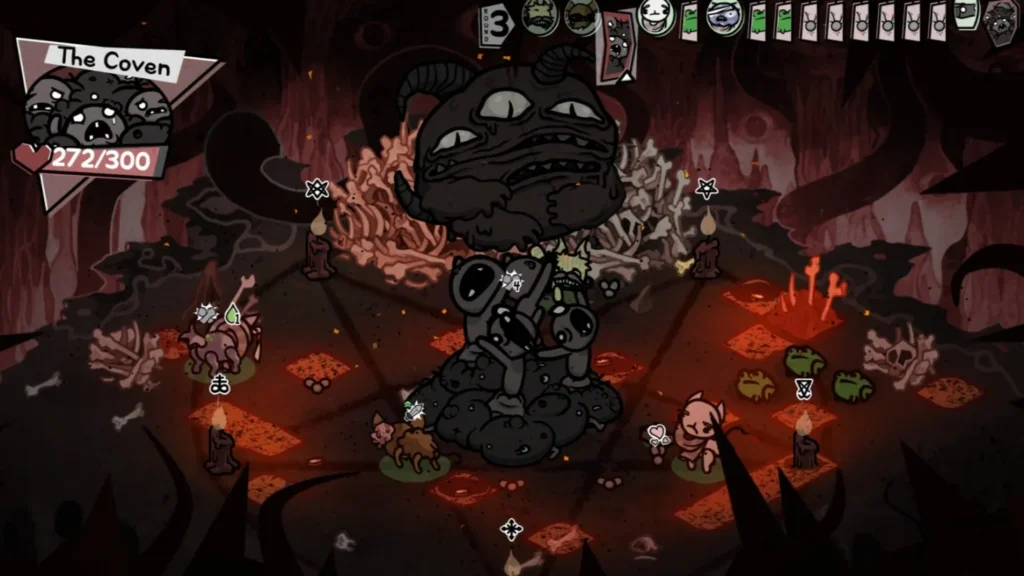
Mewgenics tells you almost nothing. No tutorials, no tooltips worth reading, no handholding. You boot up Edmund McMillen’s cat-breeding roguelike, poke around, and within 30 minutes you’re staring at a dead kitten wondering what went wrong. This Mewgenics beginner guide covers every system the game hides from you: stats, combat, breeding, classes, NPC donations, and the progression path through all three acts.
TL;DR
- HP = Constitution x 4. Mana = Charisma x 3. Memorize these two formulas.
- Backstabs deal +25% damage. Click to rotate your cats so enemies can’t hit them from behind.
- Exhaustion starts at Turn 10 and deals escalating unblockable damage. Finish fights fast.
- Food costs 1 per cat per day. Hoarding cats without food storage will starve your colony.
- Donate cats to Frank first for more rooms, then Butch for inventory space.
- Bring 3 cats, not 4. Fewer cats means faster individual leveling.
- Grass tiles give 50% dodge. Position your cats in grass whenever possible.
The Core Loop
Mewgenics runs on a day/night cycle. During the day, you pick up to 4 cats and send them on an adventure through procedurally generated tactical combat encounters. At night, you manage your house: arrange furniture, assign cats to rooms, and let them breed, fight, mutate, or die overnight.
The loop looks like this: Adventure > Earn Loot > Manage House > Breed Kittens > Adventure Again. Every cat that survives an adventure gains levels, items, and abilities. Cats that stay home breed, recover from injuries, or develop mutations. Cats you don’t need get donated to NPCs for permanent upgrades.
Each overnight phase costs 1 food per cat. If you can’t afford to feed everyone, cats go hungry and bad things happen. Keep your food supply in check, especially as your colony grows.
Cat Stats Explained
Every cat has 7 base stats, rolled between 3 and 7 at birth (with 3s and 7s being rarer). These stats determine everything from combat damage to breeding outcomes. Here’s what each one does:
| Stat | What It Does | Formula / Notes |
|---|---|---|
| Strength (STR) | Melee attack damage | 1 STR = ~1 melee damage |
| Dexterity (DEX) | Ranged/ability damage | 5 is neutral; every 2 points above 5 = +1 ranged damage |
| Constitution (CON) | Max HP and post-combat regen | HP = CON x 4 |
| Intelligence (INT) | Mana regen per turn | At 0 or below, event text turns into “cavespeak” |
| Speed (SPD) | Turn order and movement range | Higher SPD = move first, move farther |
| Charisma (CHA) | Max mana and starting mana | Mana = CHA x 3. Cats start combat with mana equal to CHA |
| Luck (LCK) | Crit chance and all RNG outcomes | 5 is neutral; each point above 5 = 10% chance to “roll again” |
The stats that matter most early on are Constitution (keeps your cats alive) and Speed (acting first wins fights). Charisma becomes important once you unlock mana-hungry classes like Mage and Druid. Luck is quietly the best late-game stat since it affects everything from crits to item drops.
⚡ Stat tip: Kittens inherit base stats only, not bonuses from items or collars. When breeding, look at the raw numbers.
Mewgenics Beginner Guide: Combat Essentials
Combat is turn-based tactics on a procedural isometric grid. Each cat gets one move action and one ability per turn. There are over 1,000 unique abilities and 900+ items in the game, so builds get wild fast. But the fundamentals stay the same.
Turn Order and Backstabs
Turn order is based on Speed. The turn order display sits in the top right corner. Hover over units to see exactly when they act.
Backstabs deal +25% bonus damage (rounded up). Position your cats behind enemies whenever possible. Just as important: click to rotate your cats at the end of their turn so enemies can’t backstab them. This is free and costs nothing. Do it every turn.
Mana Economy
Mana regenerates each turn based on Intelligence. Ending a turn without using an ability builds roughly 5+ mana on top of that. Catnip pickups on the battlefield restore 10 mana. Most normal abilities cost about 7 mana, so early fights often involve skipping a turn to bank enough mana for a strong ability.
Exhaustion (Turn 10)
On Turn 10, every unit gets Exhaustion: 1 unblockable damage per turn, increasing by 1 each subsequent turn. Healing and mana regen are also reduced. You cannot remove Exhaustion. This is the game telling you to stop stalling and finish the fight. If you’re regularly hitting Turn 10, your damage output needs work.
Environmental Interactions
The battlefield is interactive. Learn these interactions and you’ll win fights that should be impossible:
- Grass tiles give 50% dodge chance. This is massive. Always fight in grass when you can.
- Water makes units wet, extinguishes burning, and conducts electricity to all units standing in it.
- Fire burns enemies out of grass cover. Use it to deny positioning.
- Wet Hairballs grow grass on empty tiles and put out fires. Great for creating your own cover.
Leveling Up
After every fight, exactly 1 standing cat gains a level. The lowest-level eligible cat always gets priority (ties are random). Downed cats can’t receive levels. This means bringing 3 cats instead of 4 results in faster individual leveling, since upgrades aren’t split across a larger group. It’s a real tradeoff worth considering, especially in the early acts.
All 14 Classes and How to Unlock Them
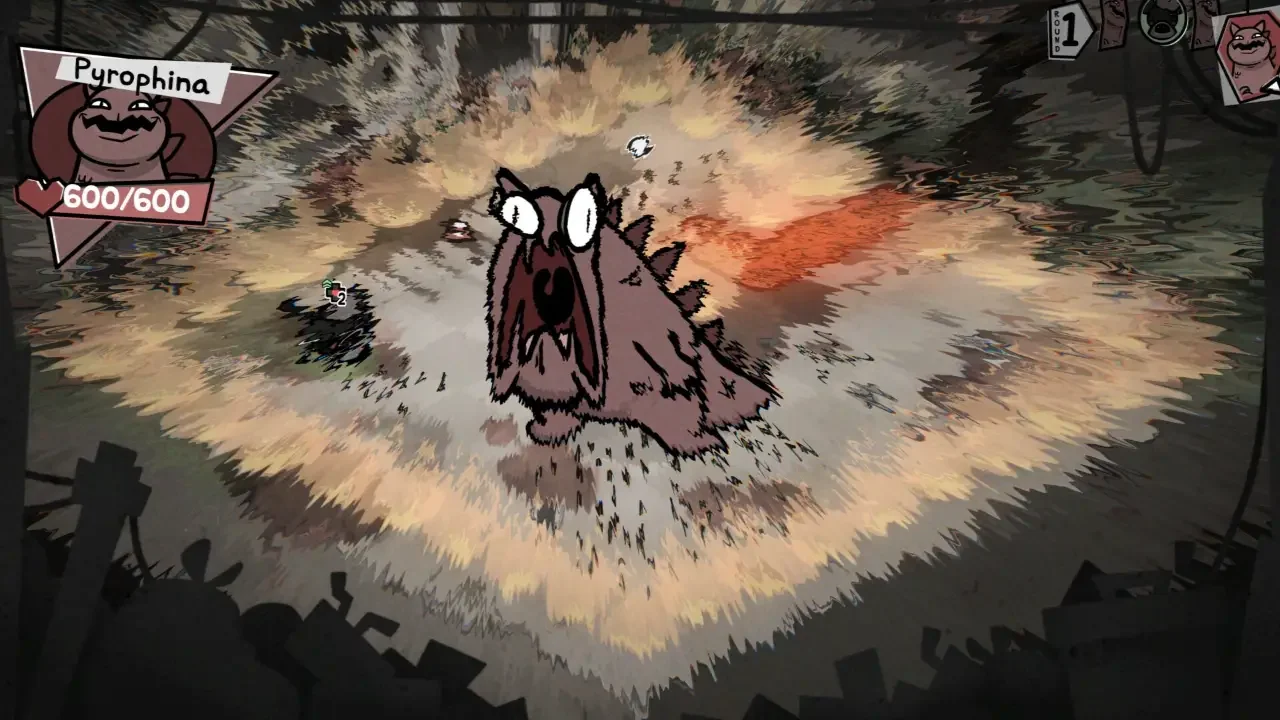
Classes are equipped via collars. Each collar adjusts base stats and opens access to roughly 75 unique abilities. You start with 5 classes and unlock 9 more by clearing specific zones, then talking to Butch.
Starting Classes
| Class | Stat Changes | Role |
|---|---|---|
| Collarless | None | No collar; generic abilities only |
| Fighter | +2 STR, +1 SPD, -1 INT | Melee damage dealer; hits hard, burns mana fast |
| Hunter | +3 DEX, +2 LCK, -1 CON, -2 SPD | Ranged damage; high crit, slow |
| Mage | +2 INT, +2 CHA, -1 CON, -1 STR | Elemental spellcaster; big mana pool |
| Tank | +4 CON, -1 DEX, -1 INT | Damage sponge; absorbs hits for the team |
Unlockable Classes
| Class | Unlock Zone | Stat Changes | Role |
|---|---|---|---|
| Cleric | The Alley | +2 CHA, +2 CON, -1 SPD, -1 DEX | Healer/support |
| Thief | The Sewers | +4 SPD, +1 LCK, -1 STR, -1 CON | Fastest class; shadow attacks |
| Necromancer | The Boneyard | +2 CON, +1 CHA, -2 STR | Summons from corpses |
| Tinkerer | The Bunker | +4 INT, -1 LCK, -1 CHA | Crafts weapons mid-fight |
| Druid | The Crater | +3 CHA, +1 LCK, -2 CON | Nature caster; animal summons |
| Butcher | The Core | +3 CON, +2 STR, -2 SPD | Meat-themed brawler; cleave attacks |
| Psychic | The Moon | +1 INT/CHA/SPD, -1 CON (+5 starting mana) | Balanced caster with bonus mana |
| Monk | The Lab | +2 INT, +2 CHA, -1 STR, -1 DEX | Attacks twice per turn |
| Jester | The Rift | None | Wildcard; 2 rerolls + access to ALL class abilities |
My recommended early priority: rush Cleric by clearing The Alley (the very first zone). A Fighter/Hunter/Tank/Cleric squad will carry you through Act 1 comfortably. Later, swap Tank for Monk or Necromancer once raw durability matters less than flexibility.
Once you have a feel for the classes, check our Mewgenics best team comp guide for four proven party builds with stat priorities and zone-specific adjustments.
⚡ Reroll tip: The Jester class gets 2 free rerolls on level-up and can pick from every class’s abilities. If you find a Jester collar, it’s worth building around. Also check for Furry Dice (+1 LCK and rerolls) and the Chaos Controller item (3 rerolls + all class abilities available).
Breeding and Kitten Inheritance
Breeding happens overnight when a male and female cat share a room with enough Comfort. Gender-fluid cats can breed with either sex. Gay cats will attempt to mate with the same sex but won’t produce kittens. The game is surprisingly detailed about this.
Room Stats That Matter for Breeding
| Room Stat | Effect on Breeding |
|---|---|
| Comfort | Higher = more breeding, fewer fights. Each cat beyond 4 in a room reduces Comfort by 1 |
| Stimulation | Higher = kittens inherit the better parent stat (instead of random) |
| Health | Higher = overnight injury/disease recovery. Low Health = diseases develop and spread |
| Mutation | Higher = more chance of spontaneous mutations overnight |
| Appeal | Higher = better quality stray cats showing up at your door |
The room you care about most is Stimulation. High Stimulation means kittens inherit the higher of their two parents’ base stats instead of random selection. If you’re trying to breed a cat with 7 STR and 7 CON, you want max Stimulation in the breeding room.
Inheritance Rules
Kittens inherit base stats only. Bonuses from items, collars, and buffs don’t transfer. They also inherit abilities, passives, mutations, and disorders from both parents. High Comfort increases the chance of twins.
Inbreeding
Breeding related cats (even distantly) risks birth defects. Most are bad: Conjoined Body gives +2 CON but -3 SPD, Bent Arm costs -2 SPD, No Mouth blocks consumable use. A few have silver linings (Duck Leg gives water immunity, Conjoined Twin gives +2 INT), but you’re gambling. Introduce stray cats regularly to keep your gene pool fresh. Track lineages by assigning icons to family groups. For the full breakdown on stat stacking, body shapes, and managing inbreeding risk, see our dedicated breeding guide.
House Management and Furniture
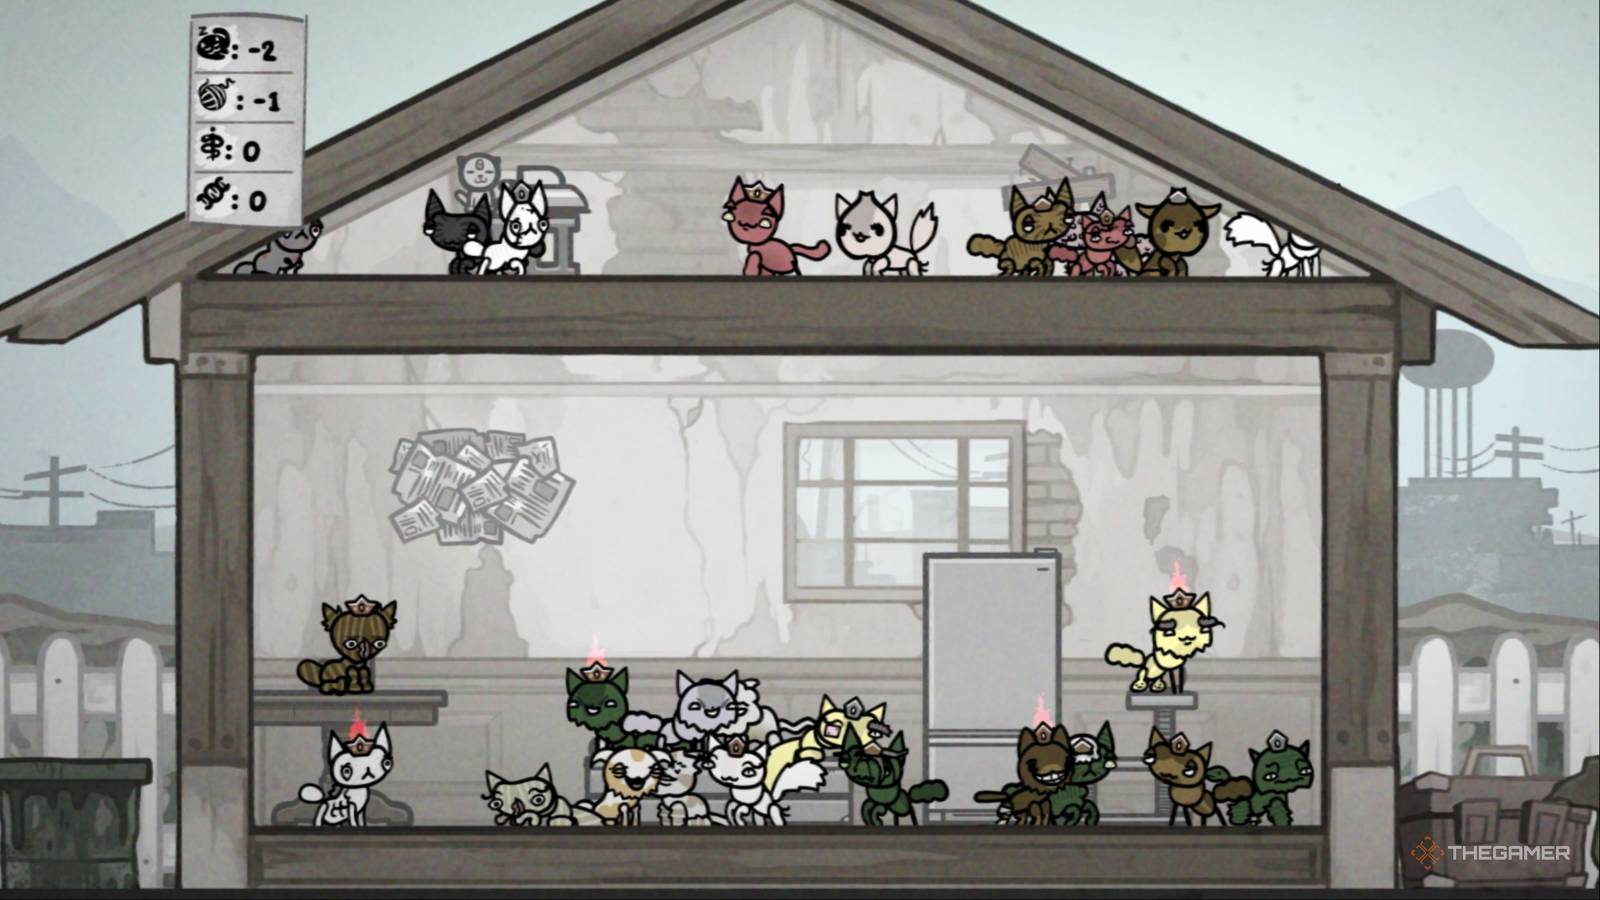
You start with 1 room and can expand to 5 by donating retired cats to Frank. More rooms means more cats, more breeding pairs, and more overnight specialization.
Each room’s 5 stats (Comfort, Stimulation, Health, Mutation, Appeal) are set by the furniture you place in them. There are 750+ furniture pieces across dozens of themes, and each piece has a rare variant with doubled stat bonuses. Baby Jack sells furniture, and his stock refreshes every in-game Sunday. Donate injured cats to Baby Jack to expand his inventory.
Think of rooms as specialized stations. Your breeding room needs high Comfort and Stimulation. Your recovery room needs high Health. Your mutation lab needs high Mutation (obviously). Don’t try to make every room do everything. For the full breakdown on room setups and furniture optimization, see our MewGenics house guide. For which mutations are actually worth breeding for, see our mutation tier list.
⚡ Room capacity: Every cat beyond 4 in a single room reduces that room’s Comfort by 1. Cramming 8 cats into one room will tank Comfort and turn breeding into fighting.
NPC Donations: Who Gets What
Every permanent upgrade in Mewgenics comes from donating cats to NPCs. The cats are gone forever after donation, so you need a steady supply of expendable cats (this is what breeding is really for).
| NPC | Wants | Gives | Priority |
|---|---|---|---|
| Frank | Retired cats | New house rooms (up to 5 total) | 1st |
| Butch | Cats that reached new zones (batches of 20) | Inventory space + class collar unlocks | 2nd |
| Tracy | Cats aged 5+ days | Shop item unlocks (food, collars, idols) | 3rd |
| Baby Jack | Injured cats | Expanded furniture store | 4th |
| Dr. Beanies | Mutated/disordered cats (batches of 5) | Invention side quests (max 5 active) | 5th |
| Tink | Kittens (1 day old) | Detailed cat trait/lineage info | As needed |
| Organ Grinder | Deceased cats (auto-collected) | Recovers items from failed runs | Automatic |
Priority order: Frank > Butch > Tracy > Baby Jack > Dr. Beanies. Frank is by far the most impactful. More rooms means more cats, which means more donations to everyone else. It’s a compounding effect. Get your 5 rooms as fast as possible.
All 3 Acts and Secret Areas
Mewgenics has 3 acts, each with 3 main areas and 1 secret area. Each act offers 2 routes to choose from.
Act 1
- Area 1: The Alley (always first)
- Route A: The Alley > The Sewers > The Caves
- Route B: The Alley > The Junkyard > The Boneyard
- Secret Area: The Throbbing Domain
You need to clear both The Caves and The Boneyard to unlock Act 2. This means running Act 1 at least twice. Completing The Caves also unlocks the Hard Path for all zones, which has tougher enemies but better loot.
Act 2
- Area 1: The Desert (always first)
- Route A: The Desert > The Bunker > The Core
- Route B: The Desert > The Crater > The Moon
- Secret Area: The Rift (unlocks the Jester class)
Act 3
- Area 1: The Lab (always first)
- Route A: The Lab > The Ice Age > The Future
- Route B: The Lab > The Jurassic > The End
- Secret Area: The Infinite (endless endgame challenge)
Same deal as Act 1: you need both routes cleared to advance. The Lab also contains Skill Syringes, consumable items that permanently grant a class ability to any cat regardless of collar. These are Act 3 exclusive and extremely valuable for building hybrid cats.
Beyond the three acts, there are Hard, Crazy, and Impossible difficulty tiers. The endgame routes also drop legendary class weapons (Future branch) and legendary trinkets (Past branch). Secret zone survivors get exclusive neck armor for their class.
Hidden Mechanics the Game Won’t Tell You
These are the things I wish someone told me before my first 20 hours:
- Grow your own cover. Wet Hairballs create grass tiles. Wet cats walking on grass create full sprouts. Combine these with water sources to build 50% dodge cover exactly where you need it.
- Bird killing grants All Stats Up. Kill birds on the battlefield for a temporary buff to all stats. Worth targeting before the main enemies.
- Save-quitting has consequences. There’s an NPC named Steven who tracks save-scumming and punishes it. Don’t abuse save/quit to redo fights.
- Charm the last enemy is dangerous. If you Charm the last enemy and it becomes friendly, the fight doesn’t end because there’s no hostile unit to defeat. Your cats will sit there taking Exhaustion damage until they die. Either kill the last enemy or make sure Charm wears off.
- Skull Slimes and Amoebas destroy items. If these enemies attack your equipped items, the items can be permanently destroyed. Prioritize killing them or keep your distance.
- Weather affects boss fights. Environmental conditions on the overworld map carry into boss encounters. Plan your route accordingly.
- Retired cats aren’t useless. Don’t donate all your strong retired cats. House bosses appear as you progress, and retired cats are the ones who fight them. Keep a few heavyweights at home.
- Set bonuses are real. Equip 3+ items from the same set for powerful bonuses. Stunning Set triples your weapon and trinket effects. Obelisk Set gives a free holy shield that blocks one hit regardless of damage. See our best items guide for full rankings.
Common Mistakes to Avoid
- Entering the Desert without fire resistance. The Desert has fire hazards everywhere. Bring cats with water abilities or fire-resistant mutations, or you’ll lose the run to environmental damage alone.
- Overcrowding rooms. Every cat past 4 in a room drops Comfort by 1. Low Comfort means cats fight instead of breed. Spread them across rooms.
- Donating all retired cats. You need retired cats for house boss fights. Keep at least 2-3 strong ones in reserve at all times.
- Ignoring food storage. 1 food per cat per day adds up fast. If you’re expanding your colony, make sure your food supply can handle it.
- Inbreeding without tracking lineage. Assign icons to family groups. Mix in stray cats. Birth defects are almost never worth the risk.
Cat Gear for Cat People
If you’re spending dozens of hours breeding tactical cats, you might as well have the right gear on your desk. Here are some picks for Mewgenics players, including our favorite controller for tactics games and some cat-themed accessories. Check out our Slay the Spire 2 beginner guide if you’re looking for more roguelike recommendations.

8BitDo Pro 2 Controller
Great d-pad for grid-based games. Works with PC and Switch.

ZOMOPLUS Cat Paw Keycap
Silicone artisan keycap. Fits most mechanical keyboards.

SOMIC G951 Cat Ear Headset
LED cat ears, detachable mic, surprisingly decent sound.
If you’re interested in controllers specifically, we did a full review of a similar model. Check out our 8BitDo Ultimate 2C review for a deeper look at what 8BitDo is doing these days.
Frequently Asked Questions
Does Mewgenics have permadeath?
Sort of. Cats that die in combat are gone permanently, but your house, furniture, NPC upgrades, and unlocked classes persist across runs. You lose the cats and their equipped items, but not your overall progression. The Organ Grinder NPC can recover some items from deceased cats.
How many cats should I bring on an adventure?
Three is often better than four. After each fight, only 1 cat levels up (the lowest-level one). Bringing fewer cats means each one levels faster. The exception is hard content where you need all 4 bodies to survive. Start with 3, add the 4th when fights get rough.
What’s the best starter team comp?
Fighter + Hunter + Tank gets the job done for the first few runs. Once you clear The Alley and unlock Cleric, swap it to Fighter + Hunter + Tank + Cleric. The Cleric’s healing extends your runs significantly and lets you take fights you’d otherwise have to skip.
How do I cure diseases?
Three ways: high Health stat in the room overnight (passive recovery), random chance at the end of each battle, or certain random events that trigger full recovery. Some diseases like Feline Aids spread through combat contact, so quarantine infected cats in a high-Health room away from your breeding pairs.
How long is Mewgenics?
The main story across all 3 acts takes roughly 40-60 hours depending on how many runs you need. But the game has 200-500 hours of content when you factor in breeding optimization, secret areas, difficulty tiers, the true ending quest, and The Infinite endless challenge mode.
Summary
Mewgenics is dense. The game buries its best mechanics behind layers of discovery, and that’s part of the appeal. But now you know the stat formulas, the combat fundamentals, how breeding actually works, and which NPCs to prioritize. Breed smart, fight fast (before Turn 10), and keep donating cats to Frank until you have all 5 rooms. Once you’re comfortable, check out the best ability synergies to find the combos that break the game wide open.
If roguelikes are your thing, check out our console collecting guide for building a retro library that includes the classics that inspired games like this.