Deckbuilders are everywhere right now. Slay the Spire 2 hit 438,000 concurrent players on Steam, and the genre keeps spawning new hits. If you want to build one yourself, the card game system is the foundation everything else sits on. Get it right and adding enemies, relics, and maps becomes straightforward. Get it wrong and you’ll rewrite half your game.
This godot card game tutorial walks you through building a complete deckbuilder card system from scratch in Godot 4. No plugins, no frameworks. You’ll build cards as custom Resources, manage draw and discard piles, handle a visual hand with drag-and-drop, wire up a turn loop with mana, and create a composable effects system that scales. By the end, you’ll have a playable prototype you can extend into a full game.
Key Takeaways
- Cards are Resources, not scenes: Define card data (name, cost, effects) as custom Resource scripts so you can create new cards without touching scene files
- Three piles drive everything: Draw pile, hand, and discard pile form the core loop. When the draw pile empties, shuffle the discard pile back in
- Effects are composable: Each card holds an array of Effect resources (deal damage, gain block, draw cards). Stack them to create complex cards without writing new code
- State enum keeps turns clean: A simple enum (PLAYER_TURN, ENEMY_TURN, ANIMATING) prevents input during animations and keeps the game loop predictable
Prerequisites
You’ll need Godot 4.3 or later and basic familiarity with GDScript. If you’re deciding between GDScript vs C#, GDScript is the better fit here since the Resource system and export annotations work more naturally with it. You should be comfortable creating scenes, adding nodes, and connecting signals.
If you’re coming from Unity, check out our Godot vs Unity comparison for a quick orientation on how Godot’s node/scene system differs.
Architecture Overview
A deckbuilder card system breaks down into five interconnected pieces. Here’s the high-level view before we build each one:
| System | Responsibility | Godot Pattern |
|---|---|---|
| Card Data | Name, cost, effects, art | Custom Resource |
| Card Scene | Visual representation, input | Control node + signals |
| Hand | Display cards, manage layout | HBoxContainer |
| Pile Manager | Draw pile, discard, shuffling | Arrays + signal bus |
| Battle Manager | Turn flow, mana, win/lose | State enum + signals |
The key insight from projects like guladam’s open-source deckbuilder tutorial (2,400+ GitHub stars) is that card data lives in Resources while the visual representation lives in a separate scene. This separation means you can define 50 different cards by creating 50 Resource files without touching a single scene. The Card scene just reads whatever Resource gets assigned to it and displays the right name, cost, and art.
Communication between systems happens through signals, not direct references. When a card gets played, it emits a signal. The Battle Manager listens, deducts mana, resolves effects, then tells the Hand to remove the card. No system needs to know the internals of another.
Cards as Custom Resources
Resources are Godot’s secret weapon for data-driven design. Unlike nodes, Resources are lightweight data containers you can save as .tres files and load anywhere. For a centralized data manager approach, Resources integrate naturally since they serialize to disk and load on demand.
Create a new script called card_data.gd:
class_name CardData
extends Resource

@export var card_name: String = ""
@export var mana_cost: int = 1
@export var description: String = ""
@export var card_art: Texture2D
@export var card_type: CardType = CardType.ATTACK
@export var effects: Array[CardEffect] = []

enum CardType { ATTACK, SKILL, POWER }
The @export annotations make every field editable in Godot’s Inspector panel. You create new cards by right-clicking in the FileSystem dock, selecting “New Resource,” choosing CardData, and filling in the fields. No code needed per card.
Notice the effects array holds CardEffect resources. We’ll build that system later, but the idea is simple: a “Strike” card has one DamageEffect with value 6. A “Shrug It Off” card has one BlockEffect with value 5 and one DrawEffect with value 1. You compose card behavior from reusable building blocks.
The Card Scene
The Card scene is a visual shell. It receives a CardData resource and displays it. Here’s the node structure:
CardUI (PanelContainer)
├── MarginContainer
│   ├── VBoxContainer
│   │   ├── TopRow (HBoxContainer)
│   │   │   ├── CardName (Label)
│   │   │   └── ManaCost (Label)
│   │   ├── CardArt (TextureRect)
│   │   └── Description (RichTextLabel)
PanelContainer gives you a styled background for free. The script handles data binding and mouse interaction:
class_name CardUI
extends PanelContainer

signal card_played(card_data: CardData)

@export var card_data: CardData:
    set(value):
        card_data = value
        _update_display()

@onready var card_name_label = $MarginContainer/VBoxContainer/TopRow/CardName
@onready var mana_cost_label = $MarginContainer/VBoxContainer/TopRow/ManaCost
@onready var card_art_rect = $MarginContainer/VBoxContainer/CardArt
@onready var description_label = $MarginContainer/VBoxContainer/Description

func _update_display() -> void:
    if not is_inside_tree():
        await ready
    card_name_label.text = card_data.card_name
    mana_cost_label.text = str(card_data.mana_cost)
    description_label.text = card_data.description
    if card_data.card_art:
        card_art_rect.texture = card_data.card_art

func _gui_input(event: InputEvent) -> void:
    if event is InputEventMouseButton:
        if event.button_index == MOUSE_BUTTON_LEFT and event.pressed:
            card_played.emit(card_data)
The setter on card_data automatically refreshes the display whenever you assign a new Resource. This pattern is common across Godot UI work. The await ready guard handles cases where the data gets set before the node enters the tree.
⚡ Quick tip: For drag-and-drop targeting (dragging cards onto enemies), extend this with Godot’s built-in _get_drag_data() and _can_drop_data() methods on the card and target nodes. Start with click-to-play first, then add drag support once your core loop works.
Hand Management
The hand is where cards live between being drawn and played. An HBoxContainer handles the layout automatically. Cards get added as children, and the container spaces them evenly.
class_name Hand
extends HBoxContainer

const CARD_SCENE = preload("res://scenes/card_ui.tscn")

signal card_played(card_data: CardData)

func add_card(card_data: CardData) -> void:
    var card_ui = CARD_SCENE.instantiate()
    add_child(card_ui)
    card_ui.card_data = card_data
    card_ui.card_played.connect(_on_card_played.bind(card_ui))

func remove_card(card_ui: CardUI) -> void:
    card_ui.queue_free()

func clear_hand() -> Array[CardData]:
    var remaining: Array[CardData] = []
    for child in get_children():
        if child is CardUI:
            remaining.append(child.card_data)
            child.queue_free()
    return remaining

func _on_card_played(card_data: CardData, card_ui: CardUI) -> void:
    card_played.emit(card_data)
    remove_card(card_ui)
The clear_hand() method returns the remaining card data before destroying the UI nodes. This matters at end of turn when unplayed cards go to the discard pile.
For a fan-shaped hand like Slay the Spire uses, replace HBoxContainer with a plain Control and position cards manually with rotation and offset calculations. That’s a visual polish step, though. Get the logic working with HBoxContainer first.
Draw Pile, Discard Pile, and Deck Cycling
Every deckbuilder runs on the same cycle: draw pile feeds the hand, played and discarded cards go to the discard pile, and when the draw pile empties, the discard pile gets shuffled back in. Here’s the manager that handles it:
class_name PileManager
extends Node

signal draw_pile_updated(count: int)
signal discard_pile_updated(count: int)

var draw_pile: Array[CardData] = []
var discard_pile: Array[CardData] = []

func setup_deck(deck: Array[CardData]) -> void:
    draw_pile = deck.duplicate()
    discard_pile.clear()
    shuffle_draw_pile()

func shuffle_draw_pile() -> void:
    draw_pile.shuffle()
    draw_pile_updated.emit(draw_pile.size())

func draw_card() -> CardData:
    if draw_pile.is_empty():
        recycle_discard_pile()
    if draw_pile.is_empty():
        return null
    var card = draw_pile.pop_back()
    draw_pile_updated.emit(draw_pile.size())
    return card

func draw_cards(amount: int) -> Array[CardData]:
    var drawn: Array[CardData] = []
    for i in amount:
        var card = draw_card()
        if card:
            drawn.append(card)
    return drawn

func add_to_discard(card: CardData) -> void:
    discard_pile.append(card)
    discard_pile_updated.emit(discard_pile.size())

func discard_hand(cards: Array[CardData]) -> void:
    for card in cards:
        add_to_discard(card)

func recycle_discard_pile() -> void:
    draw_pile = discard_pile.duplicate()
    discard_pile.clear()
    shuffle_draw_pile()
    discard_pile_updated.emit(discard_pile.size())
A few things worth noting. The draw_card() method automatically triggers recycling when the draw pile empties. This means the caller never needs to check pile state. The signals let UI elements (draw pile counter, discard pile counter) update reactively without polling.
Using pop_back() instead of pop_front() is deliberate. Removing from the end of an array is O(1) in GDScript, while removing from the front is O(n) because every element shifts. With a shuffled pile, it doesn’t matter which end you draw from.
Playing Cards and the Godot Card Game Turn Loop
The Battle Manager ties everything together. It tracks mana, manages turn phases, and resolves card plays. A state enum prevents players from acting during animations or enemy turns.
class_name BattleManager
extends Node

enum BattleState { PLAYER_TURN, ENEMY_TURN, ANIMATING, BATTLE_OVER }

signal turn_started(mana: int)
signal mana_changed(current: int, max: int)
signal battle_won
signal battle_lost

@export var max_mana: int = 3
@export var cards_per_draw: int = 5

var current_mana: int = 0
var state: BattleState = BattleState.PLAYER_TURN

@onready var hand: Hand = $Hand
@onready var pile_manager: PileManager = $PileManager

func start_battle(deck: Array[CardData]) -> void:
    pile_manager.setup_deck(deck)
    start_player_turn()

func start_player_turn() -> void:
    state = BattleState.PLAYER_TURN
    current_mana = max_mana
    mana_changed.emit(current_mana, max_mana)

    var drawn = pile_manager.draw_cards(cards_per_draw)
    for card_data in drawn:
        hand.add_card(card_data)

    turn_started.emit(current_mana)

func try_play_card(card_data: CardData) -> bool:
    if state != BattleState.PLAYER_TURN:
        return false
    if card_data.mana_cost > current_mana:
        return false

    current_mana -= card_data.mana_cost
    mana_changed.emit(current_mana, max_mana)
    resolve_effects(card_data)
    pile_manager.add_to_discard(card_data)
    return true

func resolve_effects(card_data: CardData) -> void:
    for effect in card_data.effects:
        effect.apply()

func end_player_turn() -> void:
    var remaining = hand.clear_hand()
    pile_manager.discard_hand(remaining)
    state = BattleState.ENEMY_TURN
    # Enemy AI goes here
    # After enemy finishes:
    start_player_turn()
Connect the Hand’s card_played signal to try_play_card(). The method checks mana, deducts the cost, resolves effects, then sends the card to the discard pile. If the player can’t afford the card, nothing happens.
The state enum is simple but prevents a whole category of bugs. Without it, players could play cards during enemy turns or while damage animations are running. You’ll expand this later with states for card selection targeting, shop screens, and reward selection.
Card Effects System
This is where deckbuilders get interesting. Instead of hardcoding what each card does, you define small, reusable Effect resources that cards can combine.
Start with a base class:
class_name CardEffect
extends Resource

@export var value: int = 0

func apply(source, target) -> void:
    pass  # Override in subclasses
Then create specific effect types:
# damage_effect.gd
class_name DamageEffect
extends CardEffect

func apply(source, target) -> void:
    if target.has_method("take_damage"):
        target.take_damage(value)

# block_effect.gd
class_name BlockEffect
extends CardEffect

func apply(source, target) -> void:
    if source.has_method("gain_block"):
        source.gain_block(value)

# draw_effect.gd
class_name DrawEffect
extends CardEffect

func apply(source, target) -> void:
    var battle = source.get_node("/root/Battle")
    var drawn = battle.pile_manager.draw_cards(value)
    for card in drawn:
        battle.hand.add_card(card)
With these three effects, you can already build a surprising number of cards:
| Card | Effects | Behavior |
|---|---|---|
| Strike | DamageEffect(6) | Deal 6 damage |
| Defend | BlockEffect(5) | Gain 5 block |
| Pommel Strike | DamageEffect(9), DrawEffect(1) | Deal 9 damage, draw 1 card |
| Shrug It Off | BlockEffect(8), DrawEffect(1) | Gain 8 block, draw 1 card |
| Bash | DamageEffect(8), StatusEffect(“vulnerable”, 2) | Deal 8 damage, apply 2 Vulnerable |
The composable approach scales well. When you want a new card, you create a .tres file in the editor, drag in the effects you want, set their values, and you’re done. No new scripts needed unless you need a genuinely new effect type.
For status effects like Vulnerable or Weak, create a StatusEffect subclass that applies a named status with a duration to the target. The target character maintains a dictionary of active statuses and checks them when dealing or receiving damage.
Where to Go from Here
What you’ve built so far is the core card system. A full deckbuilder needs several more layers on top of it:
- Enemy AI: Enemies pick actions from a pool and telegraph them with intent icons (like Slay the Spire’s overhead indicators). The Battle Manager resolves their actions during ENEMY_TURN state.
- Map generation: A branching path of rooms connecting combat encounters, shops, treasure rooms, and boss fights. If you want to generate dungeon structures procedurally, our procedural dungeon generation tutorial covers BSP trees and room placement in Godot 4.
- Relics: Passive items that modify game rules. Implement these as Resources with hooks into the signal bus (e.g., “on_card_played,” “on_turn_start,” “on_enemy_killed”).
- Card rewards: After combat, let the player choose one of three cards to add to their deck. This is where deck-building strategy happens.
- Save/load: Serialize the player’s deck, relics, health, and map progress to a Resource or JSON file between sessions.
The architecture we’ve built supports all of these. Cards are already data-driven, the pile system is self-contained, and the signal-based communication means new systems plug in without modifying existing code.
Recommended Dev Gear
Building a card game means long sessions in the Godot editor. These picks keep you comfortable and productive.
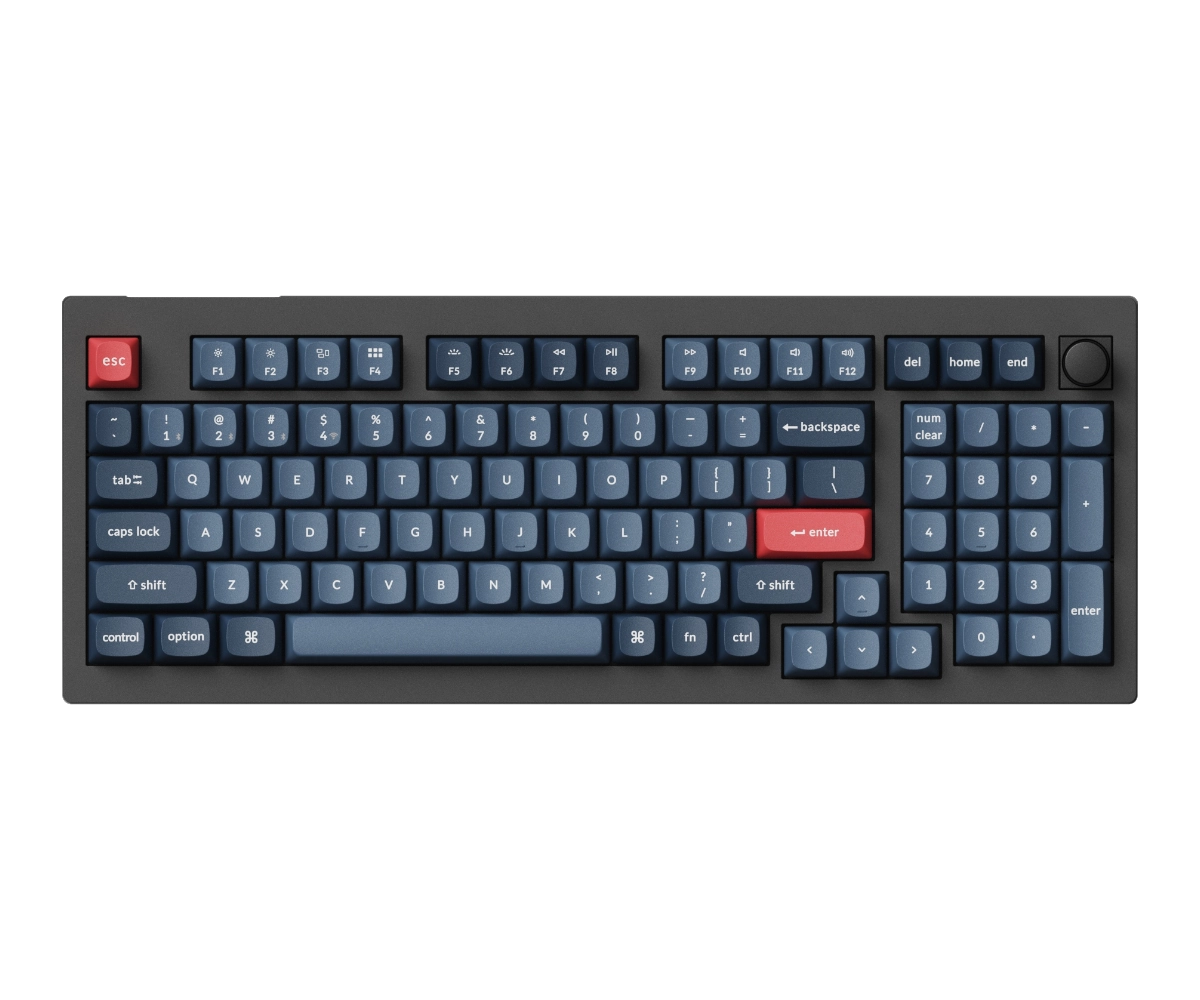
Keychron V5 Ultra
96% wireless mechanical with 8000Hz polling rate

SteelSeries Arctis Nova 1
Lightweight wired headset with noise-cancelling mic

8BitDo Ultimate 2
Wireless controller for playtesting your game builds
Frequently Asked Questions
Should I use Godot’s built-in UI nodes or custom drawing for cards?
Start with UI nodes (PanelContainer, Labels, TextureRect). They handle layout, theming, and input events out of the box. Custom drawing with _draw() gives you more visual control but requires you to reimplement input handling, layout, and accessibility. Switch to custom drawing only if UI nodes can’t achieve the visual style you need.
How do I handle card targeting (choosing which enemy to hit)?
Add a targeting state to your BattleState enum. When the player clicks a card that needs a target, enter TARGETING state and highlight valid targets. When they click a target, resolve the card’s effects against it. If they right-click or press Escape, cancel back to PLAYER_TURN.
Can I use this system for a multiplayer card game?
The Resource-based architecture works for multiplayer, but you’ll need to move pile management to the server to prevent cheating. Card data stays as Resources on both client and server. The server validates plays (mana check, targeting rules) and tells clients which cards to display.
How many cards can this system handle before performance becomes an issue?
Resources are lightweight data objects, so you can define hundreds of card types without performance concern. The visual bottleneck is cards in the hand. Rendering 10-12 CardUI nodes simultaneously is trivial for Godot. If you somehow need 50+ cards visible at once, consider object pooling.
What’s the difference between this approach and using the Godot Card Game Framework?
The Godot Card Game Framework (by db0) provides a complete card manipulation library with built-in drag-and-drop, card containers, and a scripting engine for rules. It’s more feature-complete but adds a dependency and learning curve. Building from scratch gives you full control and teaches you the underlying patterns. Start from scratch for learning, use the framework if you want to ship faster.
Summary
You now have a working deckbuilder card system in Godot 4. Cards defined as Resources, a visual Card scene that binds to any CardData, hand management with automatic layout, draw and discard piles with deck cycling, a mana-gated turn loop, and a composable effects system. That’s the same foundation underneath games like Slay the Spire 2 and Balatro, scaled down to its essential parts.
The architecture is intentionally modular. Each system communicates through signals and operates on Resource data, so adding enemies, relics, shops, and map progression means building new systems that plug into the existing signal bus rather than rewriting what you’ve already built. Start with a simple combat encounter against one enemy, get the feel right, then expand.