
Crimson Desert dispatch missions are the game’s most misunderstood system. Players either skip them entirely because the early returns look terrible, or they burn through camp money trying to run everything at once. The truth is that dispatch missions turn into a passive income juggernaut once you understand how workers, skill bonuses, church donations, and the Golden Bear Key all stack on top of each other. This guide covers every layer of the system and ranks the best missions by resource type.
Key Takeaways
- Dispatch missions unlock in Chapter 3: the Bustling Hill quest gives you Luke and Ronald as your first freeswords and the Howling Hill Camp Expansion as your first dispatch
- Skill bonuses are massive: one gold-tier Skilled comrade grants +40%, and filling every slot in a mission adds another +40%. Both stack, so optimize for skill variety over mass stacking
- Church donations are regional: donate camp money at a church to buy a permanent Conversion bonus up to 200% for dispatch missions in that region only
- The Golden Bear Key doubles rewards: drops from Muzzle the Dark Justicar via House Byron faction quests in Chapter 8+, and stacks with every other multiplier in the game
- How Dispatch Missions Work
- How to Unlock Your First Dispatch
- Scaling Your Workforce: Freeswords, Mech Workers, and Hired Labor
- Comrade Skills and the +80% Bonus Stack
- Church Donations and the Regional Conversion Bonus
- Best Early-Game Dispatch Loop
- Best Missions by Resource Type
- Rare Item and Endgame Dispatches
- The Golden Bear Key
- Common Mistakes to Avoid
- Gear for Long Sessions
- Frequently Asked Questions
- Summary
How Dispatch Missions Work
Dispatch missions send your Greymane Camp freeswords out on timed assignments to generate camp resources while you play the rest of the game. Each mission has a cost (some combination of camp money, food, and trade goods), a duration measured in in-game hours, a set of comrade slots, and a reward payout that lands in your camp stash when the timer runs out.
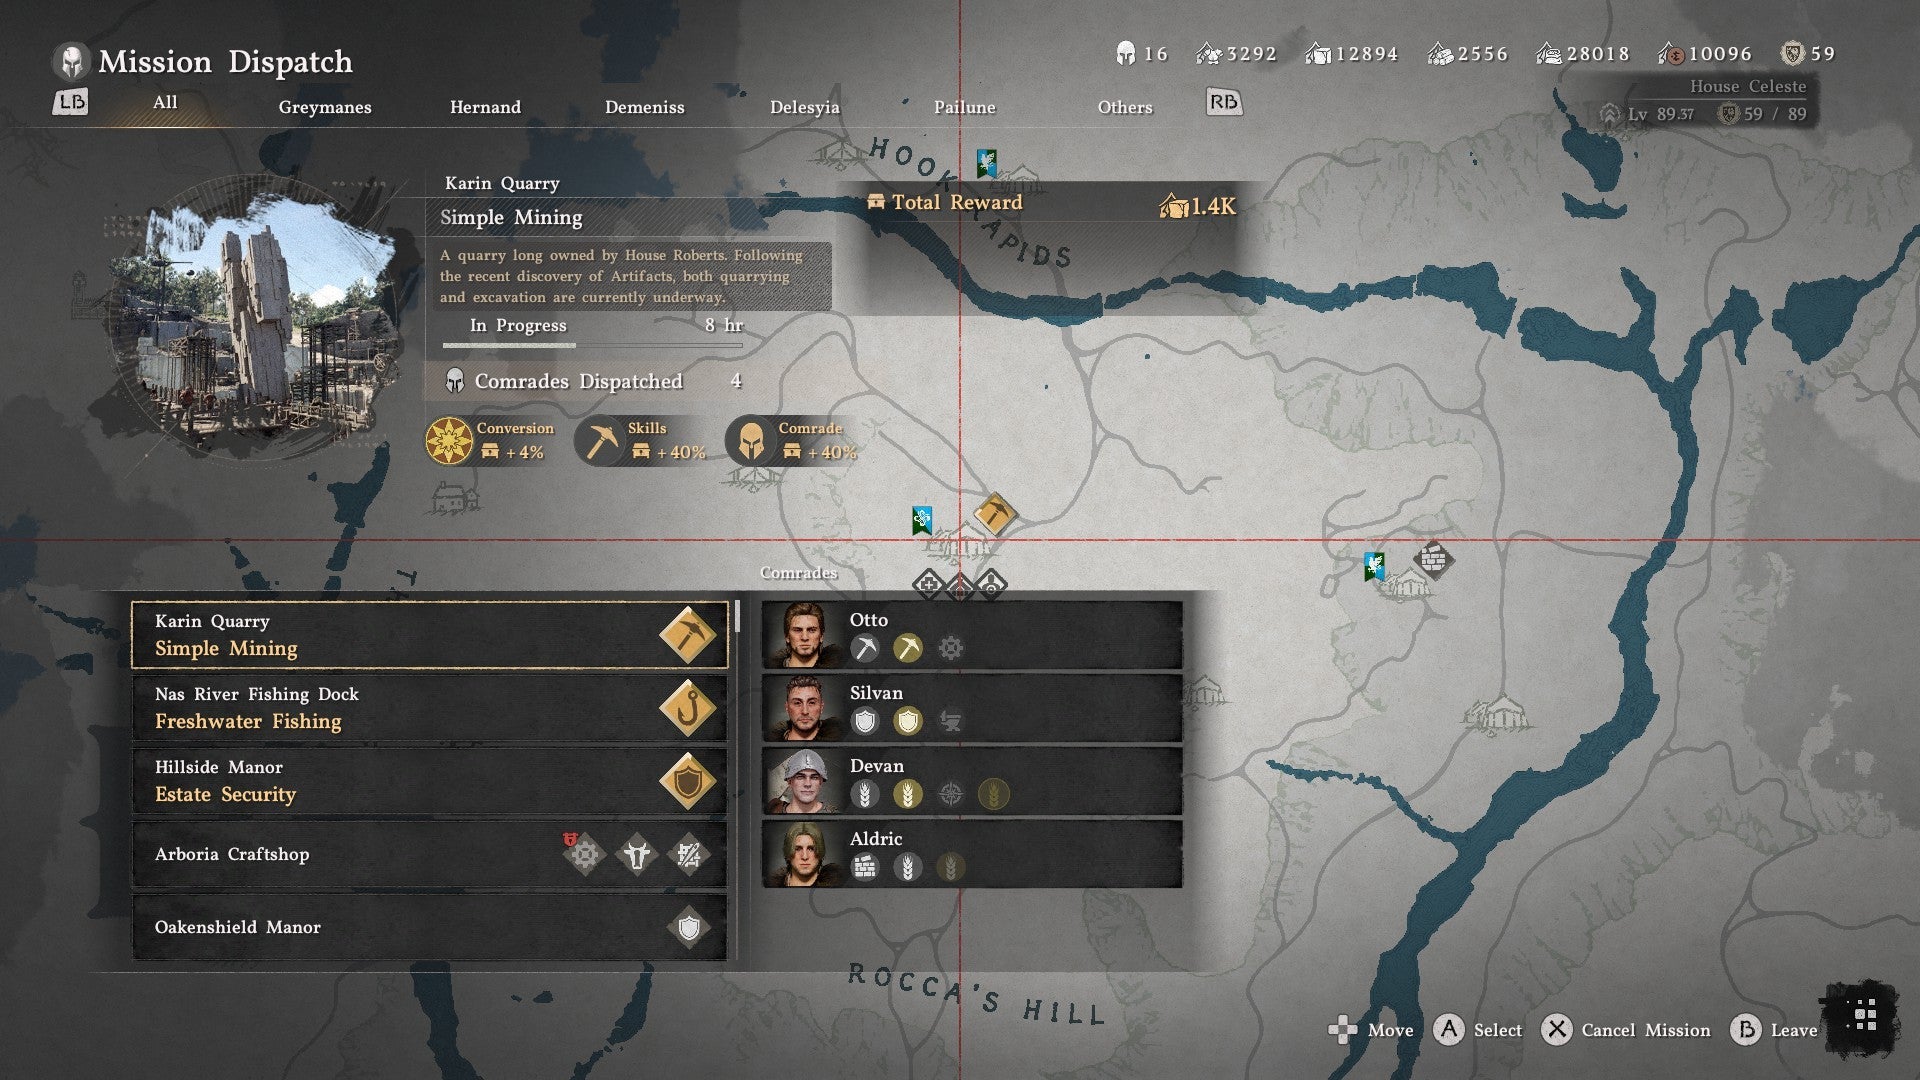
The system has three dispatch interfaces. You can open any unlocked POI on the world map and press Triangle or Y to inspect it and jump straight to its Mission List. You can talk to Ross at the Greymane Camp once he joins as the dispatch coordinator. And Luke manages individual freesword assignments at the camp itself. All three routes pull from the same pool, so use whichever is fastest for where you are.
Physically visiting a POI is what unlocks most missions. Walk into an outpost, camp, quarry, or ruin in the open world and you get a knowledge popup. As long as the location is not occupied by enemy forces, it immediately becomes dispatchable. Some missions display “Further Research Required” instead. Those missions are gated behind research projects at the game’s various institutes. The last line of each research description tells you exactly what system or location it unlocks, so check there before you commit time. Our Research Institute guide breaks down every institute and which projects matter.
How to Unlock Your First Dispatch
The dispatch system opens during Chapter 3: Howling Hill – Homestead, triggered by a small main-story mission called “Dispatch the Howling Hill.” It is easy to miss because the mission marker only points to Howling Hill on the minimap without any clear instructions about what to do when you get there.
Once Kliff returns to Howling Hill and retrieves a letter from the Dragon Head statue, head to the camp proper and stand inside it (you will see the resource list appear in the top right). Open the world map, move your cursor over Howling Hill until the camp icon shows a bullet point, and press Triangle or Y to inspect it. Tab over to the Mission List, select the Howling Hill Camp Expansion, pick your two starting freeswords Luke and Ronald, and dispatch them. The mission takes 17 in-game hours. You can sleep in a camp bed for up to 12 hours at once to accelerate the timer, or just go do other content and let it run in the background.
If you are short on the small amount of camp money or food this mission needs, talk to Carl and select Manage Supplies, then Support Camp Resources, to donate a few coins and rations. Once the Howling Hill Camp Expansion finishes, Ross appears in camp as the permanent dispatch coordinator and the Mission List opens up with new options for every POI you have liberated.
Scaling Your Workforce: Freeswords, Mech Workers, and Hired Labor
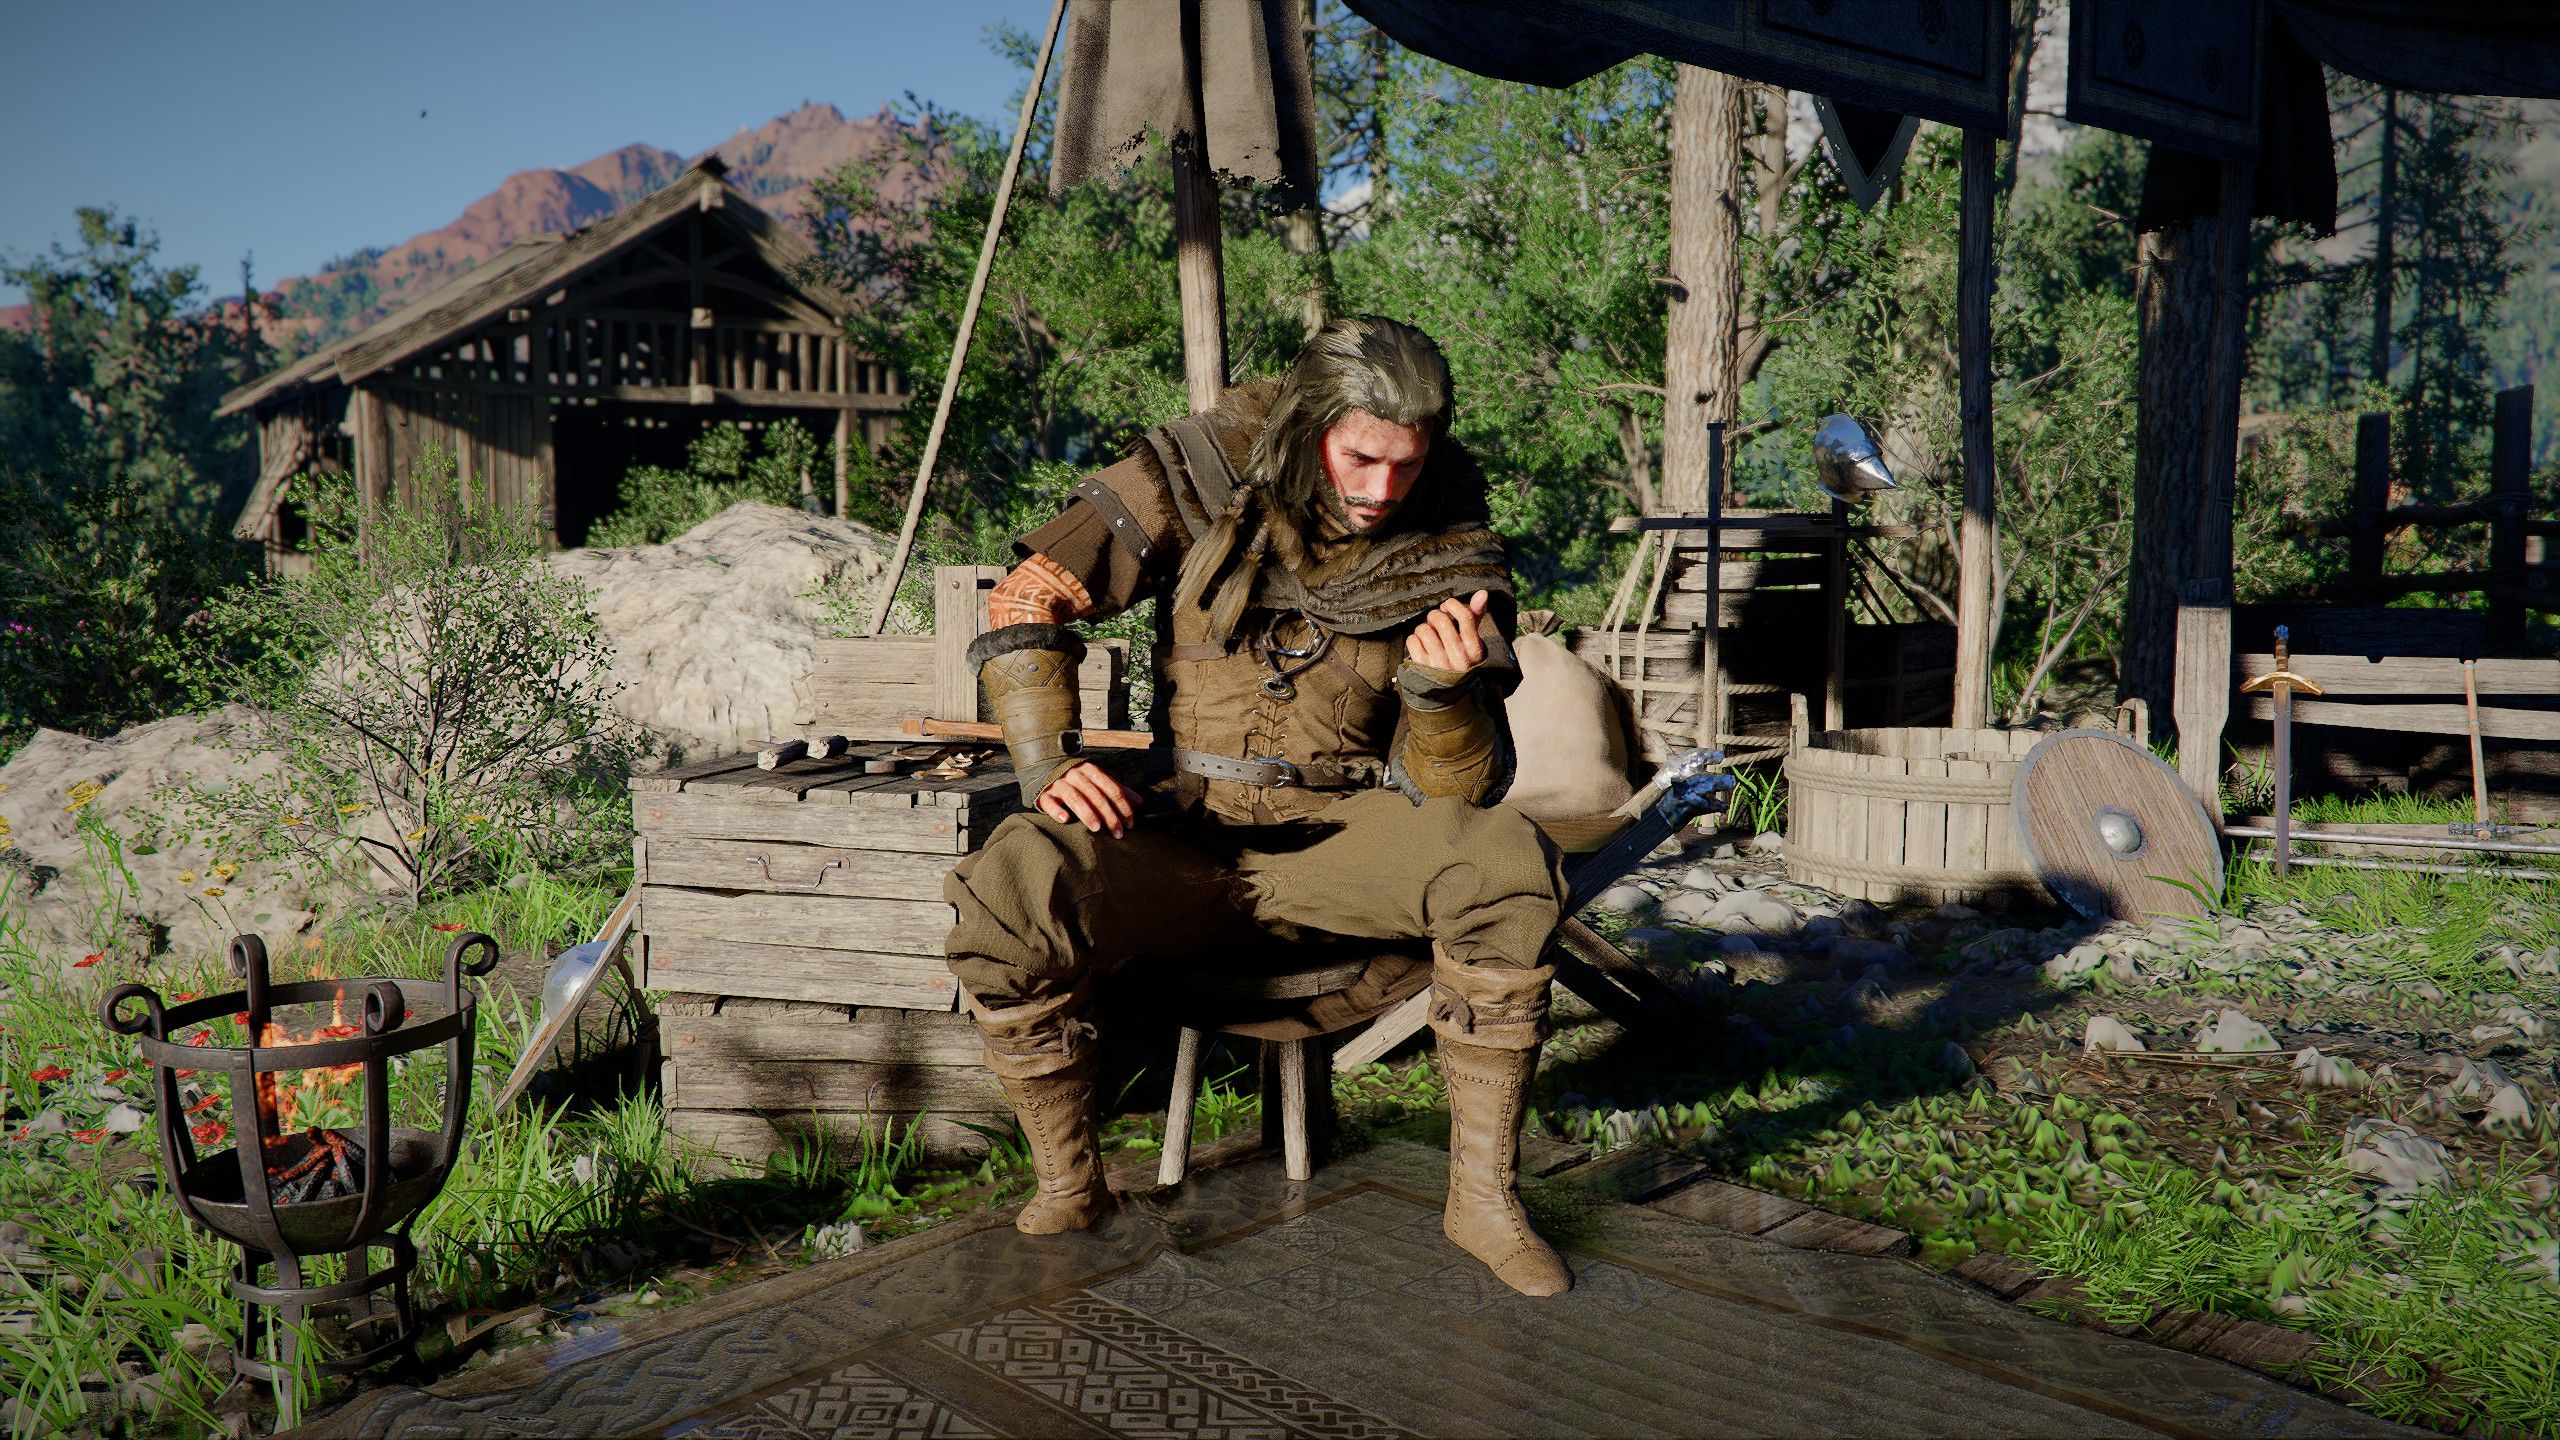
The single biggest multiplier on dispatch income is running more missions at once, which means getting as many workers as possible. Crimson Desert gives you three separate pools to recruit from.
Freeswords via Greymane Faction Quests
The main source of new dispatchable comrades is the Grounds of the Sunrise quest bucket under Faction Quests → Greymane. Most of these are Rumours missions where Marius hands you intel, you travel to the marker, and you rescue or recruit a new freesword. Completing all seven Rumours quests under the Embers of Return track plus the additional Reuniting with Comrades missions pushes your roster past 25 freeswords on most playthroughs. These quests require real effort because you will run side requests for each new recruit, but every body added to the roster is another dispatch slot generating passive income.
Mech Workers (Chapter 11+)
After Chapter 11, you can liberate Moni’s Steel Armory in Delicia and then complete a specific research project at the Doohaven researcher inside Doohaven Castle. The researcher unlocks the ability to craft mech workers who slot into mining and mixed-resource missions with Level 3 mining proficiency. These workers are effectively unlimited once the research finishes. One important warning: do not wear a mask when you enter Doohaven Castle. Guards attack masked visitors on sight and will chase you out before you can talk to the researcher.
Hired Workers (Chapter 8+)
After Chapter 8, a House Byron questline takes you to the Flame Knight boss fight. Defeating him drops the Seal of Devotion, which unlocks the ability to hire temporary workers using contribution points. The trick is that your contribution points are returned at the end of the mission, so hiring is functionally free as long as you complete the dispatch. Better still, one skilled main freesword can satisfy the mission’s required skill while hired workers fill the remaining slots, meaning a single gold-tier escort can run a mission even when your roster is otherwise tied up on other assignments.
Comrade Skills and the +80% Bonus Stack
Comrade skills divide into two functional types. Efficiency boosters (Escort, Farmer, Rancher, Fisherman, Smith, Logger, Miner) increase the yield of matching mission types. Required skills (Craftsman, Jeweler, Engineer, Cook, Explorer, Painter, Weaver) must be present on at least one assigned comrade for the mission to run at all. Construction missions additionally demand the Builder skill.
The first big multiplier is Skill proficiency. Each freesword’s skills level from Novice to Skilled to gold-tier Skilled, and dropping one gold-tier Skilled comrade into a matching mission gives a +40% total reward bonus. The second multiplier is the Full Stack bonus: filling every available slot in a mission with any comrade grants an additional +40%. Both stack, so a properly assembled mission with one skilled specialist plus enough warm bodies to fill the remaining slots runs at +80% over baseline before any regional or item multipliers enter the picture.
Upgrading freeswords from Novice to Skilled is its own grind. Completing Howling Hill Camp Expansion dispatch missions, specifically the upgrade tiers unlocked through the Gathered Will questline under Grounds of the Sunrise (Secure Resources, then Land of Dreams), is the most reliable source of skill XP for your roster. Other side quests with a Camp icon do not appear to grant the same progression, and the repeatable Ritual Dispatch missions with the cauldron icon also do not move the needle despite their 100 XP flavor text. Stick to camp expansions for leveling.
Church Donations and the Regional Conversion Bonus
The third and most misunderstood multiplier is the Conversion bonus, which you buy by donating camp money at regional churches. Each blessing level the church grants increases your Conversion rate by 2%, and the cap is 200%, which effectively doubles every dispatch reward the region produces. Donation thresholds scale aggressively at higher blessing levels, so expect to sink several hundred thousand coins into a single region’s church to fully max it out. Fully maxing Hernand’s church runs around 500k camp money end-to-end.
The critical constraint is that this buff is entirely region-specific. Donating at the Church of East Demeniss only applies to dispatch missions inside Demeniss. Hernand, Pailune, Delicia, and the Crimson Desert region each have their own churches that affect their own missions. If you plan to run missions across multiple regions, you have to fund each region’s church separately. The upside is that hovering over any church on the map shows exactly which dispatch missions it affects, so you can target the zone you farm most instead of spreading donations thin.
Scaling is deliberately slow in the early game. Expect your first stretch of donations to feel like they barely move the bonus, which is why some community guides cap their early-game Conversion estimates around 40%. Pushing past that requires a larger coin reserve, which is exactly what the Howling Hill upgrade tiers and a full roster of freeswords are designed to generate.
Best Early-Game Dispatch Loop
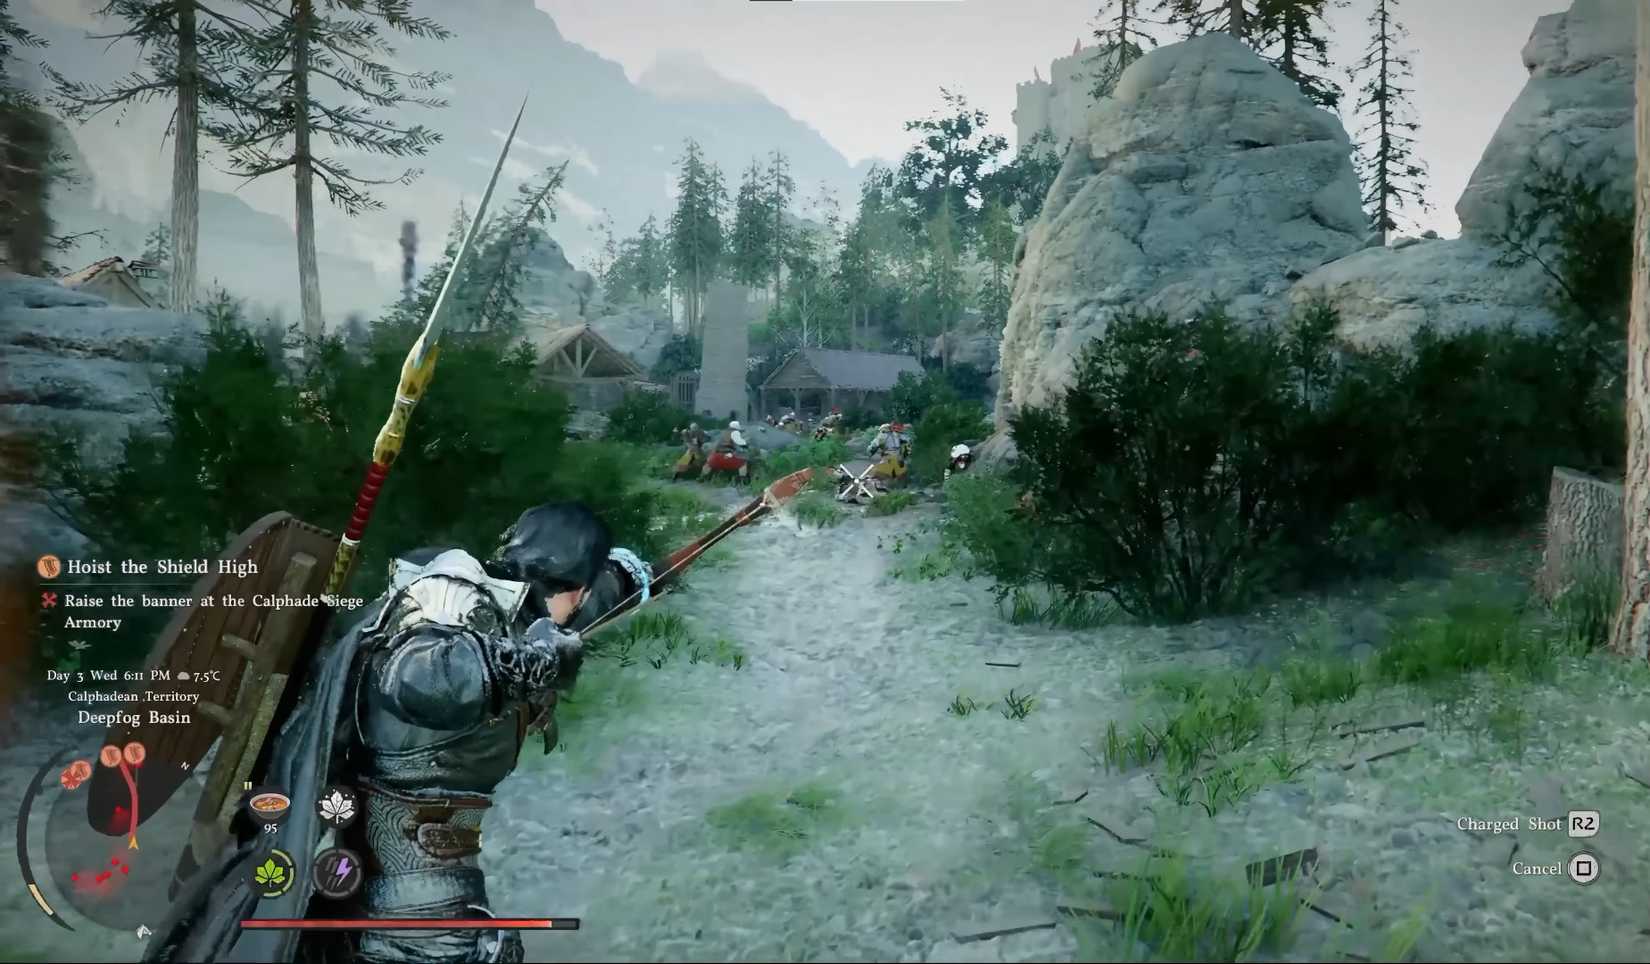
The strongest early-game loop pairs Escort Security missions (money-makers) with Freshwater Fishing missions (food-makers), because nearly every other mission type draws from the food pool as a cost. Running out of food stalls your entire dispatch operation, so at least one food-producing mission should always be active.
In Hernand, Oakenshield Manor and Hillside Manor are the first two Estate Security options. Both require a Skilled Escort (gold shield icon) to hit the +40% bonus, so run them as soon as you upgrade your first escort through the Land of Dreams camp expansion. Nas Fishing Dock and Rodbel Fishing Dock are the best matching Freshwater Fishing options, and a single Skilled Fisherman at either location produces roughly 1.9k food per mission, enough to sustain up to four simultaneous Escort missions. Rodbel also drops actual fish items into your stash, which are useful for cooking later.
A well-run early setup generates net profits of roughly 15k camp coins and 1.5k food every 18 in-game hours, or roughly 10k coins and 1k food per real-time hour, entirely passively. That is the baseline your entire dispatch strategy builds on.
Best Missions by Resource Type
Once your roster is stable, start targeting specific resources by unlocking the best POI for each. The missions below are the highest-yield or most-unique options in each category.
| Resource | Best POIs | Notes |
|---|---|---|
| Food (meat) | Svenholt Ranch | Marbled meat mission. 50 per run plus base camp food |
| Food (grains) | Calpheon Farmhouse | Wheat and parsley for animal feed and high-tier cooking ingredients |
| Wood | Calpheon Logging Camp, East Paylun Logging Camp | East Paylun yields more but does not benefit from the Hernand church Conversion bonus |
| Stone | Perwin Quarry | Small-scale mining mission, tied to House Roberts questline |
| Poison Arrows | Fort Perwin | Best source if you hate farming poison manually, House Roberts questline |
| Camp Money | Arkosa (~11K base), Azirian Manor (~5.5K base), Doohaven Logging Camp (~3.5K base) | Arkosa in the Crimson Desert region unlocks after liberation and is the single highest-paying money mission |
| Mining (boss-gated) | Crimson Mountains quarrying POI near Tashkalp | Pays 5,000 base mining resources per run |
| Armory (early) | War Spike Spear Master (north of the witch’s house, Hernand) | Limited-availability option for early weapon resources |
| Armory (mid) | Steel Spike Armory near Doohaven | Tied to crafting a chainsaw and a Level 2 mining drill |
| Armory (late) | Gorthak Ironworks | Unlocks in Chapter 10 after liberating Gorthak. One of the best weapon-resource dispatches in the game |
One special callout: the Gearmelt area in Drywind Valley is a dense cluster of four valuable POIs sitting right next to each other. The Delician wine production mission yields 56 bottles of Delicia wine, which is one of the best stamina recovery items in the game, and the nearby cacao farm produces cacao for cooking or church donations. Unlocking the whole cluster in one trip is one of the best time investments in the mid-game.
Rare Item and Endgame Dispatches
Beyond raw resources, a handful of dispatches exist primarily to farm hard-to-get crafting materials, skill points, and endgame recipes. These are the ones worth prioritizing once your core loop is stable.
Time Worn Ruins (Crimson Desert region) passively farms abyss artifacts, which you use for unlocking skills and upgrading armor. Because skill-point income from leveling hits a hidden cap, starting Time Worn Ruins dispatches early ensures a steady artifact supply throughout the game. Fallen Abyssal Ruins nearby pay out Abyssal Cores (used for Special Synthesis), though this one includes an annoying flying wizard encounter on the liberation approach. Baldeg Ruins is listed for gold bar production, though community reports so far have skewed toward ores rather than finished bullion.
Sunset Dye House is the only dispatch that passively produces dyes in meaningful quantities. Assyrian Scales unlock near Three Brothers Cliff, gated behind a Serpent’s Shrine mission involving Assyrian the Great Serpent. (You can also manually pick scales off the ground using Axiom Force if you only need a small amount.)
For mech crafting specifically: cog wheels come from a production mission at Marni’s Mysterium (sometimes gated behind research at the Delicia Institute), lubricant from Sargen Tankworks (which also runs weapon production missions for machine gun and flame spitter mech upgrades), mechanical insects from Gorthak Loin Camp in Delicia, and small batteries from the Aeronautical Research Base after liberation. The Emberwind Workshop is worth mentioning too because it handles the dispatch tied to the Cloud Cart air balloon mount, though some players have reported the mount as currently bugged.
The Golden Bear Key
The Golden Bear Key is the single strongest item in the dispatch economy and most players never find it. It is a consumable that, when used, universally doubles the rewards from your dispatch missions. It stacks with skill bonuses, full-stack bonuses, and church Conversion, meaning a fully optimized Arkosa run with a +80% skill stack, a maxed 200% Conversion bonus, and the Golden Bear Key active will absolutely dwarf anything the early game produces.
Unlocking the key requires completing a House Byron faction quest chain that opens after Chapter 8, culminating in a fight against Muzzle, the Dark Justicar. Killing Muzzle drops the key. Some player reports note the bonus occasionally bugging out (either not applying or disappearing from inventory), so use it on your highest-value dispatch run and do not let it sit idle in your stash. One caveat: finishing this questline can remove one of the commonly used time-skip methods tied to the Lord Keg fight, so if you are relying on that trick, complete it before starting the House Byron chain.
Common Mistakes to Avoid
Stacking multiple skilled comrades on one mission. Only one gold-tier Skilled specialist contributes the +40% bonus. Adding a second specialist is wasted. The second body would earn more as the skilled slot on a different mission running in parallel.
Ignoring food production. Almost every mission type draws from the food pool as a cost. One dedicated Freshwater Fishing mission keeps four Escort missions running; skip it and the whole loop stalls the moment your pantry empties.
Running trading wagons. The wagon trade mechanic looks tempting because of the dynamic market prices, but the wagon itself is so slow and fragile that the payout rarely justifies the investment, even at the highest wagon tier. Skip it and run more Estate Security missions instead. Our tips and tricks guide covers other systems with similar “looks great on paper, worthless in practice” traps.
Spreading church donations thin. Because the Conversion bonus is region-specific, donating 50k to four different regional churches gives you four barely-useful buffs instead of one powerful one. Pick the region where you run the most missions and max it first. If that region is the Crimson Desert (Arkosa territory), that is where the money goes.
Gear for Long Sessions
Crimson Desert is the kind of open-world RPG where you sit down to run a couple of dispatches and look up four hours later. Comfortable peripherals matter a lot when you are running camp logistics for an entire evening.

8BitDo Ultimate 2 Controller
Wireless with Hall Effect sticks and Bluetooth
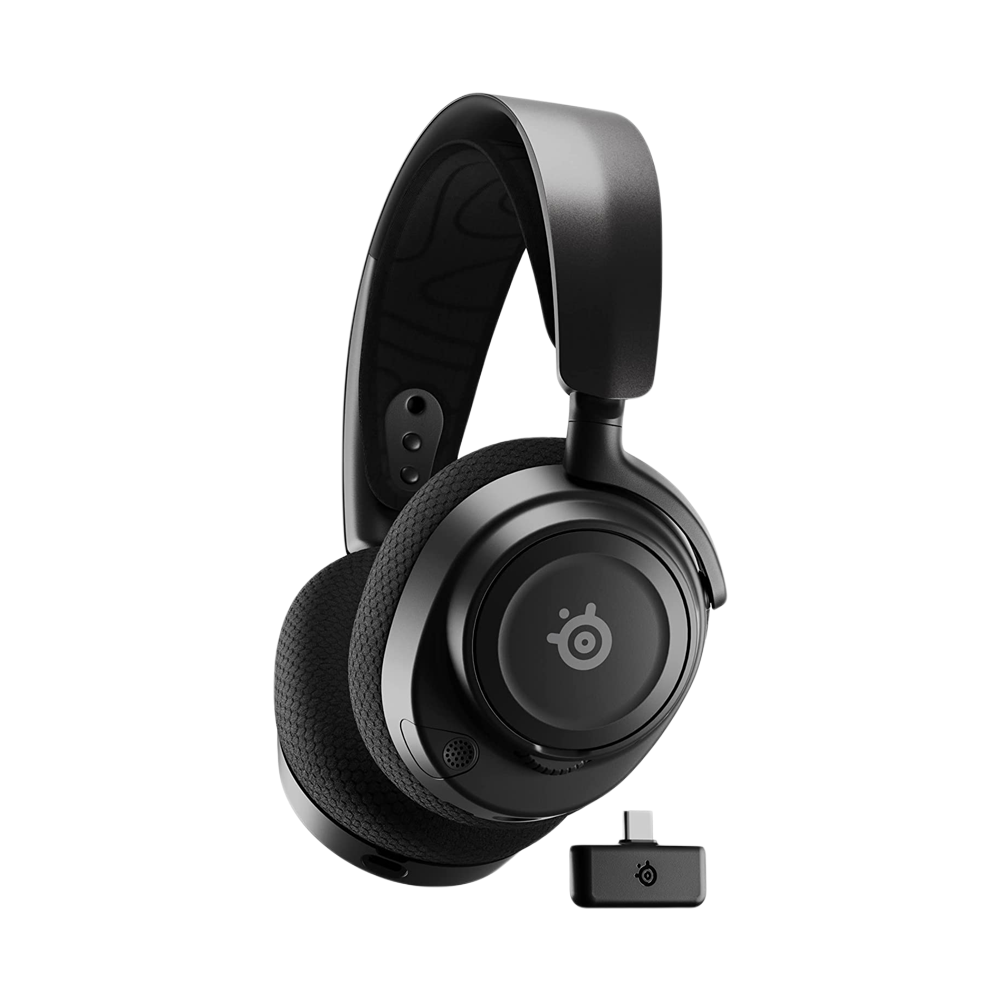
SteelSeries Arctis Nova 7
Wireless with 38-hour battery

Samsung Odyssey G55C 32″ QHD
Curved 165Hz for immersive open worlds
Between gaming sessions, Berry Finds tracks real-time Amazon deals on thousands of everyday products across home, kitchen, beauty, and more so you never overpay on the stuff you buy regularly.
Frequently Asked Questions
When do Crimson Desert dispatch missions unlock?
Dispatch missions unlock during Chapter 3: Howling Hill – Homestead through a small main-story quest called “Dispatch the Howling Hill.” Completing the Howling Hill Camp Expansion mission with your first two freeswords (Luke and Ronald) introduces Ross as the permanent dispatch coordinator.
How do you maximize dispatch mission rewards?
Four multipliers stack together. One gold-tier Skilled comrade on a matching mission gives +40%. Filling every mission slot gives another +40%. Donating camp money at a regional church grants up to 200% Conversion bonus for that region. And the Golden Bear Key consumable doubles all rewards on top of everything else. Stacking all four is the goal.
How do I get more freeswords for dispatch missions?
Complete the Grounds of the Sunrise quest bucket under Faction Quests → Greymane, especially the Embers of Return Rumours missions and Reuniting with Comrades. You can also hire temporary workers with contribution points after defeating the Flame Knight in Chapter 8, and craft unlimited mech workers after Chapter 11 via research at Doohaven Castle.
What is the Golden Bear Key in Crimson Desert?
The Golden Bear Key is a consumable that doubles dispatch mission rewards when used. It drops from Muzzle, the Dark Justicar, at the end of a House Byron faction quest chain that opens after Chapter 8. Note that some players have reported the key’s bonus occasionally bugging out, so use it on your highest-value dispatch run rather than letting it sit in your stash.
Are church donations worth it for dispatch missions?
Yes, once you commit to one region. The Conversion bonus caps at 200%, effectively doubling dispatch rewards, and you buy it by donating camp money at a regional church. The catch is that it only applies to missions inside that region, so donate heavily to one church rather than spreading small donations across multiple regional churches.
Summary
Dispatch missions in Crimson Desert look anemic at first glance and become one of the game’s strongest economies once you understand the multiplier math. Unlock as many POIs as possible by liberating them on foot, scale your workforce through Greymane faction quests plus mech and hired workers, upgrade a small core of Skilled specialists, commit to one region for church donations, and save the Golden Bear Key for a stacked high-value run. A fully tuned dispatch loop produces camp resources faster than you can spend them, and it runs entirely while you explore the rest of Pywel.
If you are still early in the game, our beginner guide covers the fundamentals that make dispatch missions profitable sooner. And once you have camp money to spare, the Bank guide explains how to convert passive dispatch income into real character-wallet silver through Pywel’s investment and robbery systems.