
This guide has been updated with some corrections since it was first published.
Key Takeaways
- Genes define your monsties: every active skill, passive buff, and elemental resistance comes from the 3×3 gene grid
- Rite of Channeling is free: swap genes between any monsties at zero cost, no materials, no sacrifices
- Bingo bonuses stack with threshold rewards: three matching genes in a row trigger a damage boost for that type or element, and hitting bingo thresholds (2, 3, 5 lines) unlocks additional bonuses like crit rate and stamina recovery
- Rainbow genes are wildcards: place one in the center slot to complete up to four bingo lines at once
- Farm rare eggs through habitat restoration: release monsties into habitats, raise ecosystem rank to S, then hunt rainbow-glow eggs for top-tier genes
The gene grid is where Monster Hunter Stories 3 gets deep. Every monstie has nine slots to fill, and the difference between a random gene layout and an optimized one is the difference between struggling against invasive monsters and rolling through them. Once you understand bingo stacking and rainbow gene placement, the system clicks fast.
If you already know which monsties to use (and if you don’t, check our Monster Hunter Stories 3 best monsties tier list), this guide covers how to turn them into endgame killers through gene optimization, bingo stacking, and the Rite of Channeling.
How the Monster Hunter Stories 3 Gene Grid Works
Every monstie has a 3×3 gene grid with nine slots. Genes fill these slots and determine every skill that monstie can use in combat, from active attacks to passive stat buffs. Newly hatched monsties start with 4-6 genes, leaving empty slots you fill through the Rite of Channeling.
Each gene has two properties: an attack type (Power, Speed, or Technical) and an element (Fire, Water, Thunder, Ice, Dragon, or Non-Elemental). These two properties matter for bingo bonuses, which we’ll cover in a moment.
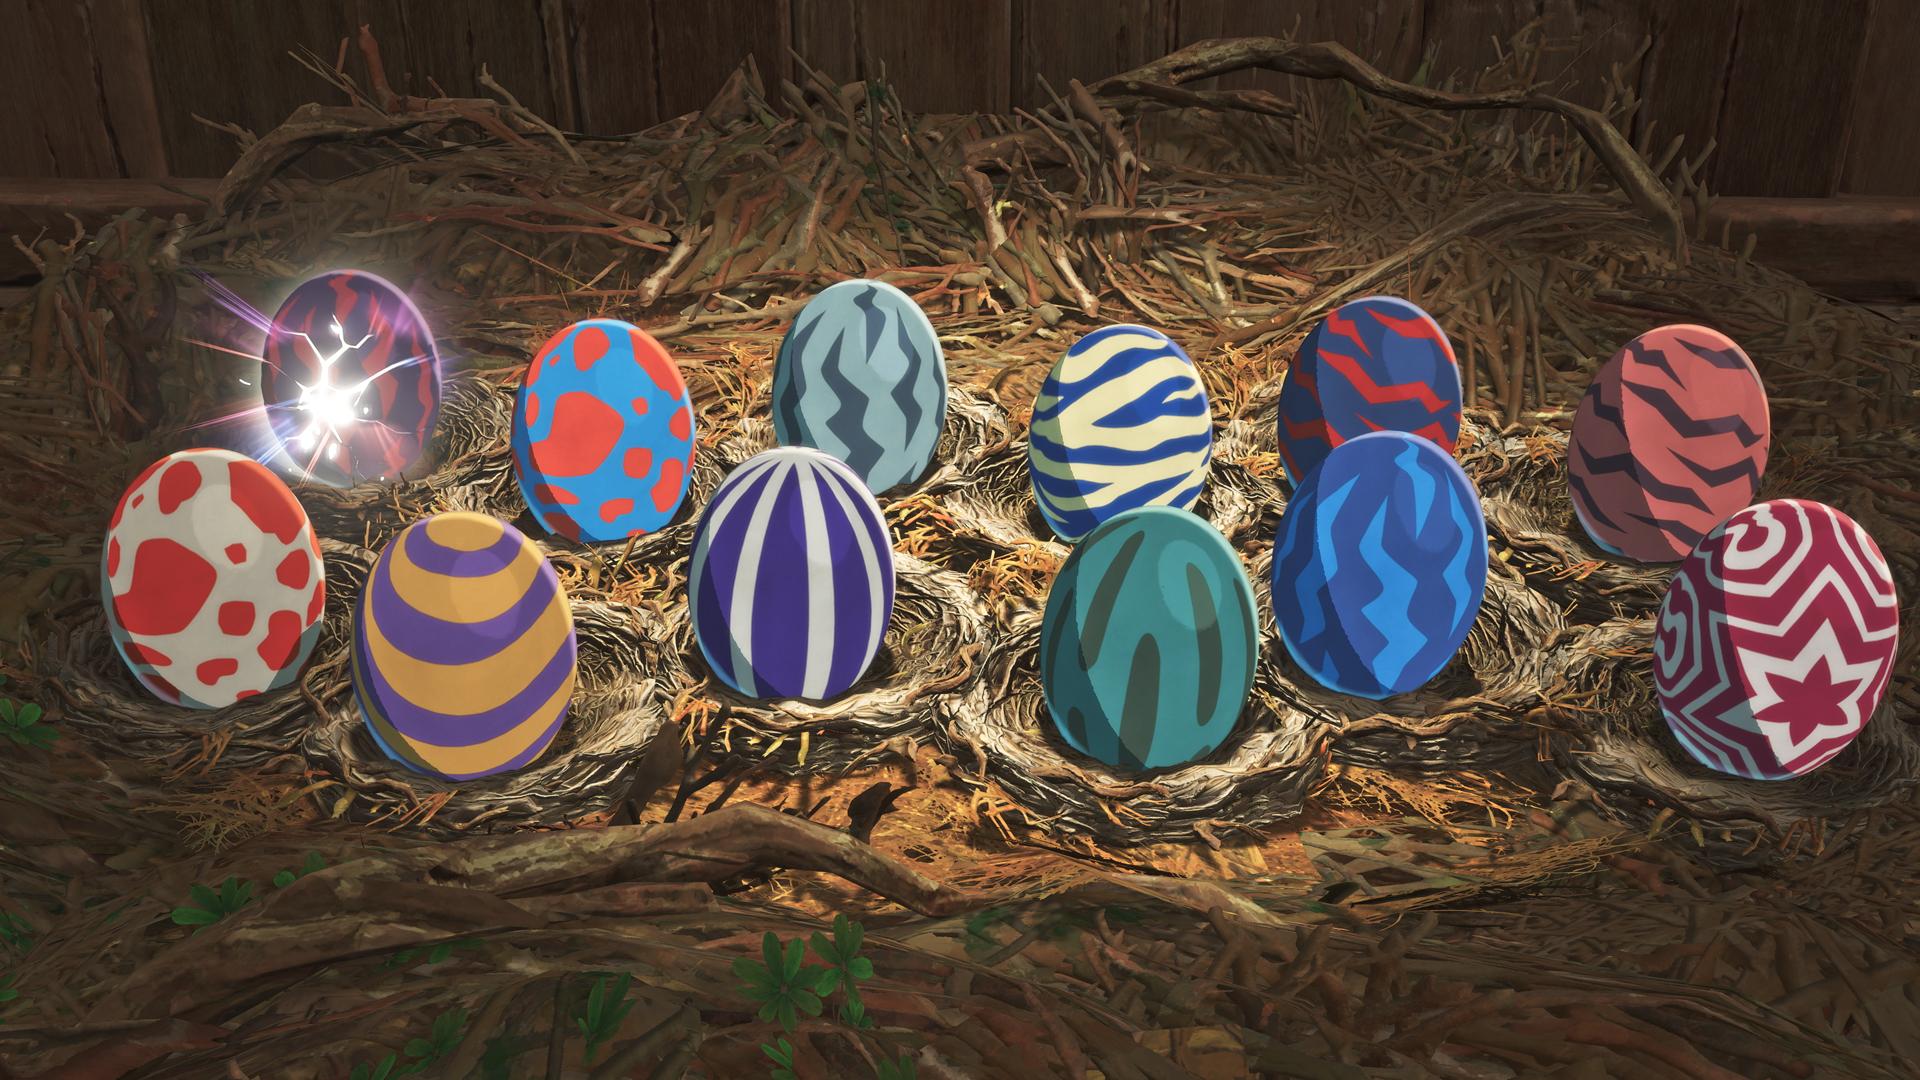
Gene potency follows four size grades: S, M, L, and XL. Higher grades mean stronger effects. Regular eggs yield S and M grade genes, gold (very potent) eggs can yield L grade genes, and rainbow (highly potent) eggs have a chance at XL genes.
Some gene slots start locked. You unlock them by leveling up your monstie or using Catalyst Keys, which are purchasable from Melynx Merchants at camps and also drop from certain quests.
Rite of Channeling Explained
The Rite of Channeling lets you drag and drop genes freely between your entire roster. No cost, no materials consumed, no monsties sacrificed. You select two monsties, pick the genes you want to move, and swap them. Genes are never destroyed in the process.
This is a massive improvement over Monster Hunter Stories 2, where channeling permanently consumed the donor monstie. In Stories 3, you can experiment freely without losing anything.
The system unlocks through the main story in Act 1 (Azuria), after defeating the Feral Purple Gypceros. Once available, you access it from any stable at towns and camps. Two approaches work:
- Fill empty slots first. Pick a monstie with gaps in their grid and pull genes from your bench to fill them. Even a mediocre gene in an empty slot is better than nothing.
- Targeted upgrades. Find a monstie with a specific gene you want (say, Critical (XL)) and swap it onto your main. Hatch extra eggs of that species to farm for their signature genes.
A good habit: keep “mule” monsties on your bench purely as gene storage. Hatch everything, never release monsties with rare genes, and treat your stable as a parts warehouse.
Bingo System: How to Stack Damage Bonuses
The bingo system is where gene optimization gets interesting. Line up three genes of the same type or element in a row (horizontal, vertical, or diagonal) and you trigger a bingo bonus. Each bingo line boosts damage for attacks matching that type or element. Reaching bingo thresholds (2, 3, and 5 completed lines) unlocks additional bonuses including increased speed, starting stamina, stamina recovery, crit rate, and Wyvernfell damage.
The 3×3 grid allows up to eight possible lines: three horizontal, three vertical, and two diagonal. Here’s what each type of bingo does:
| Bingo Type | Effect |
|---|---|
| Element Bingo (e.g., three Fire genes in a row) | Damage boost for that element’s attacks |
| Power Bingo | Damage boost for all Power-type attacks |
| Speed Bingo | Damage boost for all Speed-type attacks |
| Technical Bingo | Damage boost for all Technical-type attacks |
These bonuses stack as you complete more lines. Reaching 2, 3, and 5 completed bingos unlocks threshold bonuses including increased speed, starting stamina, stamina recovery, crit rate, and Wyvernfell damage. The more bingo lines you complete, the stronger your monstie becomes across multiple stats.
Rainbow Genes and Center Placement
Rainbow genes (also called Free Bingo genes) count as every type and element simultaneously. Place one in the center slot (position B2 on the grid) and it participates in all four lines that pass through the center: one horizontal, one vertical, and both diagonals. That single gene can trigger or complete up to four bingo lines on its own.
Rainbow genes drop from highly potent (rainbow-glow) eggs, which come from S-rank ecosystem habitats. They’re rare, but even one transforms a grid. If you only have one rainbow gene, it goes in the center. Always.
Best Gene Build Strategies for S-Tier Monsties
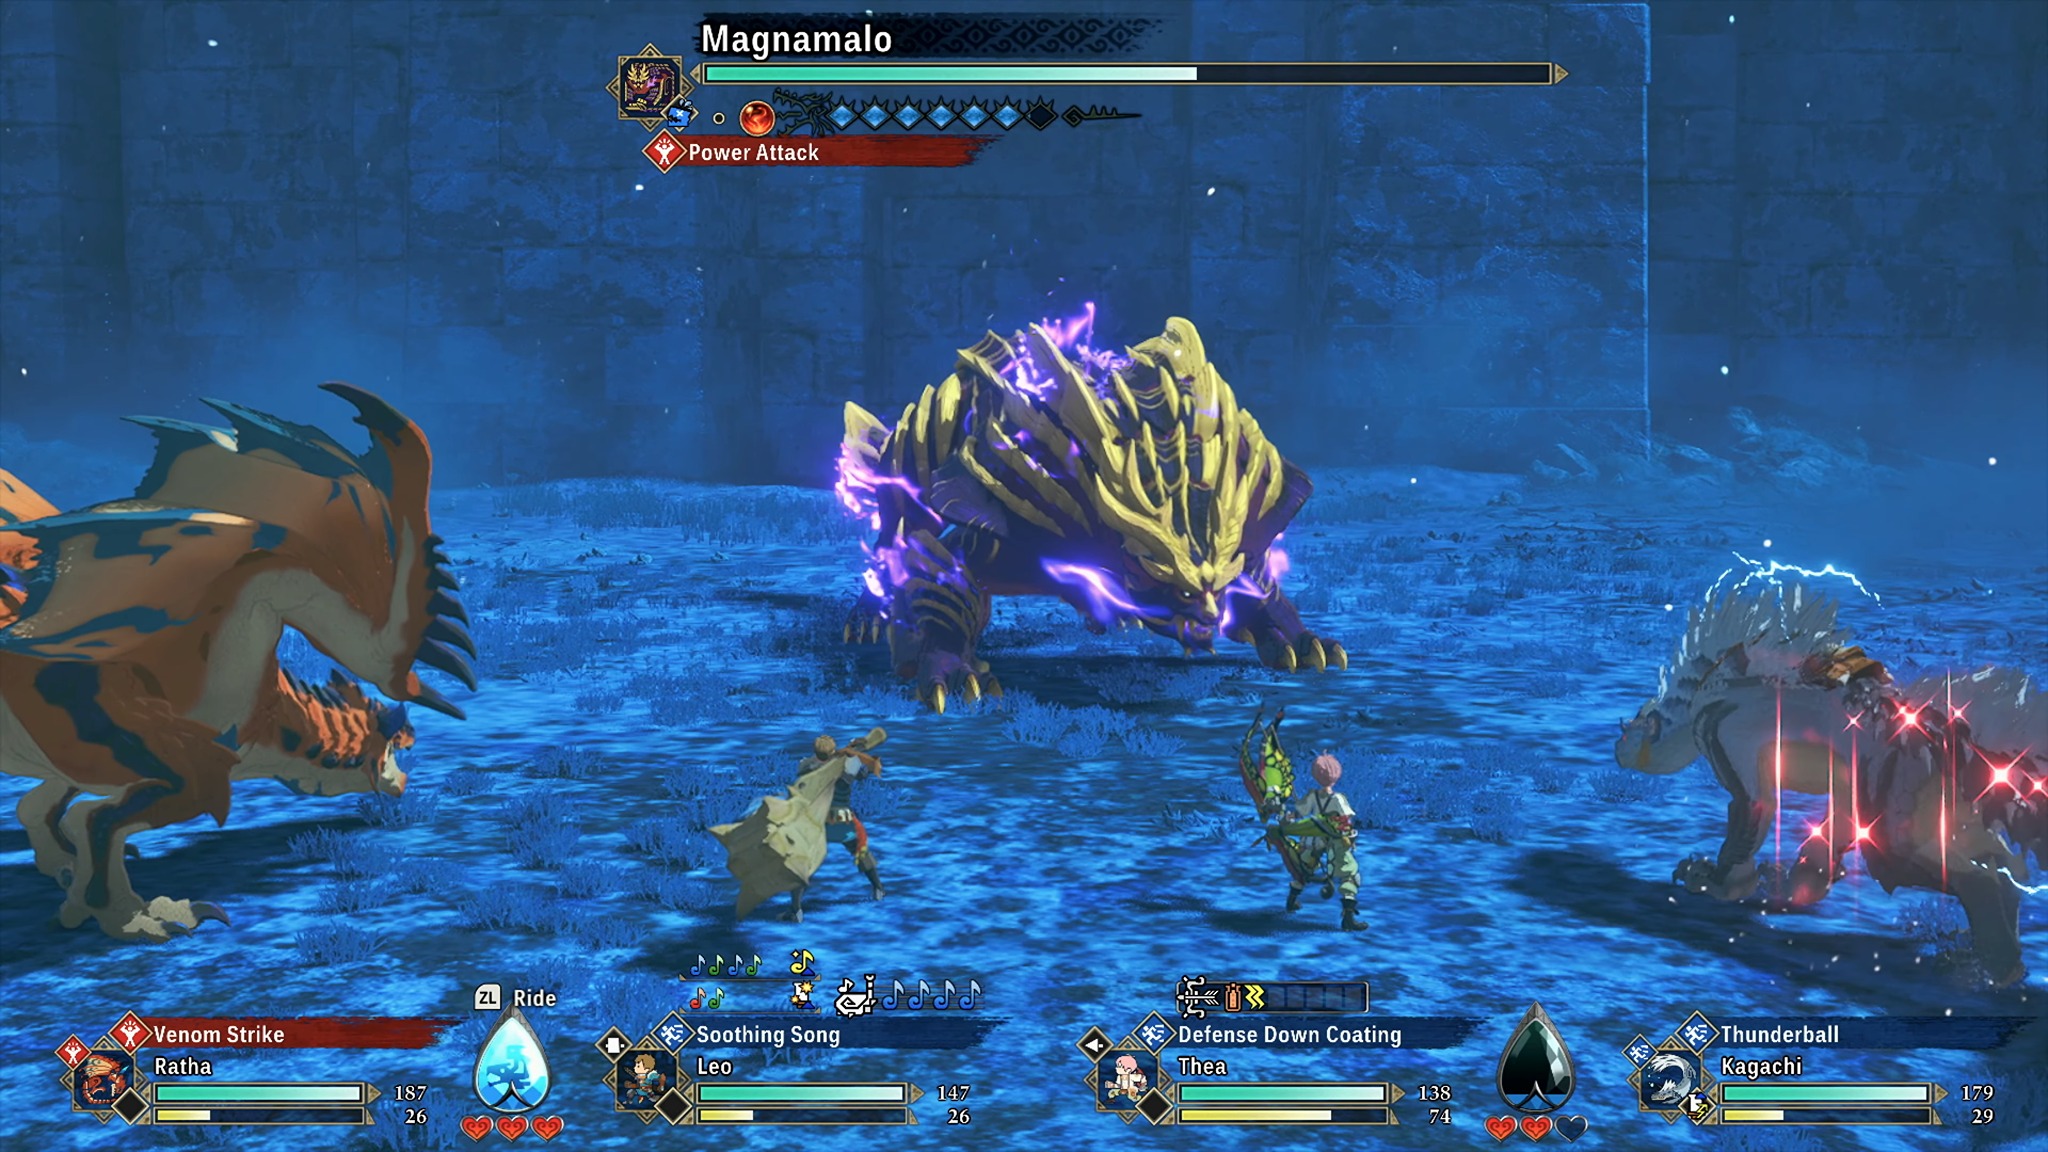
The key to an optimized gene build is matching your bingo lines to the monstie’s attack type. A Speed monstie benefits from Speed bingo lines. A Technical monstie benefits from Technical bingo lines. Element bingo lines (Fire, Thunder, Ice) boost elemental damage on top of that. The goal is to stack as many matching lines as possible while keeping the active skills you need.
These build strategies cover the direction for four endgame monsties. The exact genes you slot depend on your egg collection and what you have available through the Rite of Channeling. Focus on the type and element matching, not on filling specific slots with specific genes.
Dreadqueen Rathian (Speed / Fire)
Dreadqueen Rathian is a Speed-type monstie with Fire element. Her active skills are Toxic Sweep (non-elemental AoE with poison chance, level 1), Flame Tempest (Fire AoE with burn chance, level 20), and Venom Queen (non-elemental single target with severe poison, level 60). Her Kinship Skill, Dual Razor, deals Fire damage to all enemies and grants Attack Up.
Build direction: Stack Speed-type and Fire-element genes to maximize bingo lines. Aim for at least 3 Fire element bingos across the grid. Fill remaining slots with passive genes like Attack Boost, Critical, or Health Boost that share the Speed type or Fire element. Place a rainbow gene in the center slot (B2) to connect diagonal bingo lines. Dreadqueen’s strength is AoE status application, so prioritize keeping her signature skills active while building the grid around Speed/Fire matching.
Boltreaver Astalos (Technical / Thunder)
Boltreaver Astalos is a Technical-type monstie with Thunder element. Its active skills are Ray Blade+ (Technical Thunder attack with paralysis chance), Azure Voltage (boosts Thunder power significantly but reduces defense), and Blue Plasma (Technical Thunder AoE with paralysis). Its Kinship Skill, Astalos Saber, deals Thunder damage to one enemy with high crit chance and grants Attack Up.
Build direction: Stack Technical-type and Thunder-element genes. Boltreaver is a single-target burst damage dealer, so Critical and Attack Boost passives with Technical typing are high priority. Azure Voltage’s defense reduction is a real tradeoff, so consider a Defense Boost gene to offset it. Center the rainbow gene as always. Aim for Technical bingo lines across rows and Thunder element bingos across columns or diagonals. The paralysis from Ray Blade+ and Blue Plasma provides crowd control on top of the damage.
Espinas (Power / Fire)
Espinas is a Power-type monstie with Fire element. It combines paralysis and poison in a single kit, locking enemies down while dealing damage over time. Espinas is found as a hidden boss in Broadleaf Basin (force it to retreat to get its egg) or from eggs in Bountiful Dunes. It sits at the top of most tier lists alongside Dreadqueen and Boltreaver.
Build direction: Stack Power-type and Fire-element genes for maximum bingo lines. Espinas wants Power genes specifically since its attack type is Power. Fill the center with a rainbow gene. Pair offensive Power/Fire genes with Health Boost or Defense Boost passives since Espinas can tank hits while its status effects tick. A single Espinas with a well-built Power/Fire grid can carry through most of the endgame content.
Velkhana (Technical / Ice)
Velkhana is a Technical-type Elder Dragon with Ice element, found in the Serathis region at Glacial Caps. It has high HP and Attack stats with strong defensive utility. Its monstie skills include Icicle Breath (Ice damage with Defense Down), Icicle Storm (Ice AoE with Accuracy Down, level 50), and Whiteout (Ice single target, level 65). Its Kinship Skill is Calamity Glacier. Several of these skills reduce enemy stats, giving Velkhana strong battlefield control.
Build direction: Stack Technical-type and Ice-element genes. Velkhana works as a defensive anchor, so prioritize Defense Boost, Health Boost, and Ice damage genes that share the Technical type. A rainbow gene in the center connects diagonals as always. Run Velkhana against Fire-weak bosses that hit hard. The combination of high base HP, defensive passives, and Ice bingo damage gives it staying power that glass cannon monsties lack.
Gene Progression: Early, Mid, and Endgame
Don’t worry about optimized grids during the first 10 hours. Gene optimization matters at different levels depending on where you are in the story.
Early Game (Azuria)
Fill empty slots. That’s it. Any gene in an empty slot is an upgrade. Focus on having monsties that cover all three attack types (Power, Speed, Technical) so you can win Head-to-Head encounters against any pattern. Don’t get attached to specific monsties yet. Hatch everything, use what works, and release the rest into habitats to start raising ecosystem ranks early.
Mid Game (Cataracts and Galyad)
Start paying attention to bingo lines. Try to get at least one element bingo per monstie. Farm retreat dens (the green cave icons that appear after forcing a monster to retreat in combat) for targeted genes. Start keeping mule monsties for gene storage instead of releasing everything.
Endgame (Post-Story)
This is where the builds above come in. Push ecosystem ranks to S in every region, hunt rainbow-glow eggs for Platinum (XL) genes and rainbow genes, and start building toward maximum bingo counts. Invasive monsters are the real endgame test, and they punish unoptimized grids hard. If you haven’t read our beginner guide and need a refresher on core systems, start there first.
Excursions and Environment Skills
Excursions are the other half of monstie optimization that most players overlook. Send a monstie on an excursion to a specific region and it gains stat bonuses plus an Environment Skill tied to that area’s ecosystem rank.
Each excursion requires a Training Talisman, purchased from the Melynx Emporium with Silver Trade Points. You can only send one monstie per excursion, and the stats and skills gained are permanent. At S-rank ecosystems, Environment Skills have Awakened forms that activate when your gene grid meets specific conditions, usually matching the region’s element.
Ratha is unique here. As the story’s flagship monstie, Ratha benefits from all regions equally, making it a solid candidate for excursion investment if you use it as a main.
Tip: Send your main team monsties on excursions to regions that match their element. A Fire monstie excursion in a Fire-element region gives the strongest stat bonuses and unlocks the best Awakened Environment Skills.
Recommended Gear for Long Sessions
Monster Hunter Stories 3 runs 30-50 hours for the main story, and endgame gene farming adds dozens more. If you’re grinding ecosystem ranks and egg farming for hours at a time, comfortable gear makes a real difference.
Monster Hunter Stories 3: Twisted Reflection
Nintendo Switch 2

PowerA Advantage Wireless Controller
Switch 2, Hall Effect sticks

SteelSeries Arctis Nova 1
Lightweight, multi-platform
Frequently Asked Questions
Can monsties use genes from a different element?
Yes. A Fire monstie can equip Water, Thunder, Ice, or Dragon genes. The gene’s element still counts for bingo purposes, so mixing elements will break element bingo lines. For maximum damage, keep genes element-matched. For utility (healing, buffs), off-element genes work fine.
Does the Rite of Channeling destroy the donor monstie?
No. Unlike Monster Hunter Stories 2, channeling in Stories 3 is completely free and non-destructive. Genes swap between monsties without consuming either one. You can move the same gene back and forth as many times as you want.
How do I get rainbow genes?
Rainbow genes come from highly potent eggs, which have a rainbow glow when you pick them up. To find these eggs consistently, raise a habitat’s ecosystem rank to S by releasing multiple monsties of the same species into it. Then farm the rare and super rare dens in that region at night for the best odds.
What are Catalyst Keys and where do I find them?
Catalyst Keys unlock locked gene slots on your monsties. You can buy them from Melynx Merchants at camps. Leveling your monstie to around level 60 (varies by species) also unlocks locked slots naturally without keys.
How many monsties can I store?
Your stable can hold a large number of monsties. Since genes transfer freely and never get consumed, keeping a large roster gives you a bigger pool of genes to work with. Don’t release monsties with rare genes.
Summary
The gene system in Monster Hunter Stories 3 is deep, but the core loop is simple: hatch eggs, fill grids, stack bingo lines, repeat. Start by filling empty slots. Move to single-element bingo lines in the mid game. By endgame, aim for the 6-8 bingo builds above using rainbow genes and Platinum-tier passives. For the strongest genes, raise Ecosystem Rank to S through habitat restoration to unlock rainbow eggs with S-rank gene pools.
The Rite of Channeling being free and non-destructive means you can experiment without risk. Try different gene layouts, swap things around, and find what clicks for your playstyle. Just remember: Monster Hunter Stories 3 is a 50+ hour game, and optimized genes are the difference between breezing through invasive monsters and hitting a wall.