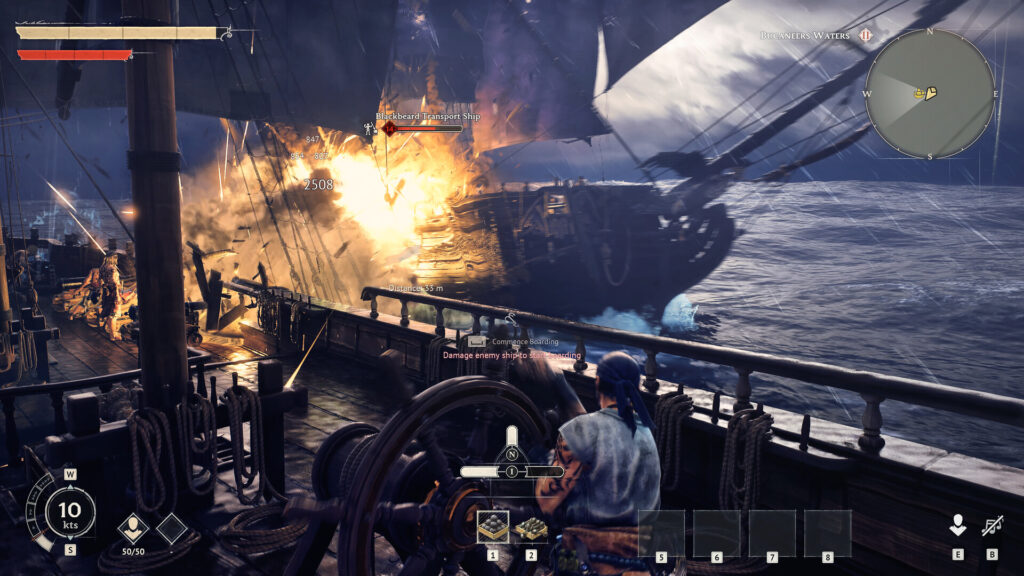
Windrose launched into Early Access on April 14 with over 500,000 copies sold and 107,000 concurrent players on Steam. The pirate survival RPG from Windrose Crew combines Souls-lite combat on land with ship battles at sea, and it buries several of its most important systems behind menus, tooltips, and mechanics that take hours to discover on your own.
This guide covers the mechanics that matter most in the first 10-20 hours: stamina management, the comfort system, food stacking, stat resets, fast travel shortcuts, ship cannon rotation, and resource tricks that save real time. Every tip here comes from hands-on play and community testing during the first week of Early Access.
Key Takeaways
- Stamina matters more than health: invest in Endurance early and never let the stamina bar hit red, or recovery slows to a crawl
- Two food buffs stack at once: eat two different foods before every fight to compound stat boosts and temporary health
- Free stat resets change how you play: respec stat points into Vitality for combat, then swap to full Endurance for resource runs with zero cost
- Structures refund 100% of materials: build temporary outposts anywhere and demolish them when you move on
- Stamina Matters More Than Health
- The Comfort System and Your Rested Buff
- Stack Two Food Buffs Before Every Fight
- Combat Rewards Movement, Not Blocking
- Six Stats, Free Resets, and How to Use Them
- Fast Travel and Boat Tricks
- Ship Combat Rotates Three Cannon Sides
- Resource Tricks Worth Knowing
- Gear for Long Sessions
- Frequently Asked Questions
- Summary
Stamina Matters More Than Health
Stamina controls everything in Windrose. Sprinting, dodging, swinging weapons, mining ore, and chopping trees all drain the same bar. Health exists to absorb mistakes. Stamina determines whether you can avoid making them in the first place.
The critical rule: never let the stamina wheel flash red. When stamina hits zero, your character enters a “winded” state where recovery takes significantly longer than if you had stopped at even a small sliver remaining. In combat, this means death. Stop attacking or dashing at roughly 20-30% remaining, let the bar refill, then re-engage.
Early stat points go into Vitality for survival, but Endurance should be your second priority. Each point increases your maximum stamina pool, which directly translates to more dodges, more swings, and longer mining sessions before needing a break.
The Comfort System and Your Rested Buff
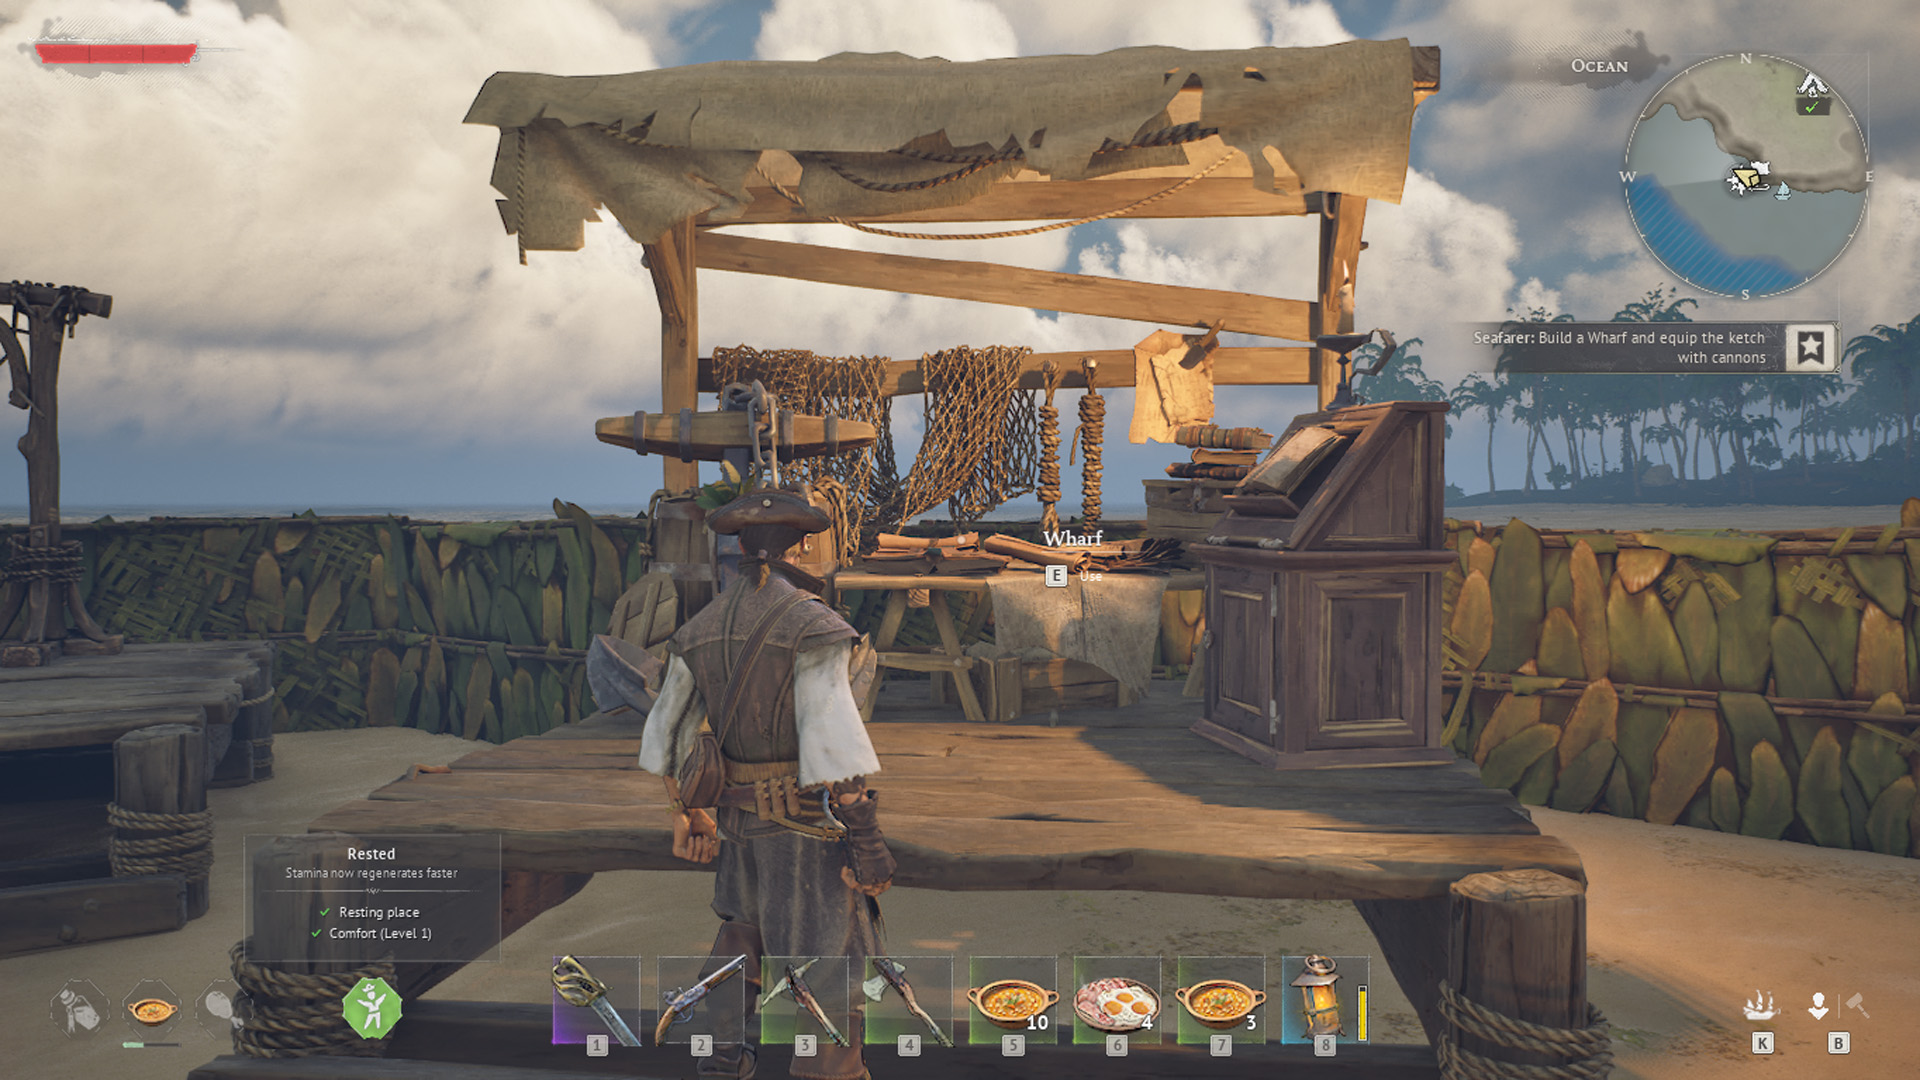
The Rested buff gives you dramatically improved stamina regeneration. You activate it by standing near a bonfire or firecamp, and its duration depends on your base’s Comfort Level. A bare-bones base gives a few minutes. A well-furnished base extends the buff to 30 minutes.
Comfort increases when you place one decoration item from each furniture subcategory (stool, table, bed, storage, etc.) near your bonfire. You do not need multiples from the same subcategory. One of each type adds comfort points, and each new category raises the cap. Check the build menu’s decoration tab to see which subcategories you have covered.
While exploring, place firecamps along your route to refresh the Rested buff without returning to base. Carry the materials for a temporary bonfire, tent, and storage basket on every expedition. Since structures refund 100% of their materials when demolished, there is no cost to building and tearing down camps as you go.
Stack Two Food Buffs Before Every Fight
You can have two food buffs active at the same time. This is one of the strongest early-game advantages because most of your effective health actually comes from food rather than your base Vitality stat. Eating two different foods before combat compounds the bonuses.
Early food options include boiled crab, bananas, cooked meat, and coconuts from palm trees. As you unlock cooking recipes, aim for combinations that stack a stat buff (like +10 Vitality from Spicy Chicken with Sweet Potato) with a stamina buff (like Coconut Milk with Bananas for +max stamina). Carry 10 pieces of each food type during exploration.
Bandages are your cheapest healing option (1 Coarse Fabric at a workbench), but they heal over time rather than instantly. Create distance from enemies before using them. The Doctor NPC, who appears after you mine copper, provides free healing potions every in-game hour.
Combat Rewards Movement, Not Blocking
Windrose uses a Souls-lite combat system where attack animations cannot be cancelled. Spamming attacks leaves you locked in place and vulnerable. The pattern that works: hit once or twice, retreat a short distance, then use a heavy attack or running attack as the enemy closes the gap.
Press T to lock onto an enemy (or enable auto-lock in settings). Dash with CTRL, which costs significant stamina but provides essential mobility. Walking backward forces enemies to pursue you, creating natural attack windows without spending stamina on dodges.
Parrying is stronger than blocking. Tap the block button right as an enemy winds up their attack to perform a parry, which staggers them and depletes their poise. Most enemies have 2-3 poise shields. Once poise breaks, you get a free critical strike window. Holding block continuously drains your block bar and leaves you open when it runs out.
Watch for red-highlighted attacks. These cannot be blocked or parried. Dodge them with CTRL. Also note the pale sections on your health bar after taking damage. Attacking shortly after being hit recovers a portion of that pale health, rewarding aggressive play within the hit-and-retreat rhythm.
Six Stats, Free Resets, and How to Use Them
Windrose has six stats, each tied to specific weapon types:
| Stat | What It Does |
|---|---|
| Strength | Damage with Clubs, Maces, Halberds |
| Agility | Damage with Sabers, Greatswords, Blunderbusses |
| Precision | Damage with Rapiers, Pistols, Muskets |
| Mastery | Base critical hit chance across all weapons |
| Vitality | Maximum health |
| Endurance | Maximum stamina |
You can reset stat points for free at any time (talent resets may cost a rare currency as the game evolves through Early Access). This changes how you approach the game entirely. Dump everything into Vitality for your first few hours to survive early combat. Once you settle on a weapon type, shift to roughly two-thirds in your primary damage stat and one-third in Endurance. Heading out on a long resource-gathering run? Respec into full Endurance for maximum mining and chopping stamina, then switch back before your next boss fight.
For talents, the Toughguy branch offers strong early picks: Marathon Runner (additional stamina), Stitches and Rum (increased healing), and Flawless Defence (reduced block poise cost). If you prefer an agility build, the Fencer branch’s Agile talent reduces dash and jump stamina cost by 15%.
Fast Travel and Boat Tricks
Fast Travel Bells are craftable waypoints, and you can have up to 10 active at once. Find your first bell in the Smuggler’s Den, then craft additional ones at a workbench. Place bells outside dungeons, near resource deposits, and at your main base. Drop one before entering any dungeon, because enemies do not recover health between your deaths. You can brute-force tough encounters by respawning at the bell and running back in.
Your ship doubles as a fast travel hub. Press K to summon your boat to the nearest shoreline. Once you take the wheel and start steering, open your map and fast travel directly from the water. Standing on the deck without steering does nothing. You have to be actively at the helm.
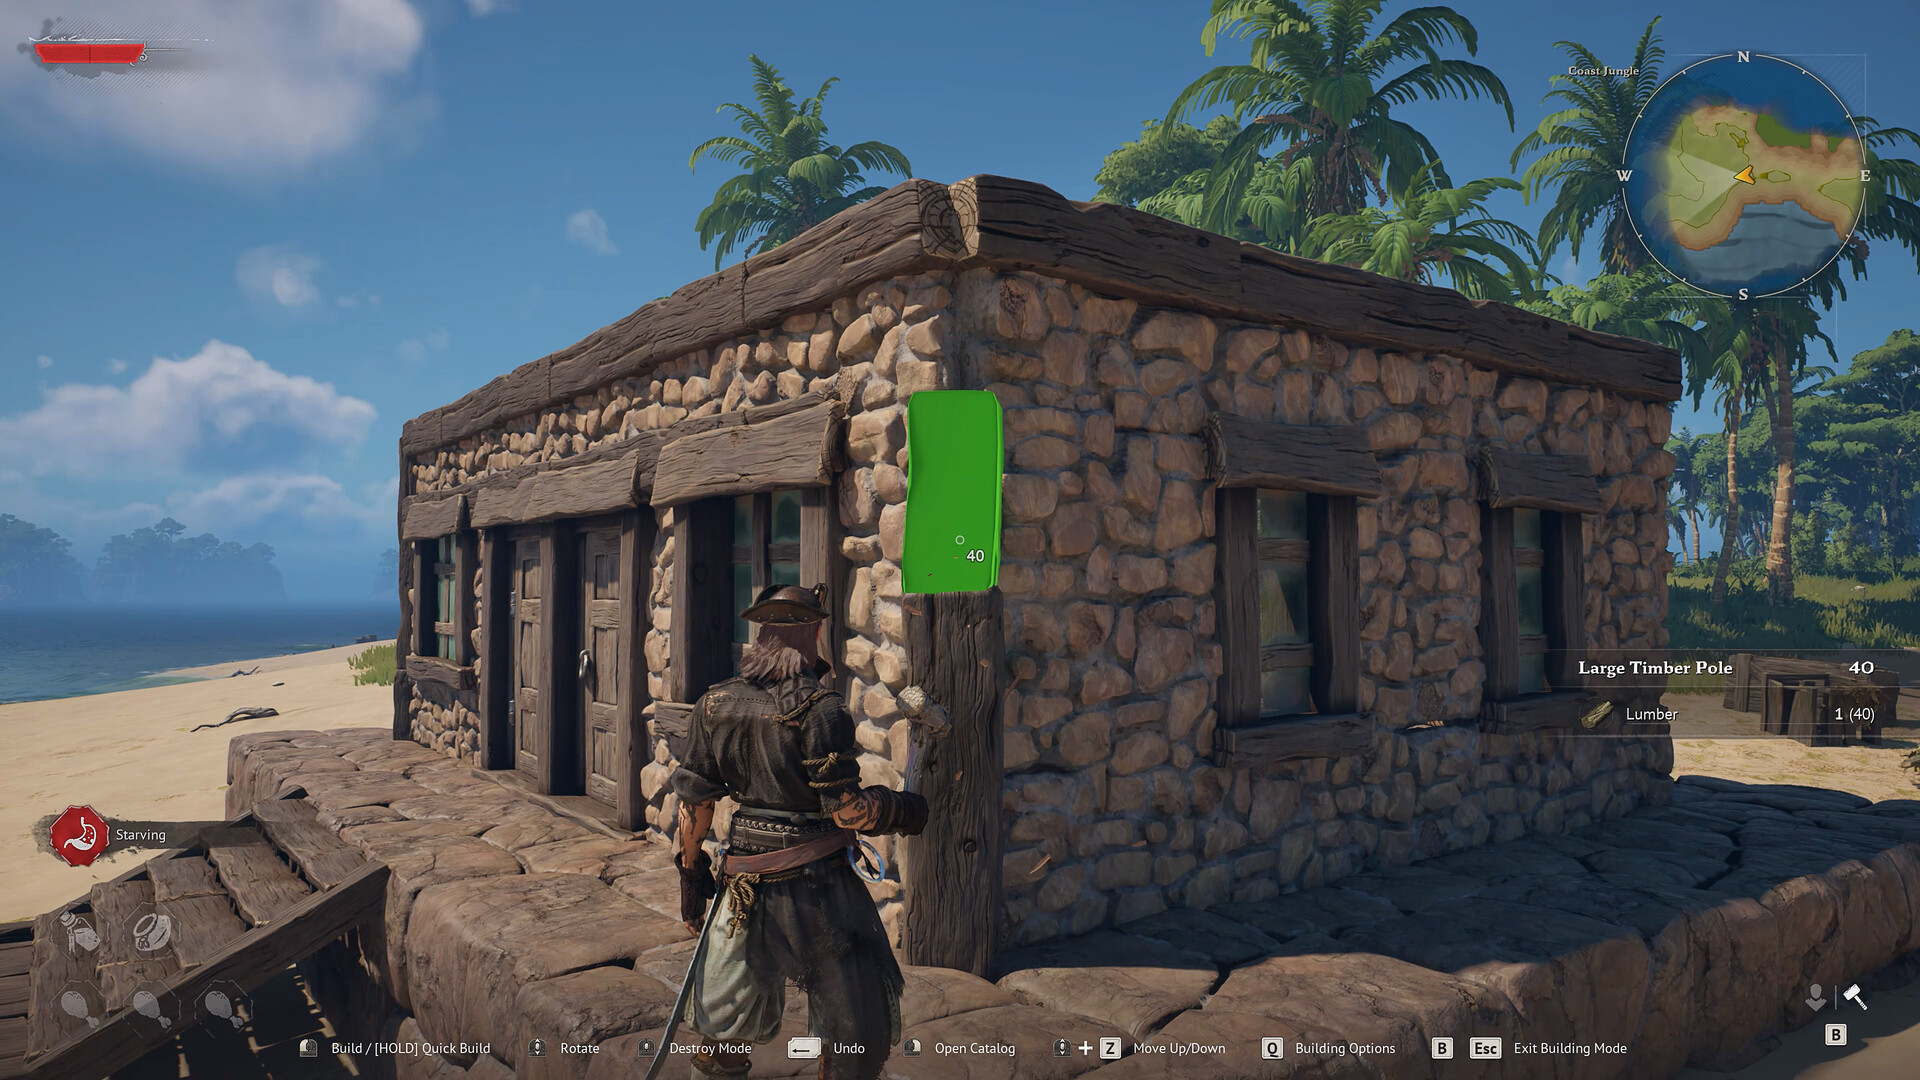
Since demolishing any structure refunds 100% of materials, treat building as temporary. Carry materials for a tent (respawn), bonfire (Rested refresh), Fast Travel Bell (quick return), and storage basket (resource overflow). Build a temporary camp, clear the area, demolish everything, and move on without losing a single resource. If you enjoy this kind of survival base-building loop, our Whiskerwood beginner guide covers a similar approach in a colony sim with the same resource-management rhythm.
Ship Combat Rotates Three Cannon Sides
Your ship fires cannons from three independent sides: Left, Right, and Front. Each side has its own cooldown timer. In early battles with basic 12-pounder cannons (roughly 11-second reload), rotate between two sides to maintain constant fire. Against multiple enemies or Elite ships, use all three sides to maximize damage output while repositioning.
Chain Shot is your secondary ammo type and it targets sails specifically. Landing enough chain shots on an enemy’s sails applies a debuff that slows them significantly, making them both offensively weak and defensively vulnerable. Against tough encounters with multiple ships, disable the most dangerous ship’s sails first, then focus fire on the others.
Bring Repair Kits for mid-combat ship maintenance and Grog for crew buffs (increased damage, faster reload, and resilience). Sink weaker ships first and board only the final target. You can recover Repair Kits from wreckage. If your ship sinks entirely, repair it at the Wharf using 20 wood. Press K to respawn it fully repaired.
Ship progression starts with the Ketch (fast, easy to handle) and advances through Brigantines and Frigates via the Brethren of the Coast faction. Visit Tortuga’s Bounty Agents to exchange Pirate Insignias for faction reputation, and check Provisioners for ship upgrades and Naval Tactics buffs.
Resource Tricks Worth Knowing
Shovel for plant fiber. Craft a shovel and dig underneath foliage instead of slashing bushes. A single scoop yields a massive pile of plant fiber compared to the handful you get from hacking at bushes with a weapon.
Disassembly table for old gear. Break down obsolete weapons and armor at a disassembly table to recover nails, copper, and other materials. This is better than dropping old equipment or letting it clutter your inventory.
Fell trees into each other. Angle your axe swing so a falling tree knocks down a second tree. This doubles your wood yield per swing in dense forests.
Scallop shells contain pearls. Right-click scallop shells in your inventory to extract pearls, which work as emergency ammunition and trading currency.
Enemies do not regenerate health. When you die and respawn, enemies stay at whatever health they had when you went down. Place a Fast Travel Bell nearby and wear them down across multiple attempts if needed.
Empty every chest in a point of interest. XP from points of interest only triggers when all chests in the area are emptied. Dump unwanted items on the ground if your inventory is full. Just make sure every container is opened.
Upgrade tools before weapons. Copper-tier axe and pickaxe provide 50% faster gathering. That efficiency compounds over every resource run. Prioritize tool upgrades at the smelting furnace before crafting copper weapons.
Gear for Long Sessions
Windrose is a marathon game. Between island exploration, base building, and ship combat, sessions run long. A comfortable setup helps.

SteelSeries Arctis Nova 7
Wireless with 38-hour battery life

SteelSeries Apex Pro TKL
Adjustable actuation for fast inputs

Logitech G502 X Plus
Wireless with HERO 25K sensor
Between gaming sessions, Berry Finds tracks real-time Amazon deals on thousands of everyday products across home, kitchen, beauty, and more so you never overpay on the stuff you buy regularly.
Frequently Asked Questions
Can you change the difficulty after starting a world in Windrose?
No. Difficulty is locked at world creation. The four options are Calm Waters (reduced enemy damage), High Seas (the intended experience), Storm’s Edge (harder enemies), and Captain’s Choice (fully customizable modifiers up to 500%). If this is your first survival game, Calm Waters gives you room to learn without constant deaths.
How does co-op work in Windrose?
Co-op supports up to four players in player-hosted sessions. Dedicated servers are available through Nitrado (the official hosting partner) and other providers like G-Portal and Host Havoc, with slots ranging from 4 to 32 players. All players share progression, can divide resource gathering and base building, and crew the same ship during naval combat. Press B while aboard to start sea shanties with your crew.
What is the best starting stat allocation in Windrose?
Dump early points into Vitality to survive your first combat encounters. Once you find a weapon type you prefer, respec (free at any time) into roughly two-thirds in that weapon’s damage stat and one-third in Endurance. For resource runs, temporarily respec into full Endurance.
How many fast travel points can you have active at once?
Up to 10 Fast Travel Bells can be active simultaneously. Find your first bell in the Smuggler’s Den and craft additional ones at a workbench. Place bells outside dungeons, near resource deposits, and at your base for efficient travel.
Is Windrose PvP or PvE?
Windrose is PvE only. There are no PvP systems. Combat is against AI enemies, wildlife, and bosses on islands, plus enemy ships at sea. The game is currently PC-exclusive on Steam in Early Access, with an estimated 1-2 years until full release.
Summary
Windrose front-loads its complexity. The first few hours feel punishing because the stamina system, comfort mechanics, food stacking, and free respec options are easy to miss entirely. Once those systems click, the survival loop tightens up and the pirate fantasy starts delivering. Manage your stamina bar, keep the Rested buff running, stack food buffs, and build temporary outposts everywhere you go.
For more tips-and-tricks coverage on recent launches, our Crimson Desert tips and tricks guide covers a similarly deep action RPG that rewards understanding its hidden systems. And if survival colony sims are your thing, the Timberborn beginner guide breaks down another game where preparation before the crisis hits is the entire point.