
TL;DR
- Best solo classes: Wylder (safest), Executor (highest ceiling), Ironeye (best ranged)
- Enemy HP drops to 1/3 in solo, but damage stays the same. One mistake ends runs.
- Buy Wending Grace every run (10,000 runes from any merchant). It’s a self-revive.
- Minimum levels: 6-7 for Night 1, 11-12 for Night 2, 13+ for the Nightlord
- Match your weapon’s element to the Nightlord’s weakness. Greases work on everything.
Solo Nightreign is a different game. After running dozens of solo expeditions across every Nightfarer, the biggest lesson is this: co-op teaches you to be aggressive, solo teaches you to be patient. Bosses hit identically hard whether you have two teammates or zero, and there’s nobody to pull aggro while you heal. If you’re coming from the beginner guide and want to push into solo territory, this guide covers the classes, builds, and routing that consistently clear runs alone.
How Elden Ring Nightreign solo mode works
Set Multiplayer to “Single Player” under Match Making settings. The game adjusts several things to compensate:
- Enemy HP drops to 1/3 of co-op values. Gladius has 11,328 HP solo vs. 33,984 in trios.
- Damage stays identical. A grab attack that one-shots you in co-op still one-shots you alone.
- Rune rewards increase by roughly 60% to compensate for no team splitting.
- Auto-revival: You get one free revive per day with temporary HP regen afterward.
- Wending Grace: A solo-exclusive consumable from every merchant (10,000 runes). Revives you at 50% HP with additional regen. Buy one before every Nightlord fight.
The catch: bosses were designed for one player to hold aggro while another deals damage. Solo, you’re doing both. Damage openings are smaller, and you can safely land 1-2 hits per window at most.
Best Elden Ring Nightreign solo classes
Not every Nightfarer is built for solo. Some kits lose most of their value without teammates. Here’s how all 10 classes rank for solo play, based on self-sufficiency, damage output, and survivability.
| Tier | Class | Why |
|---|---|---|
| S | Wylder | Sixth Sense gives free revives at each Grace. Claw Shot mobility. STR/DEX versatility. |
| S | Executor | Suncatcher parry is the best defensive tool in the game. Dual S-scaling (DEX/ARC). Ultimate heals to full. |
| S | Ironeye | Ranged kiting keeps you safe. Marking doubles as a dodge. Eagle Eye improves loot drops. |
| A | Raider | Highest STR scaling (S). Knockdown immunity during skills. Strong but absorbs more hits. |
| A | Undertaker | Dual A-scaling (STR/FAI). Self-sufficient hybrid with excellent stance damage. |
| B | Guardian | Highest HP (280) but low damage. Wings of Salvation ultimate is nearly useless solo. |
| B | Recluse | Dual S-scaling (INT/FAI) for massive spell damage, but glass cannon (200 HP, 54 Stamina). |
| B | Duchess | High mobility but fewer i-frames on dodge (10 vs standard 13). Lacks self-healing. |
| C | Revenant | Summons get destroyed by Nightlords. Necromancy passive useless on Day 3. |
| C | Scholar | Support kit struggles alone. Managing aggro while using Analyze is painful. |
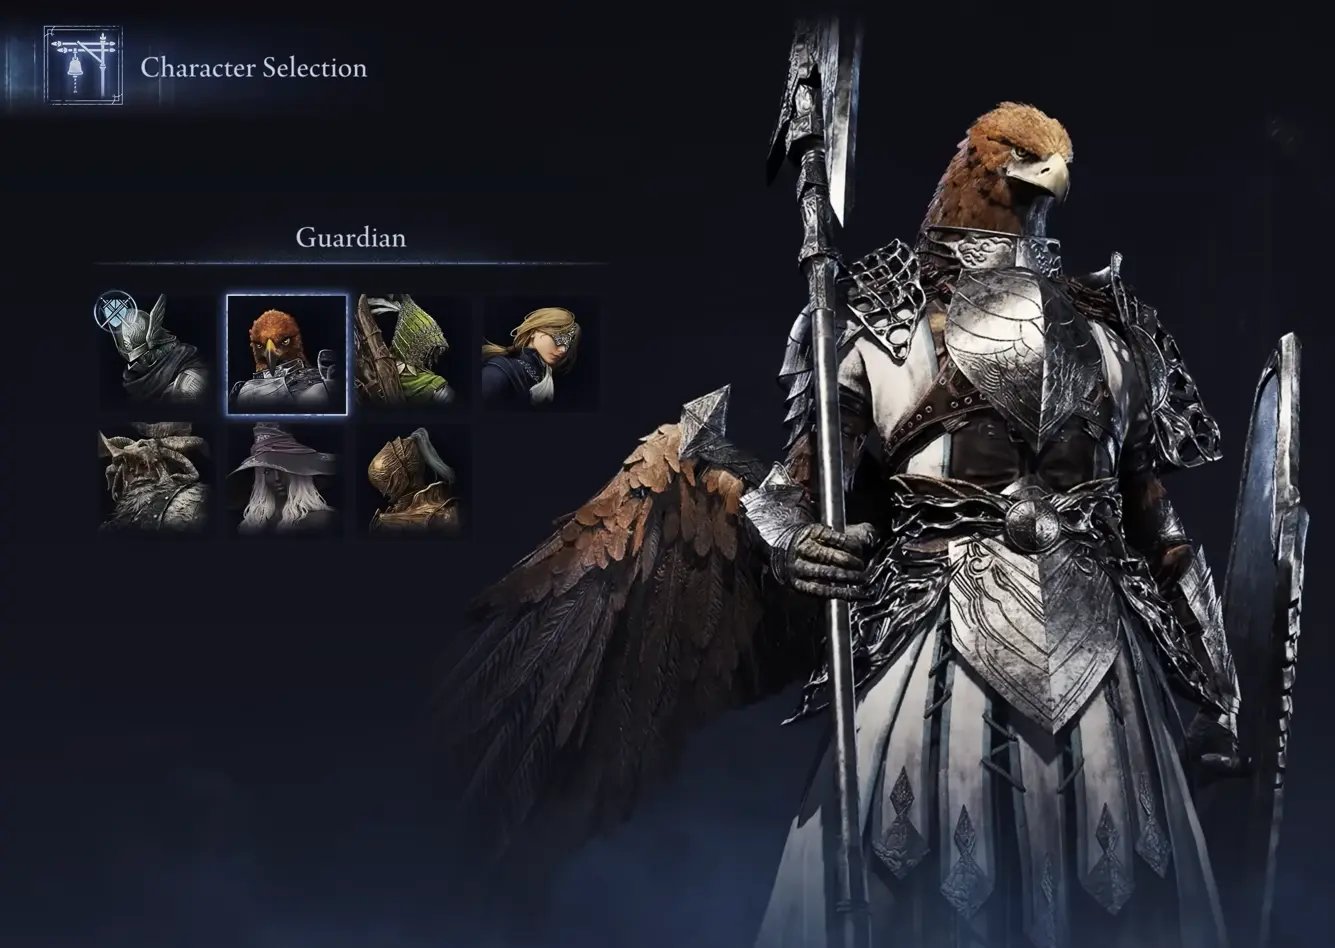
If you want the full breakdown of every class’s stats and abilities for team play, check our builds guide.
3 proven solo builds
Build 1: Wylder greatsword frontliner
The safest solo build in the game. Sixth Sense refreshes at every Site of Grace, so you get multiple second chances per run. Claw Shot closes gaps instantly at zero stamina cost, and greatswords stagger anything that isn’t a Nightlord.
- Weapons: Ordovis’s Greatsword or Gargoyle’s Blackblade (Holy damage for Gladius/Heolstor). Flamberge early game for Bleed. Blasphemous Blade for Fire-weak bosses.
- Talismans: Viridian Amber Medallion (+12% Stamina), Green Turtle Talisman (stamina recovery), Dragoncrest Shield (+15% physical negation)
- Relics: Wylder’s Earring (+1 skill use, fire on arts), Grand Luminous Scene (STR/DEX +3), Grand Tranquil Scene (Vigor/Poise +3)
- Dormant Powers: Prioritize Stamina, Physical Attack, Max HP, and Flask Restoration
Two-hand your greatsword for maximum damage. Apply elemental greases matching the Nightlord weakness before every boss fight. Use Onslaught Stake on staggered enemies for burst damage.
Build 2: Executor parry katana
The highest-skill, highest-reward solo build. Suncatcher turns you into a Sekiro character with a surprisingly forgiving deflect window. Dual S-scaling in DEX and ARC means your status ailment buildup is brutal.
- Weapons: Rivers of Blood (Bleed monster), Nagakiba (longest katana reach), Serpent Bow as a ranged secondary
- Talismans: Lord of Blood’s Exultation (+20% attack on Bleed proc), Millicent’s Prosthesis (+5 DEX, successive attack boost)
- Relics: Night of the Wise (Poison on starting weapon, damage near poisoned enemies), Night of the Miasma (Frostbite, Chilling Mist skill)
- Key technique: “Switch-parrying” lets you swap between your main weapon and Suncatcher mid-combo, using the weapon switch animation as a parry
Dual-wield katanas for maximum Blood Loss procs. After multiple deflections, Suncatcher enters its “true form” for massive Holy and poise damage. But swap back to your main weapon before landing critical hits since Suncatcher’s normal attacks are weaker. Save the Crucible Beast ultimate for emergencies; it heals you to full.
Build 3: Ironeye ranged kiter
If patience is your strength, Ironeye is your class. You keep maximum distance, apply Marking for amplified damage, and whittle bosses down without ever needing to trade hits.
- Weapons: Lion Greatbow (highest base damage, faster than average greatbow), Harp Bow (fastest arrows, Barrage skill), Serpent Bow (Poison DoT)
- Talismans: Arrow’s Reach Talisman (eliminates 100% of range damage falloff, mandatory), Millicent’s Prosthesis
- Relics: Edge of Order (Ironeye-specific, Holy damage + bow attack boost), Night of the Champion (max Stamina, 2.5% HP heal on counterattack)
- Key mechanic: Marking has a short cooldown and creates a weak point AND doubles as a dash through enemies for emergency dodges
Arrow’s Reach Talisman is non-negotiable. Without it, arrows lose damage at distance, which defeats the entire playstyle. Apply Poison arrows for damage that ticks during boss recovery animations. Prioritize Dormant Powers for physical and affinity attack boosts.
Day-by-day solo strategy
Day 1: Foundation building
While gliding in, open your map and plan a route that connects Churches (flask upgrades), Mines (Smithing Stones), and enemy camps. Clear the starting camp immediately for Level 2, then push toward Level 6-7 before Night 1.
- Churches first: Flask charge upgrades are permanent. Plan routes around them.
- Mines second: Kill the elite inside for a guaranteed Smithing Stone +2. Upgrade your weapon to Purple (Epic) rarity.
- Forts third: Moderate difficulty, good rune sources (Abductor Virgins, Crystalians).
- Skip: Ancient Dragons, Death Rite Birds, and anything that won’t die fast.
Day 2: Build completion
After the Night 1 boss, Surge Sprint to your next planned area. Target Level 11-12 by end of Day 2. The Castle opens up around Level 8-9 and Crucible Knights inside drop roughly 18,000 Runes each.
- Buy Wending Grace (10,000 runes). Every merchant sells it in solo. This is the single most important purchase in any solo run.
- Remaining Churches: Aim for 6+ total flask charges.
- Shifting Earth events: The Crater is the best one. It upgrades a weapon to Legendary rarity AND removes its level requirement. Noklateo gives an extra death recovery that stacks with Wending Grace.
- Every encounter must serve a purpose. Skip HP sponges. Time is your real enemy.
Day 3: Nightlord fight
The entire day is the boss. Before you engage: check that you’re Level 13+, weapon is at least Purple, you have 6+ flask charges, Wending Grace is equipped, and you’re carrying greases matching the Nightlord’s weakness. Apply Boiled Crab (20% damage negation) and Exalted Flesh (20% physical attack) if you have them.
Save your Ultimate Art for Phase 2 of multi-phase bosses. Most Nightlords fully reset their stagger bars on phase transition, so blowing your ultimate early is wasteful. Land 1-2 hits per opening, dodge, and repeat. This is a war of attrition.
Nightlord weakness chart
Matching your weapon element to the Nightlord’s weakness is the single biggest damage increase available. Here’s every Nightlord and what they’re weak to:
| Nightlord | Expedition | Weakness | Also vulnerable to | Solo tip |
|---|---|---|---|---|
| Gladius, Beast of Night | Tricephalos | Holy | Pierce, Blood Loss | Stay close. Focus the red-circle wolf during the split phase. |
| Fulghor, Champion of Nightglow | Darkdrift Knight | Lightning | Blood Loss | Easiest Nightlord. Blood Loss weapons trivialize this fight. |
| Caligo, Miasma of Night | Fissure in the Fog | Fire | Blood Loss | Stack Fire + Bleed. Stay underneath during Phase 2. |
| Gnoster, Wisdom of Night | Sentient Pest | Fire | N/A | Kill the ant first, dodge moth AoE. Harder solo due to split mechanic. |
| Adel, Baron of Night | Gaping Jaw | Poison | Frostbite, Sleep | Dodge Crushing Maw sideways (never forward/back). Avoid toxin pools. |
| Maris, Fathom of Night | Augur | Lightning | N/A | Two instant-kill mechanics in Phase 2. Run to arena edge on fly-up. |
| Libra, Creature of Night | Equilibrious Beast | Madness | Holy, Fire | Stay outside golden circles. Collect ~10 shards for Madness resistance. |
| Heolstor, the Nightlord | Night Aspect | Holy | N/A | Two full health bars. Never roll backward. 1-2 hits max per opening. |
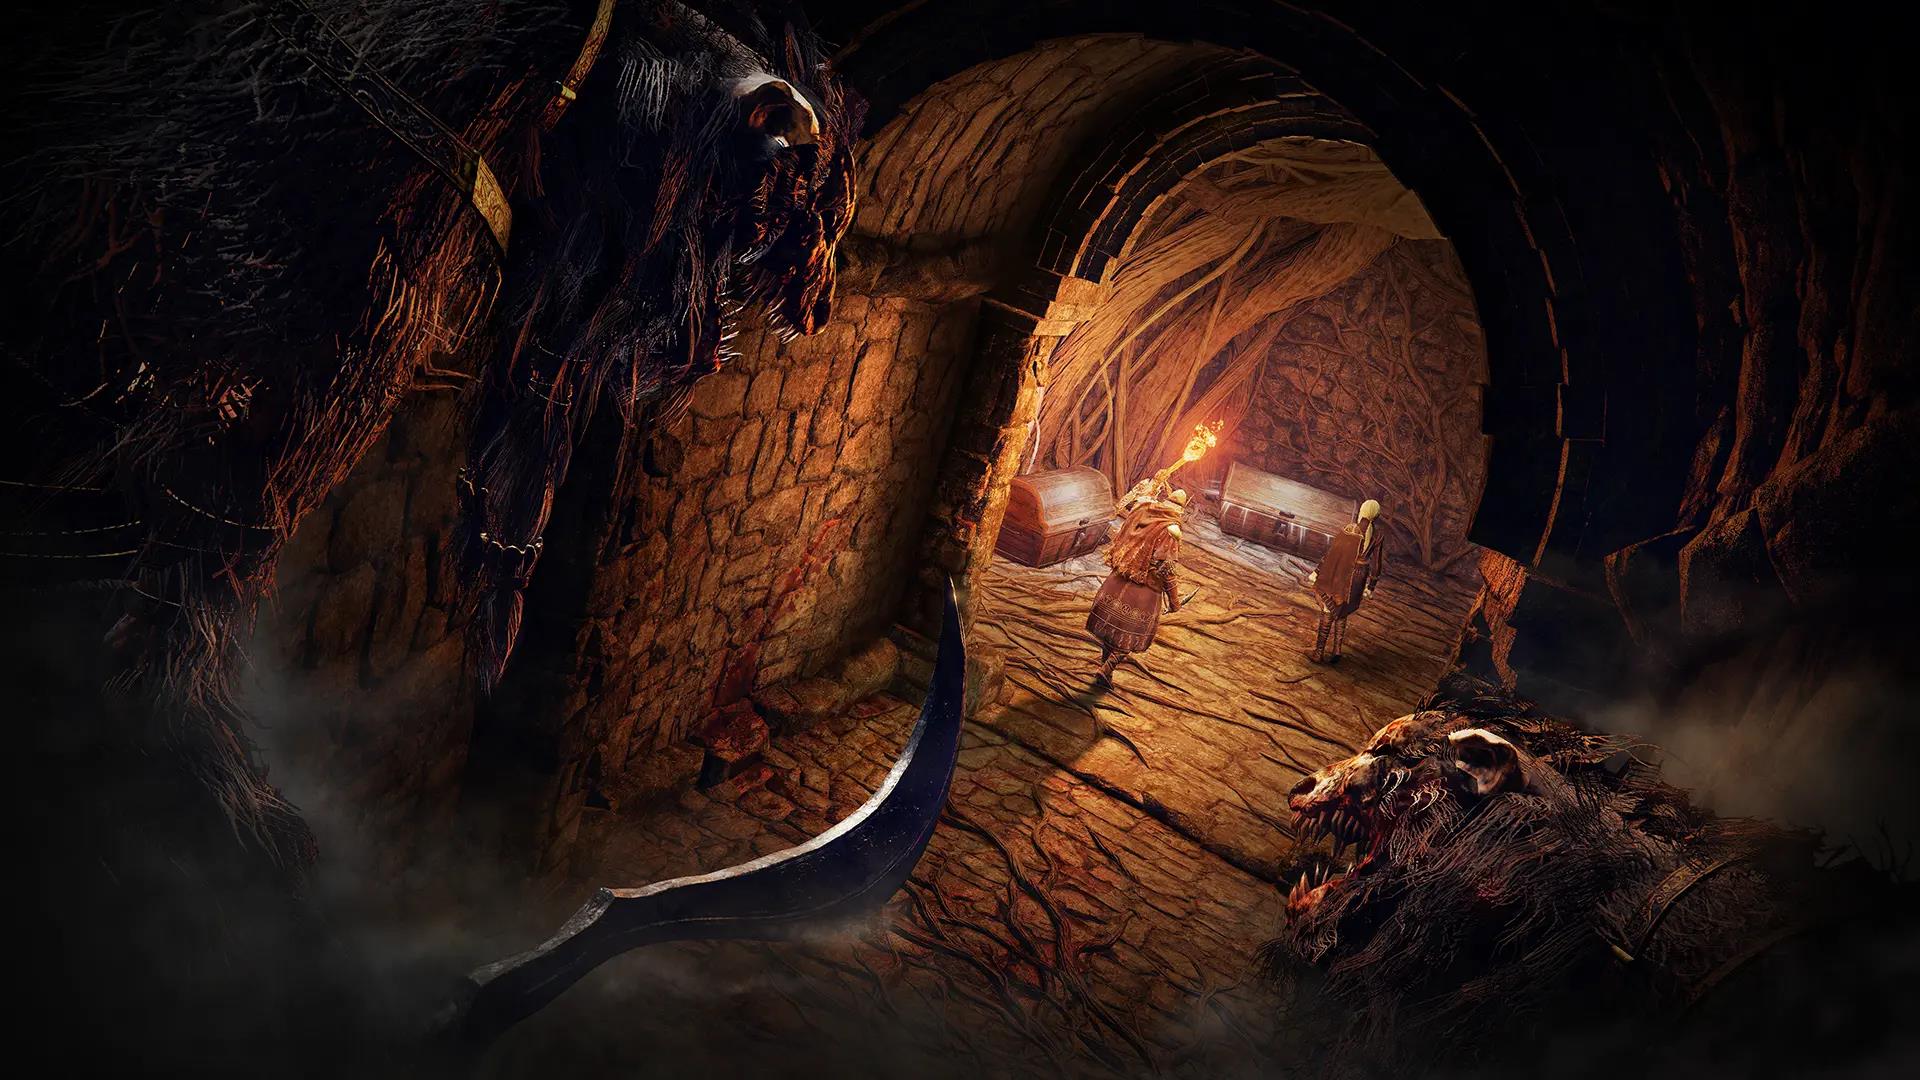
Fulghor is the easiest starting point for solo players. Heolstor is the hardest, with two full health bars and one-hit-kill attacks at 75%, 50%, and 25% health.
Solo survival tips
- Roll INTO attacks, not away. Rolling backward keeps you inside the hitbox longer. Bosses are designed to roll-catch players who panic-dodge early.
- You roll on button release, not press. This causes a slight input delay that trips up Elden Ring veterans. Adjust your timing to dodge slightly later than instinct says.
- Standard i-frames are 13 frames (Duchess only gets 10). This is generous enough that “approximate ballpark” timing works for most attacks.
- Use consumables aggressively. Apply elemental greases on every encounter, not just bosses. Boiled Crab before major fights. Firebombs on groups. In a roguelike, hoarding items for later means dying with a full inventory.
- Four item slots. That’s all you get. Prioritize: Wending Grace > Boiled Crab > Boss-weakness grease > Exalted Flesh.
- Evergaols give +5% damage each, stacking up to 20%. Stonesword Keys are worth grabbing whenever you see them.
- Learn when to run. Without co-op revival, every death matters. If your flasks are gone and the boss is at 60% HP, retreating to a Site of Grace and re-engaging beats dying.
Mistakes that kill solo runs
After watching dozens of Steam threads about solo frustration, these are the patterns that keep coming up:
- Wrong stat investment. Putting STR on Recluse (D scaling) or INT on Raider (D scaling) wastes levels. Check your character’s scaling grades before investing.
- Under-leveling. Most players enter Night 1 around Level 5. If the boss is Bell Bearing Hunter, that’s a death sentence. Minimum targets: 6-7 for Night 1, 13+ for the Nightlord.
- Fighting the wrong bosses. Ancient Dragons and Valiant Gargoyles are massive HP sponges. Kill them in co-op. Solo, only fight what you can finish quickly.
- Ignoring weapon upgrades. A Purple weapon at Level 7 outperforms a Common weapon at Level 12. Find Mines, grab Smithing Stones, upgrade.
- Skipping Wending Grace. Some players save that 10,000 runes for an extra level. One self-revive during the Nightlord fight is worth more than one stat point.
- Being greedy. Nightreign bosses have fewer openings than original Elden Ring bosses. Attempting full combos when you only have time for 1-2 hits gets you killed.
- Losing track of the Night’s Tide. The shrinking safe zone doesn’t wait. Plan your route at the start and stick to it.
Frequently asked questions
Is Nightreign balanced for solo play?
Enemy HP drops to 1/3 in solo mode and rune rewards increase by about 60%. The game is completable solo, but it’s harder because bosses have fewer damage openings and all aggro stays on you. FromSoftware added the Wending Grace self-revive consumable specifically for solo players.
What is the easiest Nightlord to beat solo?
Fulghor, Champion of Nightglow. His attacks are slow and predictable in Phase 1, and Blood Loss weapons trivialize the entire fight. He’s weak to Lightning and Blood Loss.
Can I use NPC summons in solo mode?
There are no traditional NPC summons in Nightreign. The Revenant class can summon spirit phantoms, but that’s a class-specific ability, not a general mechanic available to everyone.
What level should I be for the Nightlord boss?
Level 13 or higher is recommended. Level 11 is the absolute minimum for completion. Below that, you won’t deal enough damage to finish the fight before running out of flasks.
What’s the best solo class for beginners?
Wylder. His Sixth Sense passive gives you a free revive at every Site of Grace, Claw Shot provides instant gap-closing mobility, and greatswords are straightforward to use. He’s the most forgiving class for learning solo mechanics.
Summary
Solo Nightreign rewards patience and preparation over raw mechanical skill. Pick Wylder if you want safety nets, Executor if you want to master parrying, or Ironeye if you’d rather never get hit. Match your weapon element to the Nightlord’s weakness, buy Wending Grace every single run, and resist the urge to get greedy with attacks. The 1-2 hit windows feel frustrating at first, but once you internalize that rhythm, solo clears become surprisingly consistent.
If you enjoy FromSoftware-style combat and want to see how another game handles stealth and swordplay, check out our Assassin’s Creed Shadows beginner guide for tips on mastering both protagonists. For more soulslike tips, see our Nioh 3 beginner guide and Wuchang: Fallen Feathers beginner guide.