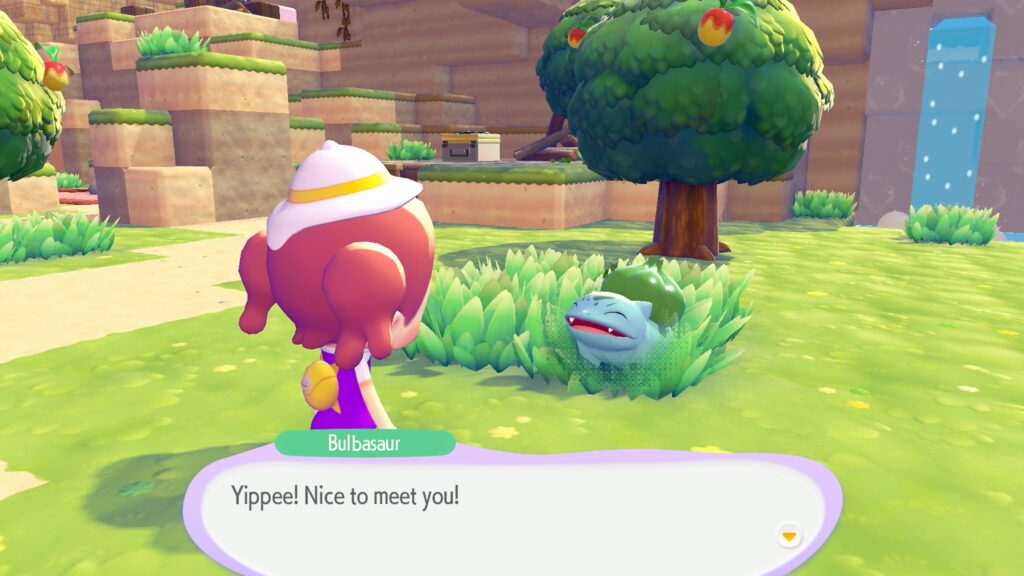
Habitats are how you attract every Pokemon in Pokemon Pokopia. Place the right combination of items in a small area, and a wild Pokemon will move in. Get it wrong, and you’ll burn through materials with nothing to show for it. This pokopia habitat guide covers how the system works, what each habitat type needs, how comfort levels affect progression, and the building strategies that save you the most time.
Key Takeaways
- 209 habitats exist in Pokopia: each one attracts specific Pokemon when you place the right items within a small radius of each other
- One Pokemon per habitat: once a habitat is occupied, you need to build a duplicate to attract a different species with the same requirements
- Comfort drives progression: four tiers (No Home, Iffy, Average, Nice) feed into your Environment Level, which unlocks shop items, crafting recipes, and rarer species
- Houses beat natural habitats for comfort: four walls, two blocks tall, three furniture items inside. Custom houses give you room for preferred furniture that natural habitats can’t accommodate
- Weather and time matter: the game runs on your Switch 2’s real clock, so different Pokemon appear at different times of day and in different weather conditions
How Habitats Work in Pokopia
Your entire job in Pokemon Pokopia is restoring desolate land into a place where Pokemon want to live. Habitats are the mechanism for that. Each habitat is a specific combination of items, furniture, or natural elements placed near each other. When the combination is correct, you’ll see a sparkle effect and Professor Tangrowth confirms the habitat is complete. A wild Pokemon will then move in. For building on shared multiplayer islands, check our Cloud Islands and building guide.
The game tracks all of this through the Habitat Dex, which works like a recipe book. There are 209 documented habitats so far, ranging from simple setups (four patches of tall grass) to elaborate builds (a chef’s kitchen with a stove, cutting board, sink, and plated food). Every habitat houses exactly one Pokemon. If you want a second species that shares the same requirements, build a duplicate habitat.
Which Pokemon appears also depends on the time of day and weather. Pokopia runs on your Switch 2’s system clock, so if it’s night where you are, it’s night in the game. Some habitats attract completely different species depending on whether it’s sunny, rainy, or after dark. If you’re new to the game and haven’t set up your first habitats yet, our Pokemon Pokopia beginner guide covers what to prioritize in your first hours.
How to Discover and Build Habitats
You won’t know every habitat recipe from the start. Discovery happens two ways:
- Sparkles. Look for glowing spots near objects in the world. Inspecting a sparkle gives you a hint about a possible habitat, which gets registered in your Habitat Dex.
- Experimentation. Place items near each other and see what happens. Some habitats aren’t hinted at and are only found through trial and error.
Once you know a habitat recipe, building it follows a simple rule: place the required items within roughly a 4×4 grid of each other. The items need to be close, not touching. When the combination is right, the sparkle animation triggers and the habitat is live.
Materials come from your Ditto abilities. Cut (learned from Scyther) harvests wood and plants. Rock Smash (from Hitmonchan) breaks boulders for stone. Water Gun (from Squirtle) revitalizes soil and plants. Rototiller (from Drilbur) tills ground and picks up wildflowers. Your move set directly determines which habitats you can build at any given point in the game.
Habitat Categories and Key Examples
The 209 habitats fall into several broad categories. Here are the main types with representative examples:
| Category | Example Habitat | Requirements | Pokemon |
|---|---|---|---|
| Grass | Tall Grass (#001) | Tall Grass x4 | Bulbasaur, Charmander, Squirtle, Oddish |
| Grass | Tree-Shaded Tall Grass (#002) | Tall Grass x4, Tall Tree x1 | Scyther, Bellsprout, Heracross, Pinsir |
| Flower | Pretty Flower Bed (#008) | Wildflowers x4 | Pidgey, Combee, Magby, Hoothoot |
| Outdoor | Campsite (#017) | Campfire x1, Straw Stool x1, Straw Table x1 | Various |
| Aquatic | Dock (#088) | Walkway x4, Ocean Water x2, Streetlight x1 | Water types |
| Specialized | Chef’s Kitchen | Stove, Table, Cutting Board, Sink, Cooking Pot, Plated Food | Greedent |
| Specialized | Red Tall Grass (#098) | Red Tall Grass x4 | Scorbunny, Kricketot, Riolu |
| Fossil | Despot Fossil Display (#199) | Pedestal x2, all Despot Fossil parts | Tyrantrum |
Early-game habitats are mostly grass and flower variants that require materials you can gather in the Withered Wasteland. As you unlock new regions (Rocky Ridges, Bleak Beach, Sparkling Skylands), you gain access to new materials and more complex habitat recipes.
⚡ Plated Food tip: “Plated Food” isn’t a single item. Place any edible item on a plate to create it. This trips up a lot of players building kitchen-type habitats.
Houses vs Natural Habitats
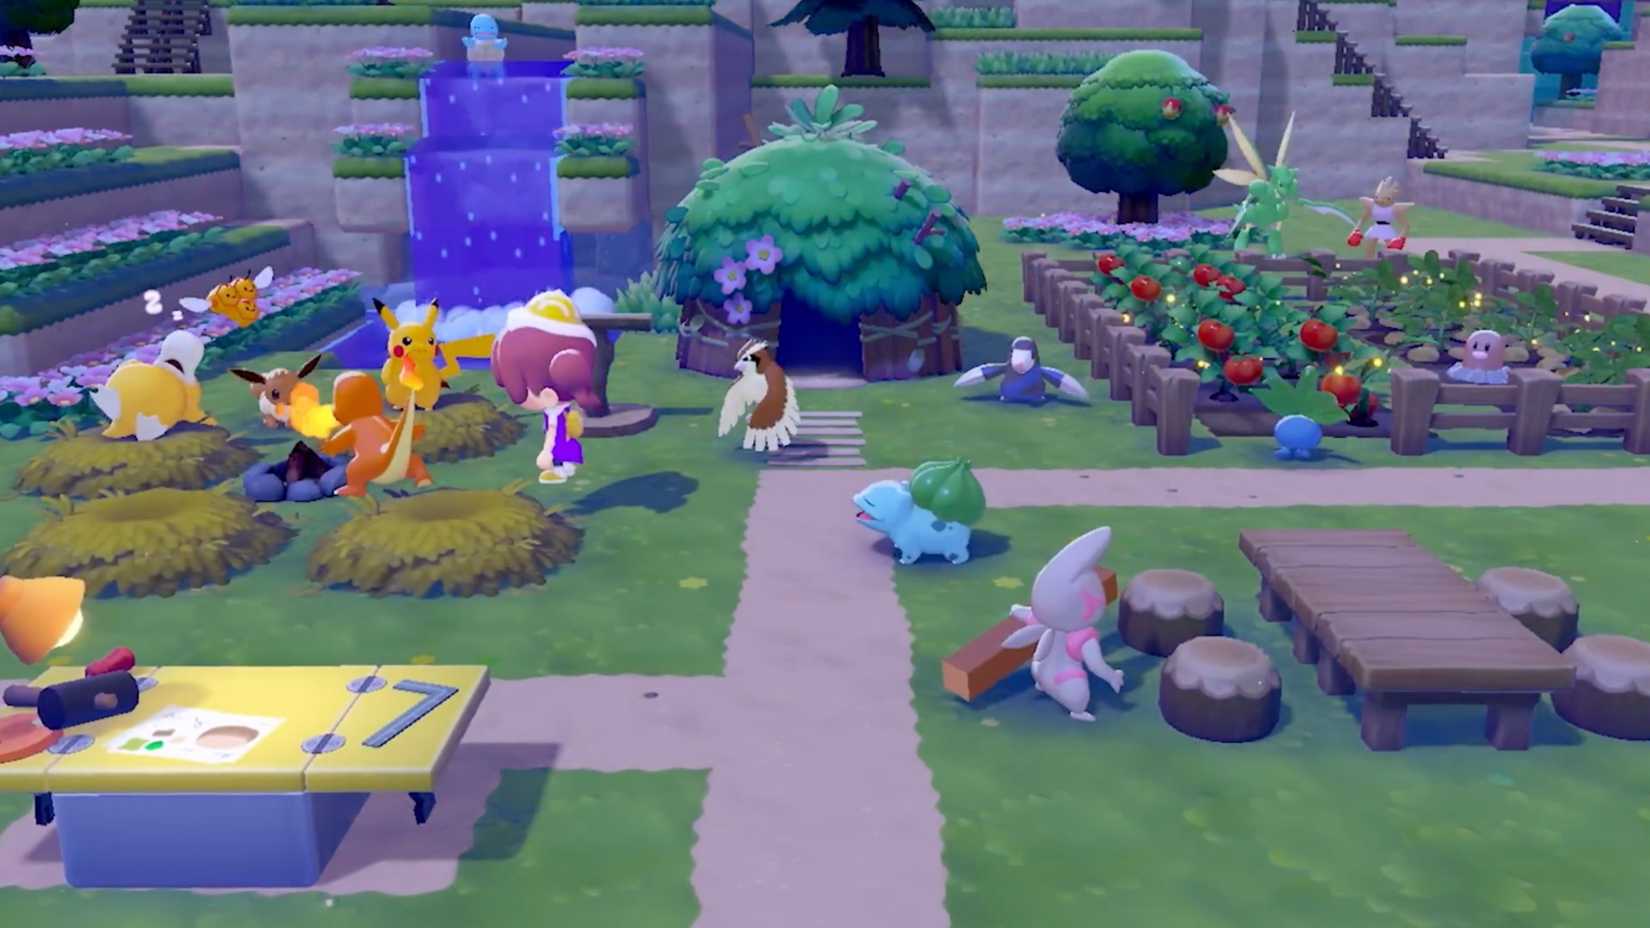
Natural habitats (tall grass, flower beds, water features) attract Pokemon outdoors. They’re quick to build and use minimal materials. But they limit your ability to raise comfort because there’s no interior to decorate.
Houses give you vastly more control. To build a valid house:
- Minimum four walls
- At least two blocks tall
- Three or more furniture items inside
You can build block-by-block for full creative control, or use building kits that Pokemon with the Building specialty construct automatically. Kits are faster but take real-time hours to complete. Block-by-block is immediate but labor-intensive.
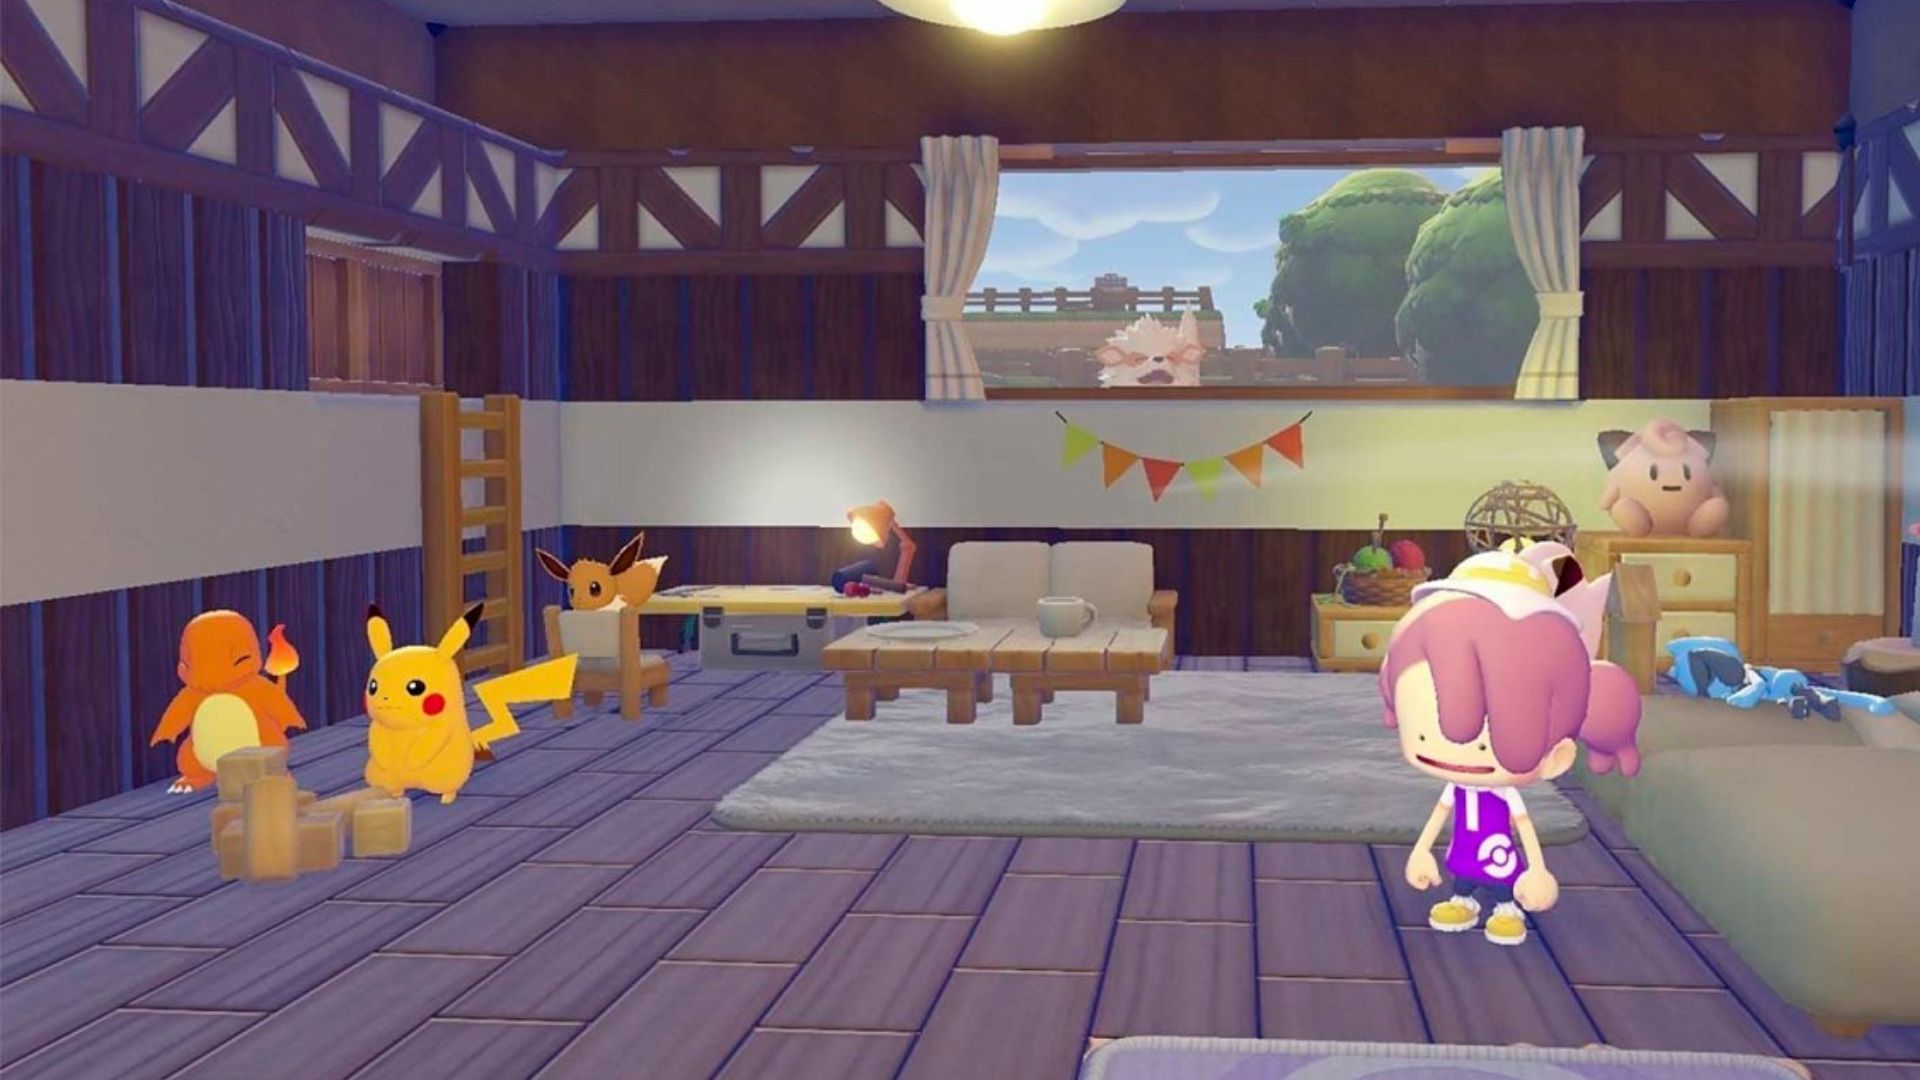
Once a house is furnished, walk a befriended Pokemon to it and assign them as the resident. Houses let you place preferred furniture items that trigger comfort boosts, which natural habitats can’t do. If you care about raising your Environment Level (and you should), houses are the way to go for your favorite Pokemon.
Comfort Levels and How to Raise Them
Every Pokemon on your island has a comfort rating across four tiers:
| Tier | What It Means | How to Reach It |
|---|---|---|
| No Home | Pokemon is sleeping outdoors | Default state before assigning a habitat |
| Iffy | Basic shelter, wrong amenities | Assign a house with generic furniture |
| Average | Functional housing, basic needs met | Add furniture that matches general preferences |
| Nice | Fully optimized, maximum happiness | Preferred furniture + correct climate + completed requests |
Three things raise comfort:
- Preferred furniture. Check each Pokemon’s Pokedex entry for specific furniture favorites. Placing a preferred item in their house gives an immediate, visible boost.
- Climate management. Water and Grass types thrive in humid environments. Fire types hate moisture. Group compatible species together and manage humidity through trees, water features, and NPC quests. Don’t stick a Charmander next to a waterfall.
- Personal requests. Pokemon occasionally ask for specific items or tasks. Completing these gives significant comfort boosts that go beyond what furniture alone can achieve.
Talk to your Pokemon residents regularly. They’ll tell you exactly what they want, and the Pokedex tracks their current comfort status.
Environment Level Explained
Environment Level is the single most important progression metric in Pokopia. It’s the sum of every Pokemon’s comfort score across your entire island. The higher it goes, the more the game opens up:
- New items appear in the shop (including bag upgrades and the PP Up stamina boost)
- New crafting recipes unlock
- Rarer Pokemon species start appearing in habitats
This is why comfort matters so much. Ten Pokemon at “Nice” comfort contribute more to your Environment Level than fifty Pokemon at “No Home.” Prioritize quality over quantity. Get a handful of residents to maximum comfort before sprawling across the island building dozens of unoptimized habitats.
Habitat Building Tips
After spending dozens of hours building habitats, here are the strategies that make the biggest difference:
- Place a Storage Box next to your Workbench. When they’re adjacent, the Workbench pulls materials directly from storage. This alone saves more inventory headaches than anything else in the game.
- Build the Pokemon Center first. It unlocks the shop, which sells bag upgrades and key progression items. Everything else is harder with a tiny inventory.
- Eat food for ability boosts. Hamburger Steak makes Rock Smash stronger, letting you break previously impassable walls. Other meals enhance other abilities. Keep at least one power food for each move you use often.
- Visit Dream Islands daily. Show Drifloon a doll to access special islands with exclusive resources, crafting recipes, and collectibles. Different dolls unlock different islands, and you can visit once per day.
- Plan your power grid before expanding. Light fixtures need either stationed Electric-type Pokemon nearby or windmills with power lines connecting to buildings. Retrofitting power to an already-built neighborhood is frustrating.
- Use the Y button to vacuum items. Hold Y to inhale all loose items in front of you instead of picking them up one at a time. Most players don’t discover this for hours.
- Complete the story before perfecting your island. The 25-hour campaign unlocks abilities, recipes, and Pokemon that make building significantly easier. Don’t get stuck optimizing the first area when the story would hand you better tools.
Frequently Asked Questions
How many habitats are in Pokemon Pokopia?
There are 209 documented habitats in the Habitat Dex, numbered 001 through 209. More may be discovered as players continue exploring post-game content. Each habitat attracts specific Pokemon based on the items and materials you place.
Can two Pokemon share the same habitat?
No. Each habitat houses exactly one Pokemon. If you want to attract a second species that has the same habitat requirements, you need to build a duplicate. This is intentional and encourages you to build out your island rather than stacking habitats.
What’s the fastest way to raise Environment Level?
Focus on comfort quality over habitat quantity. Build houses for your Pokemon, furnish them with preferred items (check the Pokedex), manage climate zones for species compatibility, and complete personal requests. A few Pokemon at “Nice” comfort contribute more than dozens at “No Home.”
Do I need every habitat to complete the Pokedex?
Not all 209. Many habitats attract the same Pokemon under different conditions. You need enough habitats to encounter every species, but some Pokemon appear in multiple habitat types. Focus on building habitats for Pokemon you’re missing rather than trying to complete the Habitat Dex and the Pokedex simultaneously.
Does time of day actually matter for habitats?
Yes. Pokopia runs on your Switch 2’s system clock. Some Pokemon only appear at night, others only during the day, and weather conditions affect spawns too. If you’re hunting a specific species and it’s not showing up, check whether it has time-of-day or weather requirements in the Habitat Dex.
Recommended Gear
Pokopia is a game you’ll sink dozens of hours into, and it plays best with the right setup. The Pro Controller is worth it if you haven’t picked one up yet. The Joy-Con 2s work fine, but building habitats block-by-block for hours gets uncomfortable on small controllers. The Pro Controller’s larger grip and remappable GL/GR buttons make precision placement and menu navigation noticeably smoother. If you’re still on the fence about the Switch 2 itself, Pokopia alone is one of the strongest launch exclusives Nintendo has put out.
Pokemon Pokopia
The highest-rated Pokemon game ever. Build habitats, befriend Pokemon, and restore a desolate island on Switch 2.

Nintendo Switch 2
Pokopia is a Switch 2 exclusive. 7.9-inch HDR screen, 256GB storage, and magnetic Joy-Con 2 controllers.
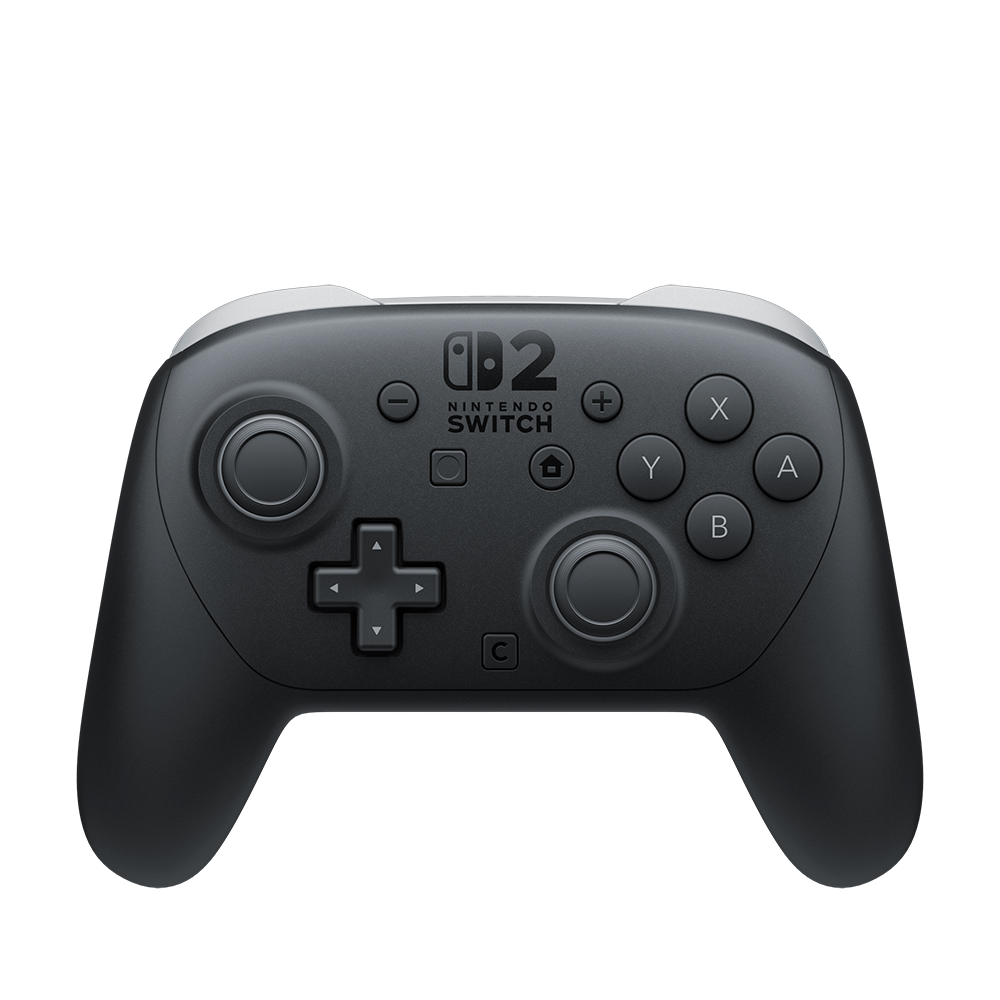
Switch 2 Pro Controller
Built-in audio jack and remappable GL/GR buttons. A better fit than Joy-Cons for long building sessions.
Summary
The habitat system is the engine that drives everything in Pokemon Pokopia. Build habitats to attract Pokemon, raise their comfort to boost your Environment Level, and use that progression to unlock rarer species and better crafting options. Start simple with grass and flower habitats in the Withered Wasteland, then expand to houses and specialized builds as you unlock new regions and abilities.
The most common mistake is spreading too thin. A few well-furnished houses with happy Pokemon will push your Environment Level higher than a sprawling island of neglected habitats. Build smart, check your residents’ preferences, and the rest falls into place. For more on the basics including Ditto moves and first-day priorities, check our Pokopia beginner guide.