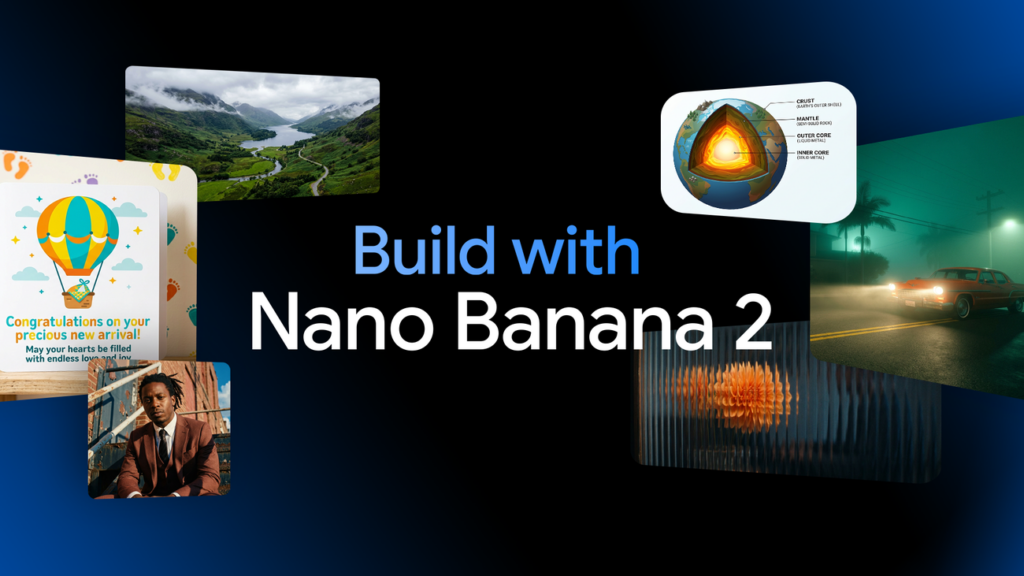
Google just dropped Nano Banana 2, and if you’ve been waiting for AI image generation that’s both fast and good, this is it. The model generates near-Pro quality images in under 2 seconds for about 7 cents each. This guide covers how to use Nano Banana 2 from API setup through a technique that lets you lock a visual style across dozens of image generations using structured JSON.
TL;DR
- Model ID:
gemini-3.1-flash-image-preview(Gemini 3.1 Flash) - Speed: Sub-2-second generation at ~$0.067/image
- SDKs: Python (
pip install google-genai), JavaScript (npm install @google/genai) - Supports: text-to-image, image editing, multi-turn conversations
- Key technique: JSON style guides for consistent visual output across batches
What Is Nano Banana 2?
Nano Banana 2 is Google’s AI image generation model, launched February 26, 2026. Internally codenamed GEMPIX2, it runs on Gemini 3.1 Flash, the speed-optimized branch of Google’s model family.
The pitch is Pro-level image quality at Flash-level speed. In practice, you get 90%+ text rendering accuracy (Pro hits 94%), support for up to 5 consistent characters and 14 objects in a single workflow, and resolution options from 512px up to 4K. It ships with SynthID watermarking and C2PA Content Credentials baked in.
You can access it through the Gemini API, Vertex AI, Google Antigravity, and Firebase. For this guide, we’re using the Gemini API directly since that’s the fastest path for most developers.
The Model Lineup: Which One Do You Need?
Google now has three Nano Banana models. Here’s how they compare:
| Model | Model ID | Speed | Quality | Price/Image |
|---|---|---|---|---|
| Nano Banana (original) | gemini-2.5-flash-image | Fast | Good | ~$0.039 |
| Nano Banana Pro | gemini-3-pro-image-preview | 8-12 sec | Best (94% text accuracy) | ~$0.134 |
| Nano Banana 2 | gemini-3.1-flash-image-preview | <2 sec | Near-Pro (90%+ text) | ~$0.067 |
Use the original if you need volume and don’t care about text rendering. Use Pro when quality is everything and you can wait for it. Nano Banana 2 is the one you’ll actually use in production, where speed and cost both matter alongside quality.
My take: unless you’re doing something that specifically needs 94% text accuracy (like generating product mockups with fine print), Nano Banana 2 is the default choice. The speed difference alone makes iteration so much faster.
How to Use Nano Banana 2: API Setup
You need two things: the Google Gen AI SDK and an API key.
Python:
pip install google-genaiJavaScript:
npm install @google/genaiGet your API key from Google AI Studio. It takes about 30 seconds.
Quick test to make sure everything works:
from google import genai

client = genai.Client(api_key="YOUR_API_KEY")

response = client.models.generate_content(
    model="gemini-3.1-flash-image-preview",
    contents="A red cube on a white background",
)

print("Connected." if response.candidates else "Something went wrong.")
If that prints “Connected,” you’re good to go.
Text-to-Image Generation
The core workflow is straightforward. Send a text prompt, get back image data.
from google import genai
from PIL import Image
from io import BytesIO

client = genai.Client(api_key="YOUR_API_KEY")

response = client.models.generate_content(
    model="gemini-3.1-flash-image-preview",
    contents="A cyberpunk street market at night, neon signs in Japanese, rain-slicked pavement reflecting pink and blue light",
)

for part in response.candidates[0].content.parts:
    if part.inline_data:
        img = Image.open(BytesIO(part.inline_data.data))
        img.save("output.png")
        print(f"Saved: {img.size[0]}x{img.size[1]}")
    elif part.text:
        print(part.text)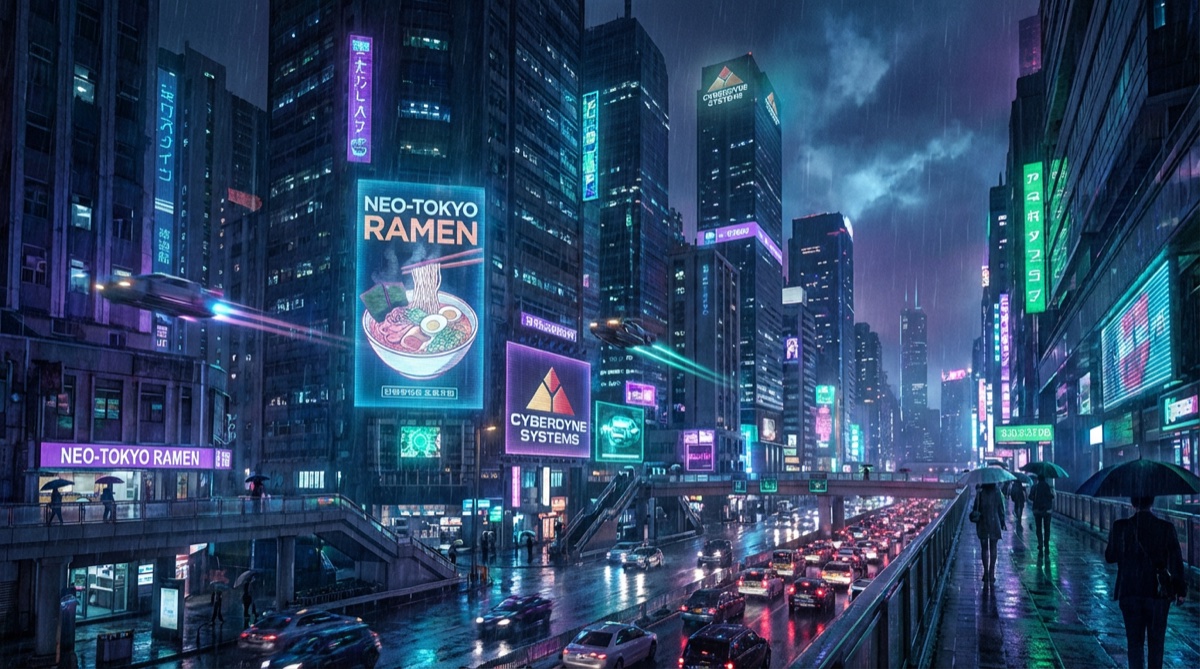
One thing to note: the model sometimes returns text alongside the image, describing what it generated or clarifying how it interpreted your prompt. Always check for both inline_data and text parts in the response.
Image Editing with Nano Banana 2
Pass an existing image alongside your text prompt. The model modifies the image based on your instructions.
from PIL import Image
from io import BytesIO

source = Image.open("photo.png")

response = client.models.generate_content(
    model="gemini-3.1-flash-image-preview",
    contents=[
        "Remove the background and replace it with a tropical beach at sunset",
        source,
    ],
)

for part in response.candidates[0].content.parts:
    if part.inline_data:
        result = Image.open(BytesIO(part.inline_data.data))
        result.save("edited.png")
This handles background swaps, object removal, style transfers, and adding or removing elements. The model understands spatial relationships, so you can say “move the logo to the top-right corner” and it figures it out. If you’re building AI-powered game dev tools, the editing API is where most of the interesting workflows live.
The JSON Style Guide Technique
This is the technique that changes how you work with Nano Banana 2. Instead of writing detailed prompts for every image and hoping for visual consistency, you extract a style definition as structured JSON and reuse it across generations.
The idea: you have a reference image with a visual style you like. Ask the model to analyze it and describe that style as JSON. Then feed that JSON back with a different subject, and the model generates a new image matching the same aesthetic.
Step 1: Analyze a reference image
import json
from google import genai
from PIL import Image
from io import BytesIO

client = genai.Client(api_key="YOUR_API_KEY")
reference = Image.open("reference-style.png")

analysis = client.models.generate_content(
    model="gemini-3.1-flash-image-preview",
    contents=[
        """Analyze this image's visual style in detail. Return a JSON object
        with these keys: style (primary aesthetic, rendering quality, lighting),
        technical (camera settings like aperture, depth of field, exposure),
        materials (primary and secondary textures), environment (setting details),
        composition (framing, angle, focus), quality (resolution feel, sharpness,
        post-processing). Be specific and precise.""",
        reference,
    ],
)

style_json = None
for part in analysis.candidates[0].content.parts:
    if part.text:
        style_json = json.loads(part.text)
        break

print(json.dumps(style_json, indent=2))
The model returns something structured like this:
{
  "style": {
    "primary": "photorealistic",
    "rendering_quality": "high-resolution",
    "lighting": "soft natural light with warm undertones"
  },
  "technical": {
    "aperture": "f/1.8",
    "depth_of_field": "shallow, subject isolated",
    "exposure": "slightly overexposed highlights"
  },
  "materials": {
    "primary": "brushed metal",
    "secondary": "matte ceramic",
    "texture": "subtle grain, film-like"
  },
  "environment": {
    "location": "minimalist studio",
    "time_of_day": "morning",
    "atmosphere": "clean, airy"
  },
  "composition": {
    "framing": "center-weighted",
    "angle": "slightly above eye level",
    "focus_subject": "product on pedestal"
  },
  "quality": {
    "resolution": "4K",
    "sharpness": "crisp on subject, soft background",
    "post_processing": "desaturated warm tones, minimal contrast"
  }
}
Step 2: Generate with style lock
Now use that JSON as a style directive for a completely different subject:
style_directive = json.dumps(style_json)

response = client.models.generate_content(
    model="gemini-3.1-flash-image-preview",
    contents=f"""Generate an image of a pair of wireless earbuds
    on a marble surface. Use this exact visual style:
    {style_directive}""",
)

for part in response.candidates[0].content.parts:
    if part.inline_data:
        img = Image.open(BytesIO(part.inline_data.data))
        img.save("styled-output.png")
The result matches your reference image’s aesthetic: same lighting feel, same color temperature, same depth of field, same grain texture. Different subject, identical style.
Why this works for production
The JSON acts as a portable style definition. You can apply the same style to dozens of product shots without re-describing it each time. Share style definitions across team members. Version control your visual styles (they’re just JSON files). Swap the subject while keeping everything else locked.
You can even build a library of style presets: one for product photography, one for editorial illustrations, one for game concept art. Each preset is a JSON file you pass alongside your prompt.
⚡ Pro tip: Combine this with multi-turn conversations. Use the first turn to analyze a reference image, then generate multiple images in subsequent turns. The chat context preserves the style JSON, so you don’t need to re-send it every time.
This technique is particularly useful for content creators, e-commerce teams, and game developers who need visual consistency across a batch of images. If you’re already using AI-assisted coding workflows, adding structured image generation to your pipeline is a natural next step.
Multi-Turn Conversations
For iterative workflows, use the chat interface. Each message builds on the previous context, so the model remembers what you’ve been working on.
chat = client.chats.create(model="gemini-3.1-flash-image-preview")

# Turn 1: Generate base image
response1 = chat.send_message(
    "Create a pixel art character: a knight with blue armor and a gold shield"
)

# Turn 2: Modify
response2 = chat.send_message("Add a red cape flowing behind the knight")

# Turn 3: Refine
response3 = chat.send_message(
    "Make the armor darker blue and add battle damage scratches"
)

# Save the final version
for part in response3.candidates[0].content.parts:
    if part.inline_data:
        img = Image.open(BytesIO(part.inline_data.data))
        img.save("knight-final.png")
You can also start a conversation with an existing image:
chat = client.chats.create(model="gemini-3.1-flash-image-preview")

response1 = chat.send_message(
    ["Here's my logo design. What would you change?", Image.open("logo.png")]
)

response2 = chat.send_message(
    "Try a version with darker colors and a more angular font"
)
The multi-turn interface pairs well with the JSON style guide technique. First turn: analyze the reference. Subsequent turns: generate images using that style with different subjects.
Tips, Limits, and Gotchas
Thinking mode. Set thinking_level to “minimal” or “high”. High thinking gives better results on complex prompts but adds latency. Use “minimal” for simple generations and “high” when you need the model to plan before generating.
Watermarking is mandatory. Every image gets SynthID (invisible watermark) and supports C2PA Content Credentials. You can’t disable this. Plan for it if you’re building a product.
Resolution options. 512px, 1K, 2K, and 4K are available. Aspect ratios include standard formats (1:1, 16:9, 3:2) plus ultrawide (21:9) and extreme formats (4:1, 8:1). Default is 1K, which works for most web use. Bump to 4K for print or high-DPI displays.
If you’re generating 4K images regularly, a monitor that can actually display them makes a real difference. I use the LG C4 42-inch OLED for evaluating generated output. The per-pixel dimming means you see the actual colors and contrast the model produced, not whatever your panel decides to approximate.
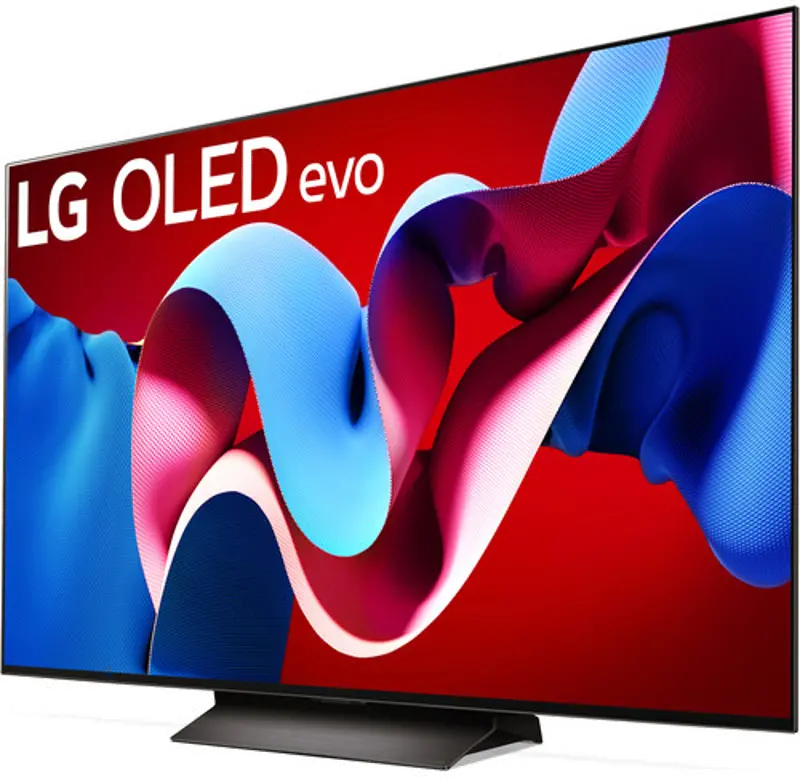
Self-lit OLED pixels with infinite contrast ratio and perfect blacks. 144Hz with G-Sync and FreeSync support, 0.1ms response time. At 42 inches, you can view 4K AI-generated images at full resolution without squinting at details.
Content safety filters are strict. Certain prompts will be refused. There’s no workaround, and honestly you shouldn’t look for one.
Rate limits. Google’s free tier has per-minute and per-day caps. Check the current quotas at ai.google.dev. For production, you’ll need a paid plan.
Grounding. Nano Banana 2 supports grounding with Google Search and Google Image Search. It can pull real-world reference when generating images of actual places, products, or people.
Self-review loop. The model has a built-in self-review workflow: plan, generate, review, fix, output. On complex prompts, it critiques its own output before returning it. This is part of why quality is high despite the speed.
If you’re working with AI development tools like Cursor or Claude Code, you can use them to scaffold your Nano Banana 2 integration code and iterate even faster on your prompts.
Frequently Asked Questions
Is Nano Banana 2 free to use?
Google offers a free tier with limited requests per minute and per day. Beyond that, pricing is approximately $0.067 per image. Check Google AI Studio for current limits and pricing.
What’s the difference between Nano Banana 2 and Nano Banana Pro?
Speed and price. Nano Banana 2 generates images in under 2 seconds at ~$0.067/image. Pro takes 8-12 seconds at ~$0.134 but hits 94% text rendering accuracy vs Nano Banana 2’s 90%+. For most production use cases, Nano Banana 2 is the better value.
Can I use generated images commercially?
Yes, images generated through the Gemini API are licensed for commercial use. Check Google’s current terms of service for specifics, as policies can change.
What programming languages are supported?
Python and JavaScript have official SDKs. The REST API works with any language that can make HTTP requests.
Does the JSON style guide technique work with all Nano Banana models?
Yes, any model that supports multi-turn image conversations can use this technique. It works with the original Nano Banana, Pro, and Nano Banana 2. Nano Banana 2 is recommended for iteration speed.
Wrapping Up
Nano Banana 2 hits a sweet spot that didn’t exist before: genuinely good quality at a speed and price point you can build production features around. The JSON style guide technique gives you the visual consistency that’s been missing from most AI image workflows. Start with the basic text-to-image examples, then graduate to the style guide approach once you need repeatable results across multiple images. The API is straightforward, the pricing is reasonable, and the model is fast enough that you won’t lose your train of thought between generations.