
The Palworld best team builds in 1.0 have one thing in common: they stopped treating the party like a collection of five favorite Pals. Since the full release, Hard Mode towers and raids run on timers, which turned team building into an optimization game, and the difference between a themed squad and a real build is enormous. A tuned party can multiply your damage several times over before you fire a single shot.
This guide covers six proven builds: the Gobfin player-damage stack, the Felbat life leech variant, the Dandilord poison team, the double Knocklem guardian rotation, the Eidrolon dragon stack, and the endgame boss core. Every build gets its full five-slot comp with flex slots marked, plus the passive skills worth breeding for on each member. Everything reflects the live 1.0 build, as of August 2026.
Key Takeaways
- Player damage scales hardest: four Gobfins with the Vanguard passive can push your own attack past double, and the player does not have a damage cap the way Pals do.
- Poison enables dual status: Poison is the only status effect that stacks with a second one, which makes the Dandilord and Prixter core the most flexible debuff engine in the game.
- Two Knocklems beat one: Steel Guardian Mode buffs Knocklem’s attack and defense by up to 200 percent, and running a pair lets you rotate activations.
- Passives decide the ceiling: support Pals want Vanguard, Stronghold Strategist, and Idiosyncratic; damage aces want Legend plus survivability like Diamond Body.
- Save your rosters: 1.0 added team presets, so build all six squads once and swap them per activity.
- How Team Building Works in 1.0
- The Passives That Power Every Team
- Build 1: Gobfin Player-Damage Stack
- Build 2: Felbat Life Leech
- Build 3: Dandilord Poison Team
- Build 4: Double Knocklem Guardian Rotation
- Build 5: Eidrolon Dragon Stack
- Build 6: The Endgame Boss Core
- Which Build Should You Run?
- Gear for Long Palworld Sessions
- Frequently Asked Questions
- Summary
How Team Building Works in 1.0
Your party holds five Pals, and every slot does something even when the Pal never leaves its sphere. Three mechanics drive all six builds:
- Partner skills come in two kinds. Passive ones work just by having the Pal in your party, like Gobfin’s attack buff or Prixter’s poison amplifier. Activated ones, like Dandilord’s Mist Stalwart or Knocklem’s Steel Guardian Mode, run on a button press and a cooldown. Knowing which is which changes how you play the build.
- Buffs stack across party members. Multiple copies of the same Pal stack their partner skill buffs, and community testing shows the same passive skill stacks across different Pals too, including variants. This is why four Gobfins beat one, and why every support Pal wants Vanguard.
- Hard Mode is a DPS check. Tower bosses and raids carry time limits, so pure tank teams stall out. Every build here keeps a damage plan even when it leans defensive.
One quality-of-life note before the builds: 1.0 added saved team presets. Build each squad once, name it, and swap between them from the party screen instead of rebuilding by hand. For what to level on the player side, our Palworld stat priority guide pairs directly with the player-damage builds below.
The Passives That Power Every Team
The comp picks the Pals, but the passives decide the ceiling. These are the skills worth breeding, catching, or implanting on team members in 1.0.
| Passive | Effect | Who Runs It |
|---|---|---|
| Vanguard | +10% player Attack, stacks across all five party Pals | Every support Pal in player-damage builds |
| Stronghold Strategist | +10% player Defense, stacks the same way | Support Pals, second slot |
| Motivational Leader | +25% player Work Speed | Utility squads, not combat teams |
| Idiosyncratic | +50% auto HP regen for Pal and player, +25% Defense, Burn and Poison immunity | Endgame supports (rainbow tier) |
| Legend | +20% Attack, +20% Defense, +20% Speed | Damage aces; cannot be passed by Yakumo |
| Immortality | +5% life steal, +100% Pal auto regen, +15% Attack, no penalty | Frontline aces (rainbow tier) |
| Serenity | Active skill cooldown -30%, Attack +10% | Damage aces; more casts per fight |
| Diamond Body | +30% Defense, immune to flinch and knockback | Aces that must survive Hard Mode |
| Ferocious | +20% Attack | Damage aces, budget slot |
| Musclehead | +30% Attack, -50% Work Speed | Combat-only aces (never workers) |
| Demon God | +30% Attack, +5% Defense | Aces; community rates Divine Dragon above it for dragons |
| Vampiric | Heals a portion of damage dealt; weaker against single targets | Aces in mob content; skip for raid bosses |
| Healing Coach | +5% player auto health regen | Support Pals, filler slot |
| Divine Dragon | Dragon damage boost; community rates it over Demon God | Dragon-type aces |
| Twin-Edged Holy Blade | +50% Attack, -30% Defense (World Tree implant) | Glass-cannon aces with covered defenses |
| God of Destruction | Big Attack boost with an HP penalty (World Tree implant) | Same, only when the penalty is covered |
Two farming notes make this list practical. World Tree passives arrive as implants from World Tree relics, and a team of Menastings, Elphidran, and Vaelet along the Dusty Ravine path is the community’s grinding route for them. And a max-condensed Yakumo shortcuts everything else: its partner skill gives wild Pals a chance to inherit Yakumo’s own passives when caught, so prep one with Vanguard and Stronghold Strategist and your future catches arrive pre-built. Yakumo cannot pass Legend, Lucky, elemental lord, World Tree, or Mutation passives.
Build 1: Gobfin Player-Damage Stack
The classic for a reason. Gobfin’s Angry Shark partner skill buffs your attack just by being in the party, it stacks per copy, and at four stars each Gobfin contributes 20 percent. Four of them turn the player into the strongest weapon in the game, because your damage scales with guns and gear on top of the buffs.
| Slot | Pal | Role | Key Passives |
|---|---|---|---|
| 1 | Gobfin (4-star) | Angry Shark player Attack buff | Vanguard, Stronghold Strategist, Healing Coach |
| 2 | Gobfin (4-star) | Same | Same set |
| 3 | Gobfin (4-star) | Same | Same set |
| 4 | Gobfin or Gobfin Ignis (4-star) | Same; the Ignis variant’s buff is identical | Same set |
| 5 | Flex: ride mount (Ragnahawk recommended) | Mobility + mounted damage boost | Vanguard, Swift |
The math is why this works. Four rank-4 Gobfins give roughly 80 percent player attack from Angry Shark alone. Vanguard on all five party members adds another 50 percent. Stack an attack-boosting mount and food buffs on top and one-shotting wild Pals stops being a meme.
The mount slot is genuinely yours to pick, but element matters. Ragnahawk is the default because its Fire typing boosts your damage against both Grass and Ice targets while you ride, roughly half again more mounted damage. Swap by matchup:
- Frostallion: Ice damage rides, for Dragon hunting
- Beakon: Electric, for Water bosses
- Helzephyr: Dark, for Neutral targets
- Chillet: Dragon, and an early-game option
- Azurobe: Water, for Fire regions

Build 2: Felbat Life Leech
The Gobfin stack’s one weakness is that you are the damage dealer and the target. Felbat fixes that. Its Life Steal partner skill grants you and Felbat healing equal to 5 to 9 percent of damage dealt, scaling with partner skill level, which you raise by feeding it Starfruit. Bolted onto a player-damage frame, the numbers get silly: the harder you hit, the faster you heal.
| Slot | Pal | Role | Key Passives |
|---|---|---|---|
| 1 | Felbat (partner level 5) | Life Steal for the player, 9% of damage dealt at max | Idiosyncratic, Vanguard, Stronghold Strategist |
| 2 | Gobfin (4-star) | Angry Shark Attack buff | Vanguard, Stronghold Strategist |
| 3 | Gobfin (4-star) | Same | Same set |
| 4 | Gobfin (4-star) | Same | Same set |
| 5 | Flex: ride mount or fourth Gobfin | Mobility, or maximum buff stacking | Vanguard |
Trading one Gobfin for Felbat costs you 20 percent attack and buys you constant healing at melee and shotgun range, where the leech triggers most. This is the build for players who fight inside the boss hitbox instead of kiting: every shotgun blast at a buffed attack stat returns a chunk of your health bar. If you would rather keep all four Gobfins, drop the mount and fight on foot; the fifth slot is a genuine preference call.
If you also send Felbat out to fight, its own combat passives matter: the community set is Ferocious for attack with Nimble, Swift, and Runner for the speed to keep up. As a Dark type it punches at Neutral targets, though its real job is keeping you alive.
Build 3: Dandilord Poison Team
The poison team is 1.0’s debuff engine, and it exists because of one rule: Poison is the only status effect that stacks with a second status. That opens dual-status pairings no other team can run, and the core three Pals turn Poison into damage, survivability, and amplification at once.
| Slot | Pal | Role | Key Passives |
|---|---|---|---|
| 1 | Dandilord | Mist Stalwart: your attacks inflict Poison; party gains Poison immunity | Legend, Diamond Body |
| 2 | Prixter (4-star, one copy only) | Phantom Venom: up to +65% damage to Poisoned enemies | Vanguard, Stronghold Strategist |
| 3 | Bakemi (max rank) | Grinning Death: Poisoned enemies deal up to 80% less damage | Idiosyncratic, Stronghold Strategist |
| 4 | Flex: second-status pair (see options below) | Stacks a second debuff on top of Poison | Vanguard + role passives |
| 5 | Solenne (recommended) or flex: any mount | Untainted Maiden: up to +80% player Attack while every party member is a different species | Vanguard, Stronghold Strategist |
Solenne is the sleeper pick for the fifth slot. Its Untainted Maiden partner skill raises your attack by 30 to 80 percent depending on partner level, but only while all five party members are different species. The poison team satisfies that condition by design, so Solenne turns a survivability squad into a real damage dealer, and since you apply Poison with your own attacks under Mist Stalwart, every point of player attack feeds the whole engine. The same skill is why Solenne never belongs next to a Gobfin stack: four copies of the same Pal switch it off.
Three details keep this build honest. First, Mist Stalwart is an activated partner skill, not a passive: you press the button, your attacks poison for the duration, and you re-activate on cooldown. Second, condense Prixter to four stars but never slot a second one, because duplicate amplifiers do not stack. Third, Dandilord is a boss-exclusive Pal: it appears as the level 78 Tribe Boss “Bewitching Lurker Dandilord” at Rotmist Root in the World Tree, so this is an endgame team by definition. Its party bonus also nullifies the World Tree’s toxic gas, which makes it the natural squad for that whole zone.
The fourth slot is where the dual-status rule pays off. Pick one pairing:
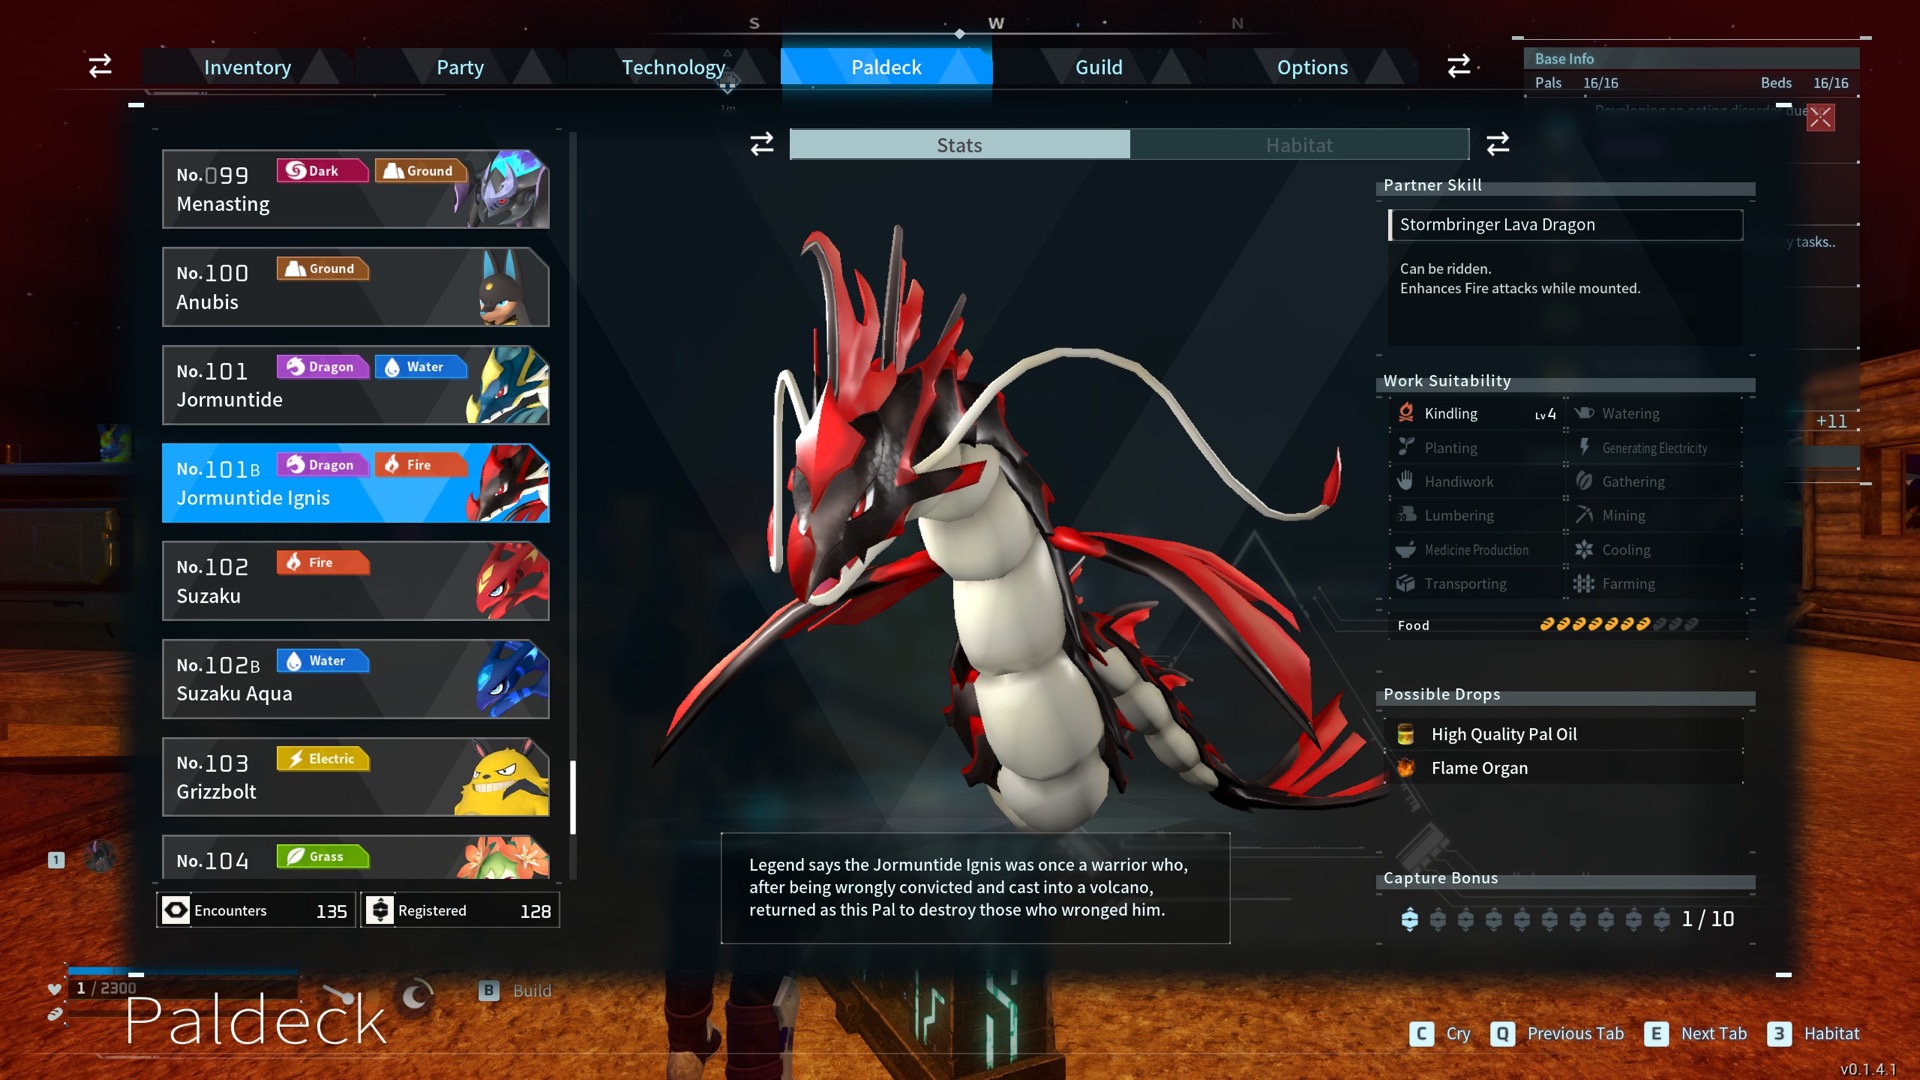
- Poison + Burn: Renjishi applies Burn, Jormuntide Ignis amplifies it. The highest-damage pairing.
- Poison + Soak: Ophydia applies Soak with Glorious Mist, Jormuntide amplifies. Sets up Electric follow-ups.
- Poison + Blind: Venusa applies Blind, Roujay amplifies. The safest defensive pairing next to Bakemi.
- Poison + Muddy: Surfent Terra applies, Pierdon amplifies. Niche, but nothing escapes you.
Build 4: Double Knocklem Guardian Rotation
Knocklem is the 1.0 Pal that made everyone rethink single-ace teams. Its Steel Guardian Mode partner skill buffs its own Attack and Defense by 50 percent at partner level 1, scaling to a full 200 percent at level 5. The catch is that Guardian Mode is an activated skill with downtime, and the fix is blunt: bring two Knocklems and alternate activations so one is nearly always transformed.
| Slot | Pal | Role | Key Passives |
|---|---|---|---|
| 1 | Knocklem | Guardian Mode ace, window one | Legend, Immortality or Diamond Body |
| 2 | Knocklem | Guardian Mode ace, window two | Legend, Serenity |
| 3 | Dumud | Ground damage buffer for both aces | Vanguard, Stronghold Strategist |
| 4 | Silvegis | Cuts damage to your shield by 80% | Idiosyncratic, Stronghold Strategist |
| 5 | Flex: Celesdir Noct or anything (mount, Gobfin, third buffer) | Celesdir Noct adds up to +80% Attack to your fighting Pal at the cost of gradual HP drain; one copy only | Idiosyncratic, Vanguard |
Knocklem’s base stats already lean tanky, and at level 80 a good one pushes past 1,000 defense before the mode doubles everything. The Fire variant runs the same play: two Knocklem Ignis with Iron Guardian Mode, Kelpsea Ignis replacing Dumud as the element buffer, and Eternal Flame or Flame Emperor passives inherited for the Fire team version. Ground hits Electric and Fire targets; Ignis hits Grass and Ice. Pick the flavor that matches the tower you are stuck on.
Build 5: Eidrolon Dragon Stack
Dragon is the deepest ace class in 1.0, and Eidrolon is the Pal that turns that depth into a team rule. Its Liberated Pterosaur partner skill raises its own Attack and Movement Speed by 2 to 6 percent, scaling with partner level, for every other Dragon or Dark Pal in your party. Fill all four remaining slots with Dragon or Dark types and a max-partner Eidrolon fights with a permanent 24 percent attack bonus on top of its already heavy base stats, while doubling as your flying mount.
| Slot | Pal | Role | Key Passives |
|---|---|---|---|
| 1 | Eidrolon | Ace and flying mount; +6% Attack and Movement Speed per Dragon or Dark teammate at partner level 5 | Legend, Divine Dragon |
| 2 | Eidrolon Ignis | Second ace; the Fire variant rides the same synergy | Legend, Serenity |
| 3 | Quivern | Dragon damage buffer for both aces | Vanguard, Stronghold Strategist |
| 4 | Orserk | Dragon typed, so it feeds the stack while its bullet-hit buffs scale your active ace | Idiosyncratic, Vanguard |
| 5 | Silvegis | Dragon typed, counts for the stack, and cuts your shield damage by 80% | Idiosyncratic, Stronghold Strategist |
Every slot in this comp pulls double duty, which is why there is no flex slot: all five are Dragon or Dark typed, so both Eidrolons sit at maximum stacks, and the two core supports from the boss template still do their normal jobs. Dragon damage runs into its own element as a weakness, so swap one ace for a Frostallion when the target is a Dragon boss, and accept the slightly lower stack count. The passives lean offensive because the stack itself is the defense: Eidrolon’s movement speed bonus makes it genuinely hard to hit while mounted.
Build 6: The Endgame Boss Core
This is the template the endgame community keeps arriving at, and it is less a fixed team than a formula: two permanent support Pals, two damage aces chosen for the boss’s weakness, and one element buffer to match.
| Slot | Pal | Role | Key Passives |
|---|---|---|---|
| 1 | Orserk (always) | Ferocious Thunder Dragon: your bullet hits stack Attack and Defense buffs on your fighting Pal, up to 30 stacks | Idiosyncratic, Vanguard, Stronghold Strategist |
| 2 | Silvegis (always) | -80% damage to your shield | Idiosyncratic, Stronghold Strategist |
| 3 | Ace 1: match the boss weakness | Primary damage dealer | Legend + Diamond Body or Twin-Edged with cover |
| 4 | Ace 2: same element or second weakness | Secondary damage / swap ace | Legend + Serenity |
| 5 | Element buffer matching your aces | Multiplies ace damage | Vanguard, Stronghold Strategist |
Orserk is the engine here, and its 1.0 rework rewards an active player: every bullet you land grants your fighting Pal a stacking Attack and Defense buff, up to 30 stacks, which at high partner level works out to as much as 150 percent. You shoot, your ace scales. If you would rather trade the buffer slot for raw power, Celesdir Noct grants your fighting Pal up to 80 percent Attack at the cost of gradual HP drain, and the effect does not stack, so one copy is the limit. Ace and buffer picks by element:
- Dark: Bellanoir and Bellanoir Libero, with Lapure cutting partner cooldowns
- Dragon: Eidrolon and Eidrolon Ignis (each Dragon or Dark teammate adds 6 percent to its attack), Quivern buffing
- Fire: Jormuntide Ignis leading, Kelpsea Ignis buffing
- Ice: Frostallion, with Foxcicle buffing and Moldron Cryst adding weak-point damage
- Water: Shaolong or Neptilius, Kelpsea buffing
- Neutral: Hartalis or Paladius, Cremis or Ribbuny buffing
- Grass: Silvance, Bristla buffing (the thinnest ace pool in 1.0)

Which Build Should You Run?
| Content | Best Build | Why |
|---|---|---|
| Open-world catching and farming | Gobfin stack | One-shot damage speeds everything up |
| Hard Mode towers (timed) | Boss core or Gobfin stack | Highest sustained DPS |
| Raids and long boss fights | Felbat leech or Poison team | Sustain wins wars of attrition |
| World Tree exploration | Poison team | Dandilord nullifies the toxic gas |
| Arena challenges | Boss core (Electric flavor) | Orserk plus burst aces controls rounds |
| Learning a fight you keep losing | Double Knocklem | The Guardian rotation forgives mistakes |
| Mounted play and open-world bossing | Eidrolon dragon stack | The ace is also your mount, at permanent max stacks |
Community theorycrafting goes further still: bench-rotation squads that swap wounded aces, hypercarry teams built on four Kelpsea buffers, and skill-cycling teams that chain Rockburst casts across five copies of one Pal. The six above cover the widest content for the least breeding work. For individual Pal ratings behind these comps, our Palworld tier list ranks the full roster, and if you are wondering whether the 1.0 crowd is still around to co-op with, the live player count tracker answers that with charts.
Gear for Long Palworld Sessions
Every build above except double Knocklem makes the player the main gun, so your aim and comfort matter as much as your party. Deal prices current as of August 2026.

Samsung Odyssey G5 32″ QHD
32 inches at 165Hz keeps boss telegraphs and five-Pal fights readable, at 37 percent off.

JBL Quantum 650X
Wireless multiplatform audio for raid callouts and hearing Alpha Pals before you see them.

8BitDo Ultimate 2
Hall effect sticks and a charging dock for the mount-heavy exploration side of Palworld.
Frequently Asked Questions
What is the best team build in Palworld 1.0?
The Gobfin player-damage stack is the strongest general-purpose build: four 4-star Gobfins with Vanguard passives push player attack past double, and the player scales further with weapons. For timed Hard Mode bosses, the Orserk and Silvegis boss core with element-matched aces is the endgame standard.
How many Gobfins should I run in a player damage build?
Four, all condensed to 4 stars so Angry Shark gives 20 percent each. The fifth slot is a flex for a ride mount like Ragnahawk. Gobfin Ignis carries the identical buff, so any mix of the two variants works.
How does the Palworld poison team work?
Dandilord’s Mist Stalwart makes your attacks inflict Poison when activated, Prixter’s Phantom Venom adds up to 65 percent damage against Poisoned enemies, and Bakemi’s Grinning Death cuts Poisoned enemies’ damage by up to 80 percent at max rank. Poison also stacks with one more status, so the fourth slot adds a pairing like Burn via Renjishi.
Why run two Knocklems in Palworld?
Steel Guardian Mode is an activated skill that buffs Knocklem’s Attack and Defense by up to 200 percent at partner level 5, but it has downtime. Two Knocklems let you alternate activations so a transformed ace is almost always on the field.
What are the best passives for support Pals in Palworld 1.0?
Vanguard (+10% player Attack), Stronghold Strategist (+10% player Defense), and Idiosyncratic (+50% auto regen for Pal and player, +25% Defense, Burn and Poison immunity). All three stack across party members, which is why they belong on every support Pal.
What is the best Dragon team in Palworld 1.0?
Build around Eidrolon: its Liberated Pterosaur skill gains up to 6 percent Attack and Movement Speed per Dragon or Dark teammate. Eidrolon, Eidrolon Ignis, Quivern, Orserk, and Silvegis are all Dragon or Dark typed, which keeps both aces at maximum stacks while Orserk and Silvegis still run their support jobs.
Where do you get Dandilord in Palworld?
Dandilord is boss-exclusive: it appears as the level 78 Tribe Boss “Bewitching Lurker Dandilord” at Rotmist Root in the World Tree area. It does not spawn in the wild, so plan on an endgame capture attempt.
Summary
Build the Gobfin stack first, because it accelerates everything else: catching, farming, and the leveling grind. Add Felbat when fights start lasting long enough to hurt, build the poison team when you reach the World Tree, and keep the boss core saved as a preset for whatever tower Hard Mode throws at you. The double Knocklem squad is the comfort pick that turns unfair fights into fair ones.
Whatever you run, the passives are half the build: Vanguard and Stronghold Strategist on supports, Legend and a defensive rainbow on aces, and a Yakumo prepped to hand your passives to future catches. Five presets, one roster, every fight covered.
And when you are picking Active Skills for the aces in these comps, our Palworld STAB guide covers the same-type bonus math and when an off-type skill like Holy Burst earns a slot.