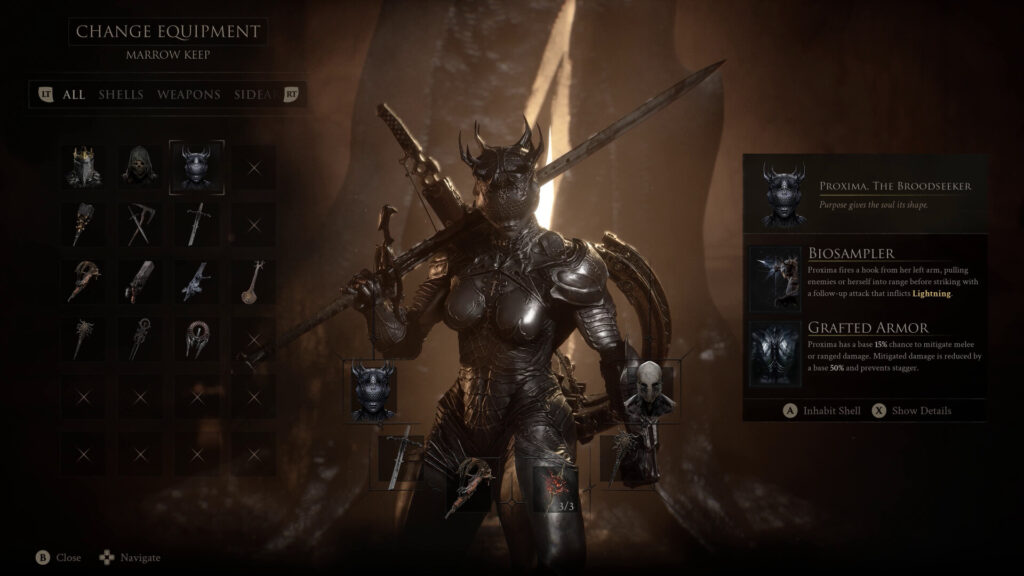
Mortal Shell 2 has no stamina bar. You can swing as often as you like, so what limits a fight is spacing, enemy recovery windows, and the Shell and Seal you brought with you. This Mortal Shell 2 combat guide covers that loop, Hardening, Seal choice, weapons, and what to do in your first hours.
The official Mortal Shell 2 site describes a system built on shattering enemy posture and landing critical strikes. In game that meter is Break, your attacks and timed defenses deal Break Damage, and filling it opens a Riposte. Posture is the resource you attack, and health is what you take once it breaks.
Key Takeaways
- Start with spacing: Mortal Shell 2 has no stamina bar, so surviving depends on range, enemy patterns, and knowing when to disengage.
- Harden lives on a Seal: Vatra’s Seal, from the Tar Golem, turns you to stone to absorb the next hit. It replaces Guard rather than stacking with it.
- One Seal, one defense: Guard, Harden, and Parry each sit on a different Seal, so parrying is a build choice and never mandatory.
- Posture creates openings: mix safe attacks, sidearms, and Shell abilities to break an enemy’s posture before committing to a critical strike.
- Pick gear around your mistake: choose a Shell, Seal, and weapon that cover the part of combat you keep losing to.
- The Slayer Seal is a trap: it makes fights much easier, but equipping it disables achievements on that save file permanently and blocks parrying.
The Mortal Shell 2 Combat Loop
Think of a normal encounter as a five-part loop:
- Read the enemy’s approach and keep enough room to see the first attack.
- Probe with a safe hit, then watch whether the enemy staggers, retreats, or starts another string.
- Survive the retaliation with movement or whatever defense your Seal grants.
- Build pressure until the enemy’s posture breaks.
- Spend the opening on a critical strike, a sidearm, or a reposition if the arena is unsafe.
Unlimited stamina is not unlimited safety. Enemies still punish your recovery frames, your position, and any swing thrown into armor or an invulnerability window. The Steam listing puts the game at $49.99 on August 20, 2026, from Cold Symmetry and Playstack.
How to Use Hardening
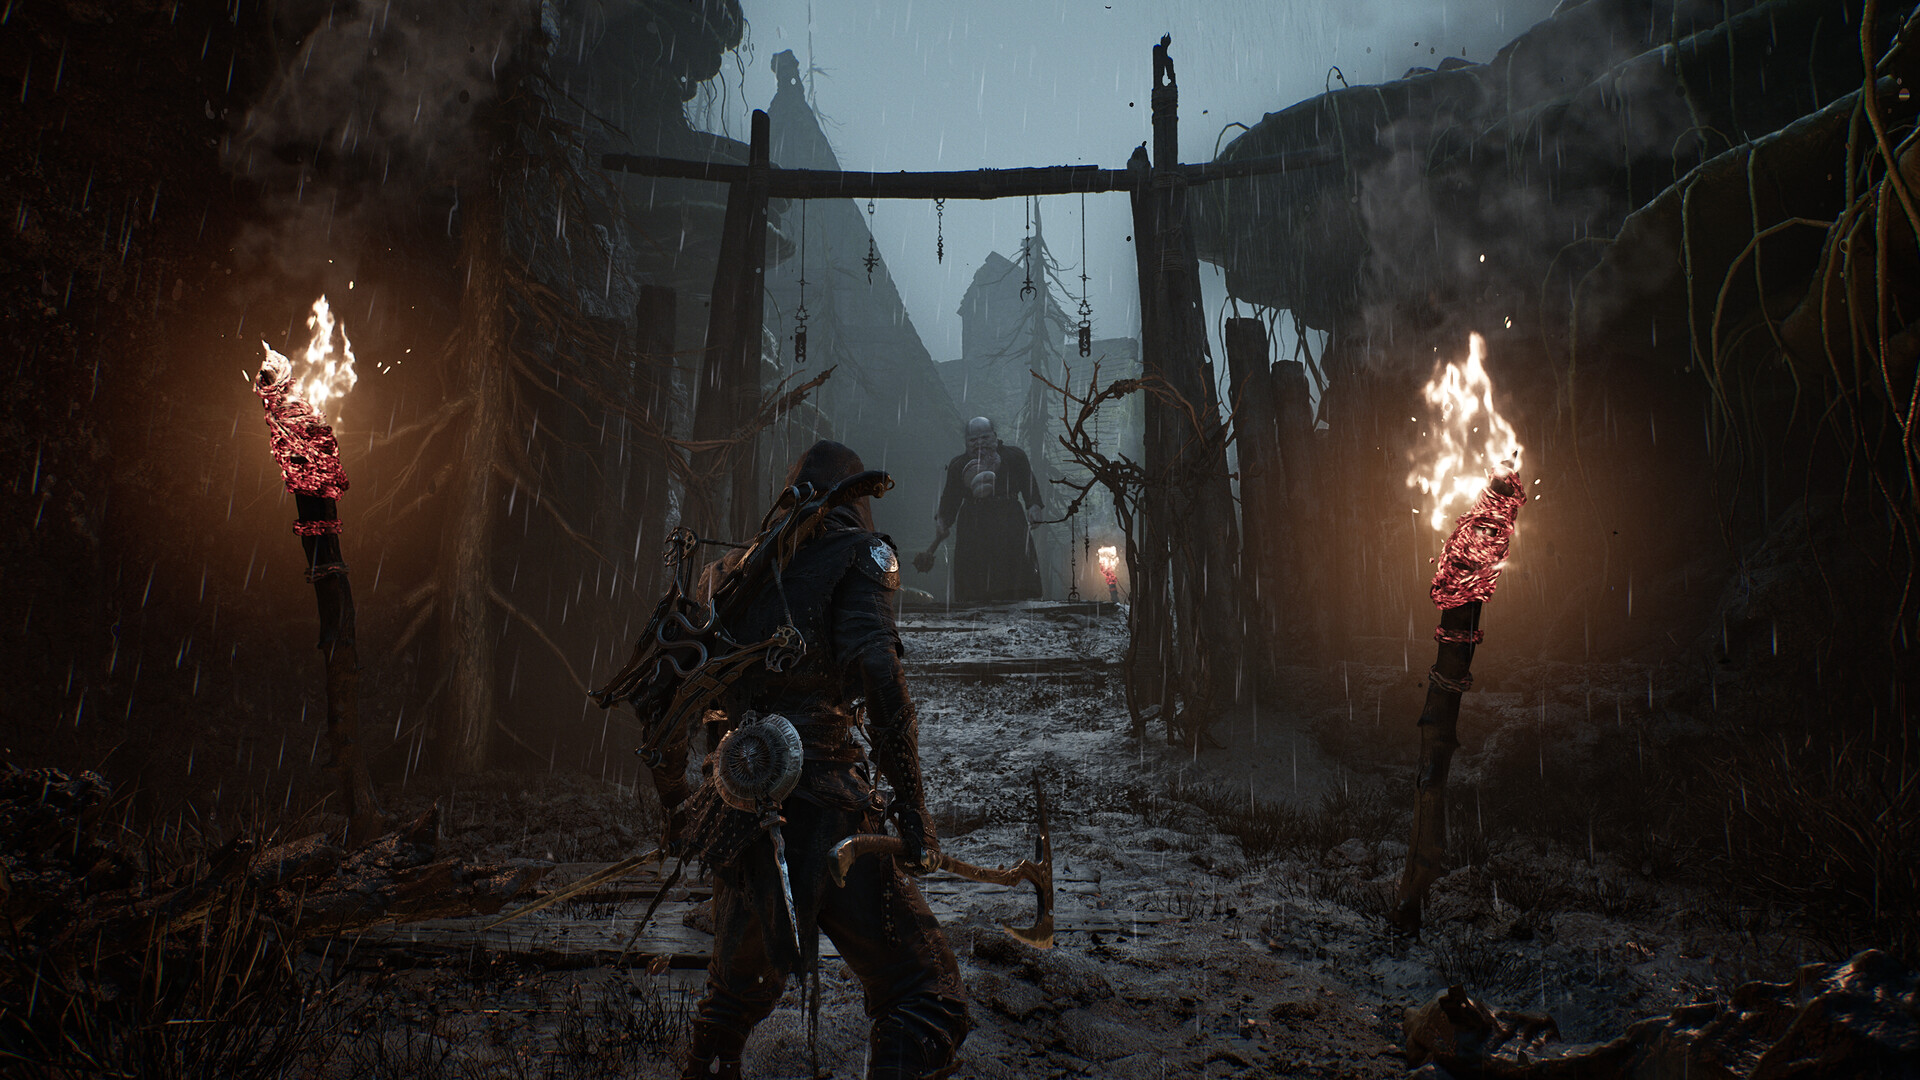
Hardening turns you to stone and absorbs the next instance of damage. Unlike the first game, it is not an ability you always have. You get it by equipping Vatra’s Seal, which drops from the Tar Golem boss.
That matters for your build. A Seal grants one defensive ability, so running Vatra’s Seal means you are not running Guard or Parry. You can trigger Harden during an attack animation, a dodge, or a missed parry, and you stay frozen while you hold the button.
Time it to the moment an attack lands and you get a Perfect Harden, which deals Break Damage and pushes the enemy toward a Riposte. Time it early and you simply eat the hit safely. Either outcome buys a window to finish an attack, break a pressure sequence, or make room to heal.
Use it deliberately:
- During your recovery: trigger Hardening when a slow swing leaves you exposed and the enemy is already committed.
- At the end of a string: let the enemy spend its attack, then harden through the final hit instead of panic-rolling away.
- Before a punish: if the next hit will break posture or create a critical opening, Hardening can protect the commitment.
- For information: against an unfamiliar enemy, one protected exchange can teach you the range and timing of its opener.
Do not harden every time the button is available. If you use it on harmless space or a slow feint, the enemy can wait out your advantage and attack when the protection is gone. Your goal is to turn Hardening into a planned answer to a specific threat.
Parrying, Blocking, and Seals
Blocking, parrying, and Hardening are not free actions every setup gets. Each one lives on a Seal, and a Seal grants a single defensive ability, so picking one means giving up the others.
Three cover the defensive basics. The Untarnished Seal is your starting Guard, and timing it gives a Perfect Guard that deals Break Damage. Vatra’s Seal swaps that for Harden, while the Infinite Seal from the Guard tutorial gives you Parry, which builds Break faster but punishes a miss harder.
Parry is therefore a choice inside your build rather than a skill check the game forces on you. Beta players in a thread on the mechanic report the same thing: you can clear fights on dodges, Shell abilities, and Harden without ever equipping the parry Seal. MeriStation reaches the same conclusion in its review after a full playthrough.
If You Want to Learn Parry Timing
- Use a Seal that gives you the defensive action you want before judging your timing.
- Practice against one enemy at a time instead of trying to parry a crowd.
- Watch the attacker’s animation, not your own weapon, and parry when the hit is about to connect.
- Remember the parry Seal replaces Harden, so movement and spacing are your only fallbacks.
If Parrying Keeps Getting You Killed
Change the Seal and build around reliable defense. A clean dodge, a controlled retreat, or a Hardening punish is safer than a parry attempt you are forcing into every exchange. Once you understand an enemy’s rhythm, you can return to the parry Seal and decide whether the reward is worth the risk.
Choosing a Shell
Shells are not cosmetic loadout slots. Each one changes the abilities you bring into a fight. MeriStation describes a thief Shell that turns invisible for a heavy backstab, and another that hooks enemies with an electrified grapple.
So the right pick depends on what is stopping your run. Losing while you finish attacks means you want a defensive Shell. Surviving but never creating openings means you want an offensive or control-focused one.
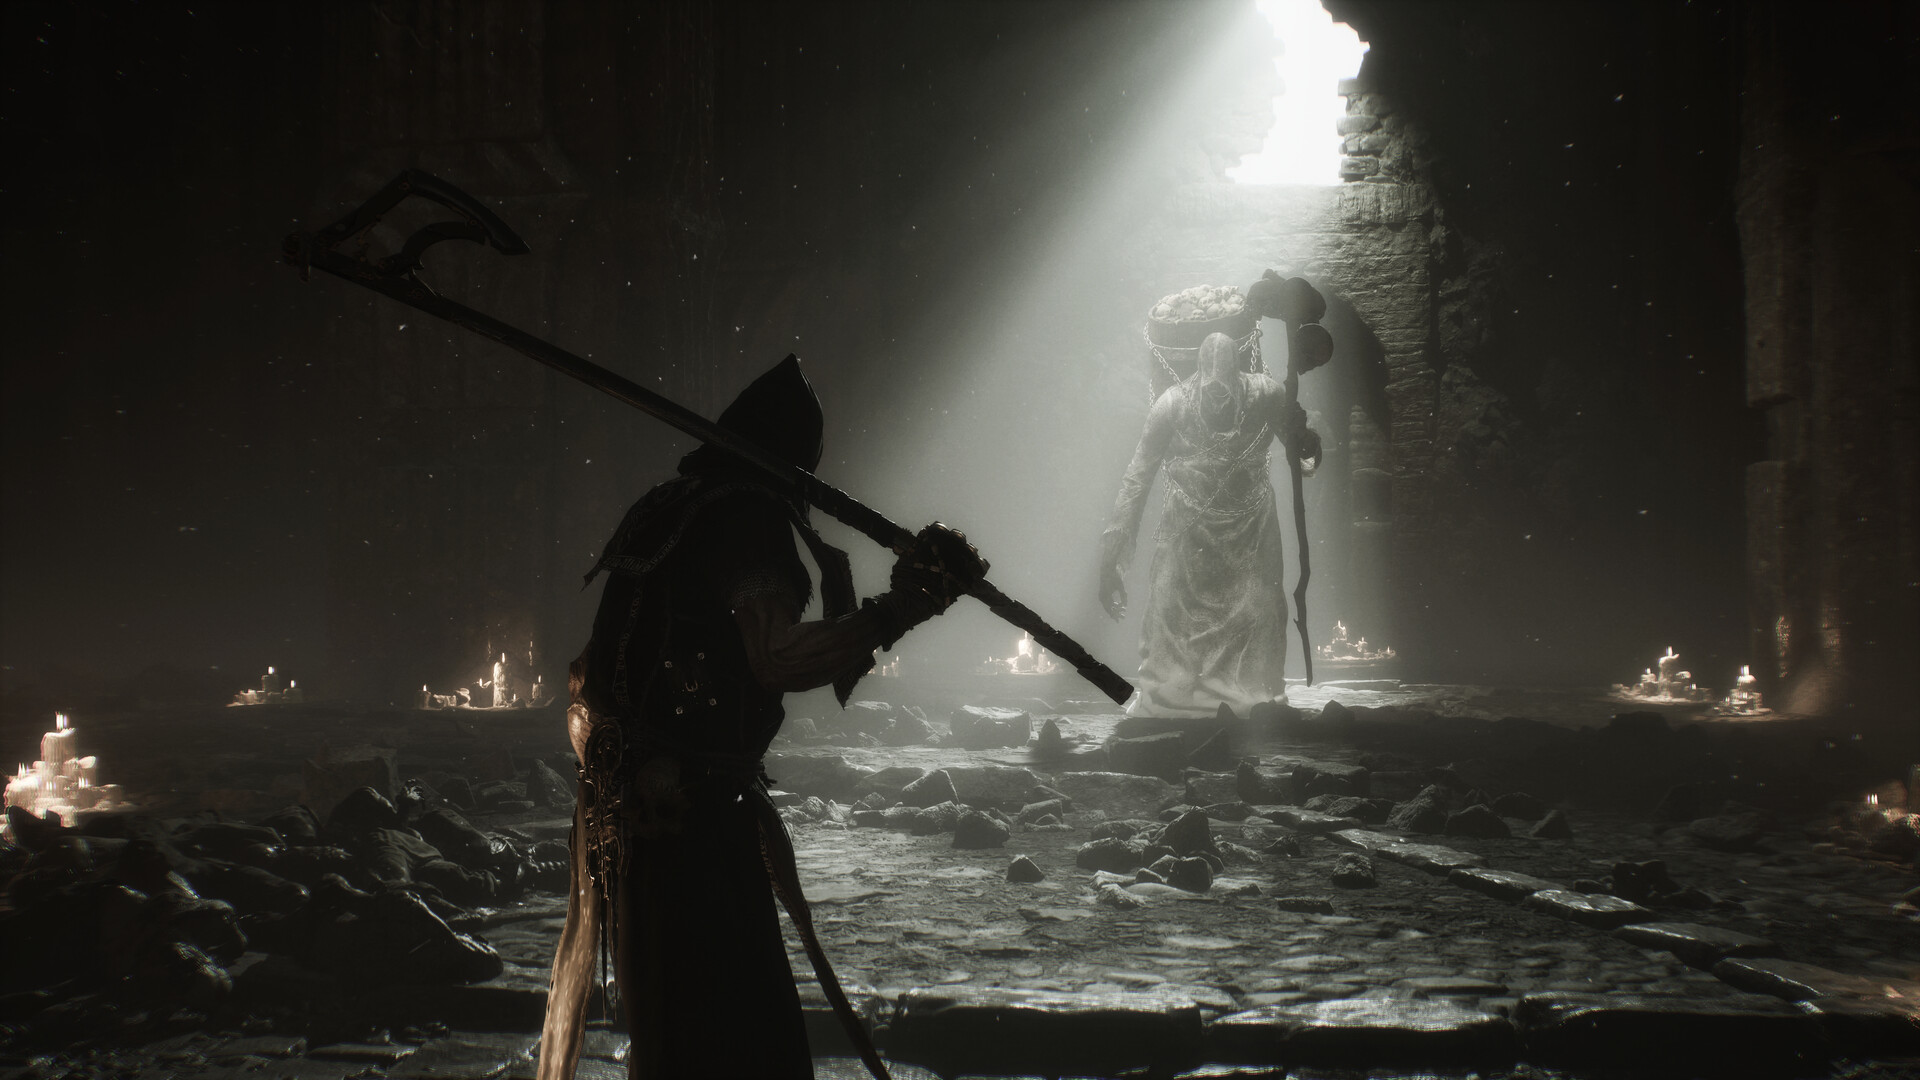
Match the loss to the fix:
| Where you lose | What to equip |
|---|---|
| Clipped while attacking | A Shell with damage protection |
| Cannot reach ranged enemies | A sidearm or ranged weapon |
| No safe openings | A Shell built for posture pressure |
| Every parry misses | The Untarnished Seal, for Guard instead of Parry |
Do not chase a universal tier list before you know the encounters. Mortal Shell 2 gives you multiple ways to solve a fight, and a Shell that feels average in one area can be the right answer for a specific enemy or weapon.
Weapons, Sidearms, and Tarstones
Your weapon changes the shape of every opening. Fast weapons let you test an enemy and leave sooner. Heavier weapons ask for more commitment, but they reward a posture-focused plan.
Weapons are scarce. MeriStation reports there are few of them and they are well hidden, so each new one is a turning point rather than another chest drop. Ranged weapons and sidearms belong to the same loop, and MeriStation singles out shotguns and crossbows as answers to enemies that punish you at melee range.
Tarstones modify a plan you already have. They are not a reason to rebuild after every pickup. Testing a weapon’s critical damage means picking effects that serve that, and losing the spacing battle means picking effects that open safer windows.
Early Survival Checklist
Most early deaths come from entering a room at full speed. Use this checklist for your first hours:
- Find a repeatable opener: learn one safe attack or approach that works against ordinary enemies.
- Leave room behind you: do not fight with a wall, drop, or second enemy at your back if you can reposition first.
- Test your Shell and Seal: know what both contribute before entering a boss room.
- Choose your Seal for the encounter: use parry only when you want to practice or already understand the attack timing.
- Use posture as the target: short, safe pressure is more useful than a long combo that leaves you trapped.
- Bring a ranged answer: sidearms and ranged weapons can change a fight that is unsafe at melee distance.
- Explore for upgrades: the open world rewards checking side paths instead of rushing the hardest-looking objective.
- Use the hub: Marrow Keep is where you level up with Gloom, switch Shells, swap Seals, and upgrade weapons at the Tarforge. Return to it before a difficulty spike, not after one.
- Know the Slayer Seal trap: the Magnificent Seat in Marrow Keep hands it over about one to two hours in. It makes Sidearms deal Break Damage and lets ripostes restore health and Resolve, but equipping it disables achievements on that save file for good and blocks parrying. Leave it alone if you want the completion.
If a route feels impossible, change the route before you assume your build is broken. MeriStation reports that difficulty across the first six or seven hours swings hard on where you go: sprint into a late zone and a single hit kills you, explore first and the same fights become fair. A linear soulslike cannot offer that.
Mortal Shell 2 Combat FAQ
Is parrying required in Mortal Shell 2?
No. Parrying is tied to a Seal, and the game supports other defensive approaches. If it is costing more health than it saves, choose a different Seal and rely on movement, Hardening, or spacing.
Does Mortal Shell 2 have a stamina bar?
No. The official game site describes combat as unrestricted by stamina. You still need to manage attack recovery, enemy range, posture, and your defensive resources.
How does Hardening work?
Harden turns you to stone and absorbs the next instance of damage. You get it by equipping Vatra’s Seal, which drops from the Tar Golem, so it is a Seal choice rather than something you always have. Time it to the incoming hit for a Perfect Harden, which deals Break Damage.
What should beginners learn first?
Learn spacing and enemy attack patterns first, then choose a Shell and Seal that cover your most common mistake. After that, build around posture and add sidearms or ranged weapons when melee distance is unsafe.
Does Mortal Shell 2 have a difficulty setting?
There is no menu selector. Difficulty moves through items instead. The Slayer Seal from the Magnificent Seat in Marrow Keep makes the game easier but disables achievements on that save, and Night Mode makes it harder once you use the Gloombound Flame and speak to Thestus at the top of Marrow Keep.
Is Mortal Shell 2 on PS5, Xbox, and PC?
Yes. Playstack lists an August 20, 2026 launch for PlayStation 5, Xbox Series X|S, and Steam.
Recommended Gear
Timing-heavy combat rewards precise inputs and clear audio, and the PC version needs SSD space. Prices were checked in August 2026 and can change.

SCUF Valor Pro Wireless
Extra controls for Xbox and PC combat setups.

Sony INZONE H9 II
Wireless audio for hearing combat cues.
Vansuny 2TB NVMe SSD
PS5 and PC storage with a heatsink.
SCUF Valor Pro Wireless is the premium pick for Xbox and PC players who want back paddles for Shell and Seal inputs. It is $133, down from a $189.99 list price.
Sony INZONE H9 II makes the most sense if audio cues are part of how you read attacks. For PC or PS5 storage, Vansuny’s 2TB NVMe SSD is the practical expansion option. Confirm fit and platform requirements before buying.
Mortal Shell 2 Combat Guide Summary
Mortal Shell 2 gives you room to attack, and the fights still turn on controlling the next exchange. Use spacing to read the enemy, a Seal whose defense you trust, and a Shell that covers your weakness. When Break fills, take the Riposte, then reset instead of extending the combo.
For more soulslike fundamentals, see our Nioh 3 beginner guide and Code Vein 2 review. If you are installing the PC version or expanding a PS5 library, our guide to the best PS5 SSDs with heatsinks covers the storage side in more detail.