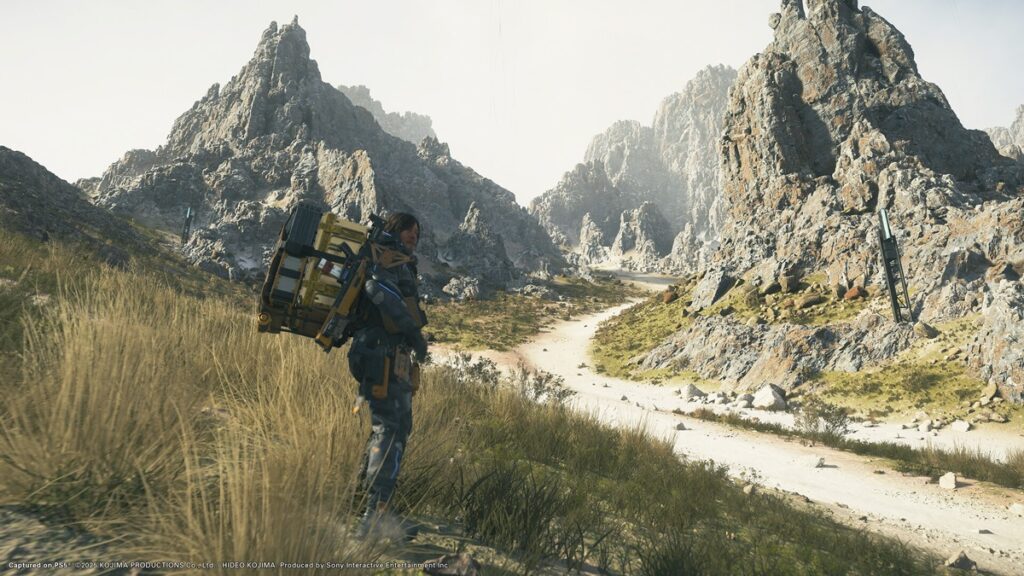
Death Stranding 2: On the Beach is built around delivering cargo across hostile terrain, and the game expects you to figure out most of its systems on your own. Balance management, BT encounters, route planning, and the APAS enhancement system all layer on top of each other without much tutorial guidance. This Death Stranding 2 beginner guide covers the core mechanics that matter most in the first 10 hours: how cargo works, how to survive BT encounters, what to build first, and how to expand the Chiral Network for better APAS upgrades.
Key Takeaways
- Auto-sort cargo at every terminal before leaving: it optimizes your center of gravity automatically, and skipping it on a windy route will send your entire stack tumbling
- Replace boots at yellow durability: worn boots cause blisters, slower movement, and HP loss on rough terrain
- Hold your breath near BTs: it reduces noise and visual cues, letting you sneak past without triggering a fight
- Expand the Chiral Network for APAS Memory: connecting new areas gives 20-35 points, while raising Connection Level with settlements gives 15 points each
- Build structures at high-traffic spots: other players in the asynchronous online mode will see them and leave structures of their own in your world
Death Stranding 2 Beginner Guide: Cargo Management and Balance
Every delivery in Death Stranding 2 is a balancing act. Cargo stacks on Sam’s back, and uneven loads make him wobble, stumble, and fall on rough terrain. Hit the Auto-Sort button at any terminal before departing. It rearranges your cargo for optimal center of gravity in one press. Skipping this on a windy route is how you watch your entire stack tumble down a ravine.
Containers take damage from drops, impacts, and timefall rain. When the UI shows timefall degradation, the rain eats through the container shell first. As long as container integrity stays above 0%, the actual cargo inside is safe. Use Container Repair Spray to fix damaged containers before integrity hits zero.
Remove your backpack before combat encounters if it contains fragile cargo. A hit to your pack can cascade into container damage and lost delivery value. You can also use the Strand rope tie-down by placing your backpack on the ground, equipping the Strand rope, and walking up until you see the “tie down cargo” prompt. This binds everything together and reduces scatter during falls.
Collect Chiral Crystals whenever you see them floating in the environment. They accumulate over time and reduce your overall cargo weight, making traversal smoother across the board.
Traversal and Route Planning
Route planning is the core of Death Stranding 2. Use the in-game Pathfinder at terminals to check for terrain hazards, weather patterns, BT zones, and bandit activity before starting a delivery. A route that avoids these risks saves energy, preserves cargo, and prevents detours that can eat into your delivery time rating.
Scan constantly with the Odradek (L1). It pings the area around you and highlights terrain depth, obstacles, hidden structures, and environmental threats. At night, be aware that the Odradek’s light is visible to bandits and enemies, so scan cautiously in hostile territory.
Boot durability matters more than you might expect. Every step wears down Sam’s boots, and hiking in worn boots causes blisters, slower movement, and HP loss. Replace boots as soon as they hit yellow durability. Always clip a spare pair to your Boot Clip so you can swap mid-route without returning to a terminal.
The world also has dynamic environmental hazards beyond BTs: timefall, sandstorms, earthquakes, avalanches, and wildfires. Check weather forecasts at terminals and adjust your route accordingly. Tar pits shift position based on weather patterns, so ground that was solid on your last trip may be lethal today. If the Odradek flashes red when scanning terrain depth, back away immediately.
How to Handle BT Encounters
Beached Things (BTs) are invisible under normal conditions. The Odradek scanner reveals them as floating dark figures tethered to the ground. When BTs are nearby, time slows down and the screen goes dimmer. That visual shift is your warning to stop moving and hold your breath.
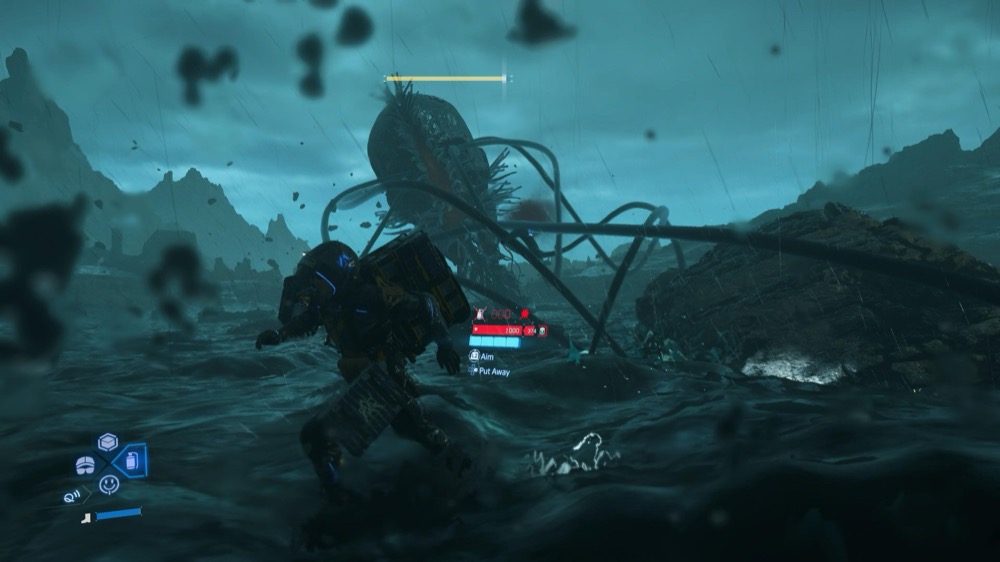
Hold your breath (R1) to reduce noise and visual cues. This lets you sneak through BT clusters without triggering a fight. Your breath meter is limited, so plan your path through the cluster before holding and move steadily without sprinting.
If a BT grabs you, mash the prompted button to break free before getting dragged into a tar pit boss fight. You can also distract BTs by throwing containers. They are drawn to the sound of the impact, giving you a window to sneak away. The Bola Gun is effective for incapacitating individual BTs at range.
Hematic weapons (made from Sam’s blood) are effective against BTs. Use private room facilities at major cities for VR weapon training and to collect bodily waste that functions as BT-specific ammunition.
Structures and the Strand System
Death Stranding 2 uses an asynchronous multiplayer system called the Social Strand System. Structures that other players build (bridges, timefall shelters, recharge stations, signs) appear in your world. Your structures appear in theirs. Building in high-traffic areas where other players pass through means more likes, which feed back into your Connection Level.
Prioritize building these structures early:
- Bridges over rivers and ravines on common delivery routes
- Timefall shelters at exposed stretches where rain is frequent
- Postboxes at route intersections for cargo storage and sharing
- Recharge stations near long uphill stretches for vehicle battery and exoskeleton power
Upgrade structures using materials you find while exploring. Higher-level structures last longer against timefall degradation and provide better bonuses. Leave signs near high-traffic docking areas to earn likes from other players who pass through.
APAS Enhancements and the Chiral Network
APAS (Augmented Porter Assistance System) enhancements are passive skills that improve Sam’s capabilities. You equip them into limited memory slots, and getting more memory requires expanding the Chiral Network and raising your Connection Level with settlements.
Two ways to earn APAS Memory:
| Method | Memory Gained | How |
|---|---|---|
| Connect new areas to the Chiral Network | 20-35 points per area | Use the Q-pid at new facilities and preppers |
| Raise Connection Level with settlements | 15 points per level | Complete deliveries and earn likes from that settlement |
Connecting new areas gives more memory than grinding Connection Levels, so prioritize expanding the network over maxing out a single settlement. The Skeleton Auto-Assist enhancement is one of the first you should equip. It automatically adjusts your posture when carrying heavy loads, which reduces stumbling and fall risk across uneven terrain.
Stats level up based on your playstyle. Repeating certain actions (delivering cargo, fighting BTs, building structures) improves related stats over time. You don’t need to allocate points manually.
Combat and Equipment
Combat plays a larger role in Death Stranding 2 than the original. You unlock firearms, exoskeletons, and specialized weapons as you progress. The Non-Lethal Assault Rifle is worth investing in early because its rubber rounds let you clear bandit camps without triggering a necrotization event. Most guns in DS2 also support Multi-Purpose (MP) Bullets that incapacitate humans without killing. Any human you kill must be transported to an incinerator or a deep Tar Lake, so non-lethal options save significant time.
Stealth is always an option. Crouch and move slowly to sneak past enemy camps. Scan and tag enemies with the Odradek before approaching to plan your route through hostile areas. The Bola Gun incapacitates targets without killing, making it useful against both bandits and BTs.
Before boss fights and tough combat encounters, use temporary buffs from grindstones (weapon damage) and repair your equipment at the nearest terminal. Keep your boots and exoskeleton in good condition, as degraded equipment directly reduces your combat effectiveness.
Frequently Asked Questions
What difficulty should I pick in Death Stranding 2?
Start on Normal if you want the intended experience, or Casual if you prefer focusing on exploration and story. Higher difficulties mean tougher enemies, fewer resources, and more punishing terrain. You can change difficulty at any time.
How do I avoid BTs in Death Stranding 2?
Hold your breath (R1) when the Odradek detects BTs nearby. Move slowly and steadily through BT clusters without sprinting. You can throw containers to distract them with the sound, giving you a window to sneak past. The Bola Gun also incapacitates individual BTs at range.
How does the Strand System work in Death Stranding 2?
Other players’ structures (bridges, shelters, signs) appear in your world through asynchronous multiplayer. Your structures appear in theirs. Building at high-traffic locations earns likes from other players, which increases your Connection Level and unlocks APAS Memory upgrades.
How do I get more APAS Memory in Death Stranding 2?
Two ways: connect new areas to the Chiral Network using the Q-pid (20-35 points per area), or raise your Connection Level with settlements by completing deliveries (15 points per level). Expanding the network is more efficient than grinding a single settlement.
Should I kill enemies or use non-lethal weapons?
Non-lethal when possible. Any human you kill must be transported to an incinerator or Tar Lake, or their body triggers a necrotization event. The Non-Lethal Assault Rifle and Bola Gun handle most encounters without killing.
Gear for Long Sessions
Death Stranding 2 is a slow-paced game built around long delivery runs. A comfortable controller and quality audio for the Kojima-directed soundtrack and environmental cues make those multi-hour sessions better.
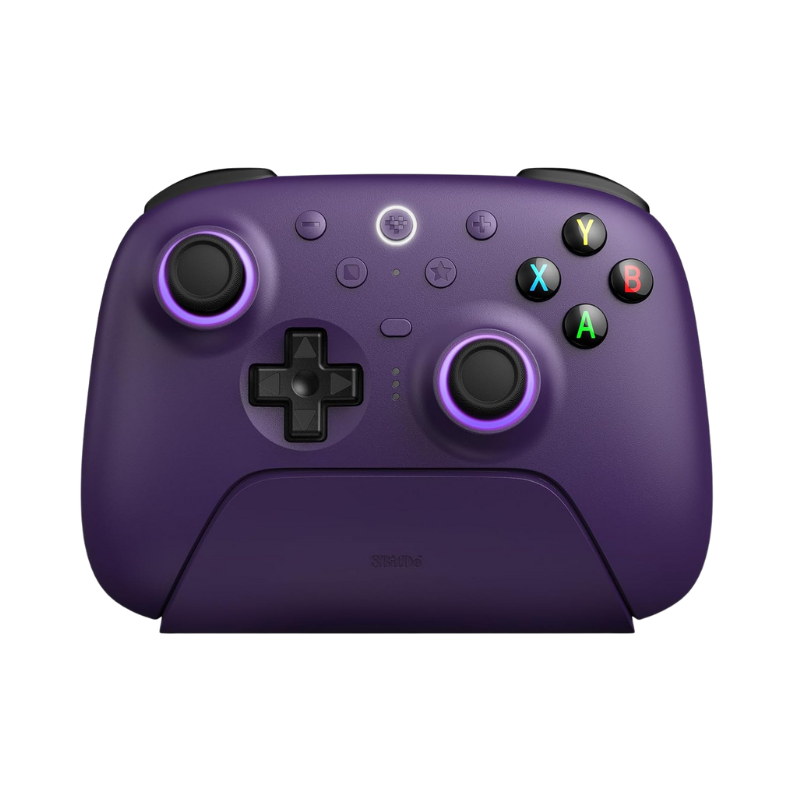
8BitDo Ultimate 2 Controller
Hall effect sticks with wireless and Bluetooth

SteelSeries Arctis Nova 7
Multi-platform wireless with 38-hour battery

Samsung Odyssey G55C 32″ QHD
165Hz curved VA panel at a budget price
Summary
Death Stranding 2 is a game about planning, patience, and preparation. Auto-sort your cargo at every terminal, replace boots before they hit red, and hold your breath through BT clusters instead of fighting them. Build structures at high-traffic locations to benefit from the Strand System, and expand the Chiral Network aggressively for APAS Memory since connecting new areas gives more memory per action than grinding Connection Levels. Use non-lethal weapons whenever possible to avoid the necrotization cleanup. Take your time with route planning and let the game’s systems work for you instead of fighting against them. If you want a sharper, more aggressive action game lined up next, see our Onimusha: Way of the Sword hub.