📋 TL;DR
- The Renegade (battle rifle) and Stitcher (SMG) dominate most PvP fights right now
- Medium Shield + Combat Mk.3 Augment is the safest gear setup across all builds
- Sprint-slide-shoot-roll is the single most important movement technique to learn
- Trigger ‘Nades with remote detonation outperform every other throwable in PvP
- Always heal and reload before looting after a fight, third parties show up fast
📋 In This Guide
Arc Raiders PvP is brutal if you don’t know what you’re doing. The extraction shooter format means every fight matters, and one bad engagement can cost you an entire raid’s worth of loot. This guide covers the weapons, builds, and tactics that win fights consistently, based on the current meta after patch 1.15.0 (February 2026).
If you’re still getting comfortable with the game’s core systems, check out our beginner guide first. Otherwise, let’s get into the PvP specifics.
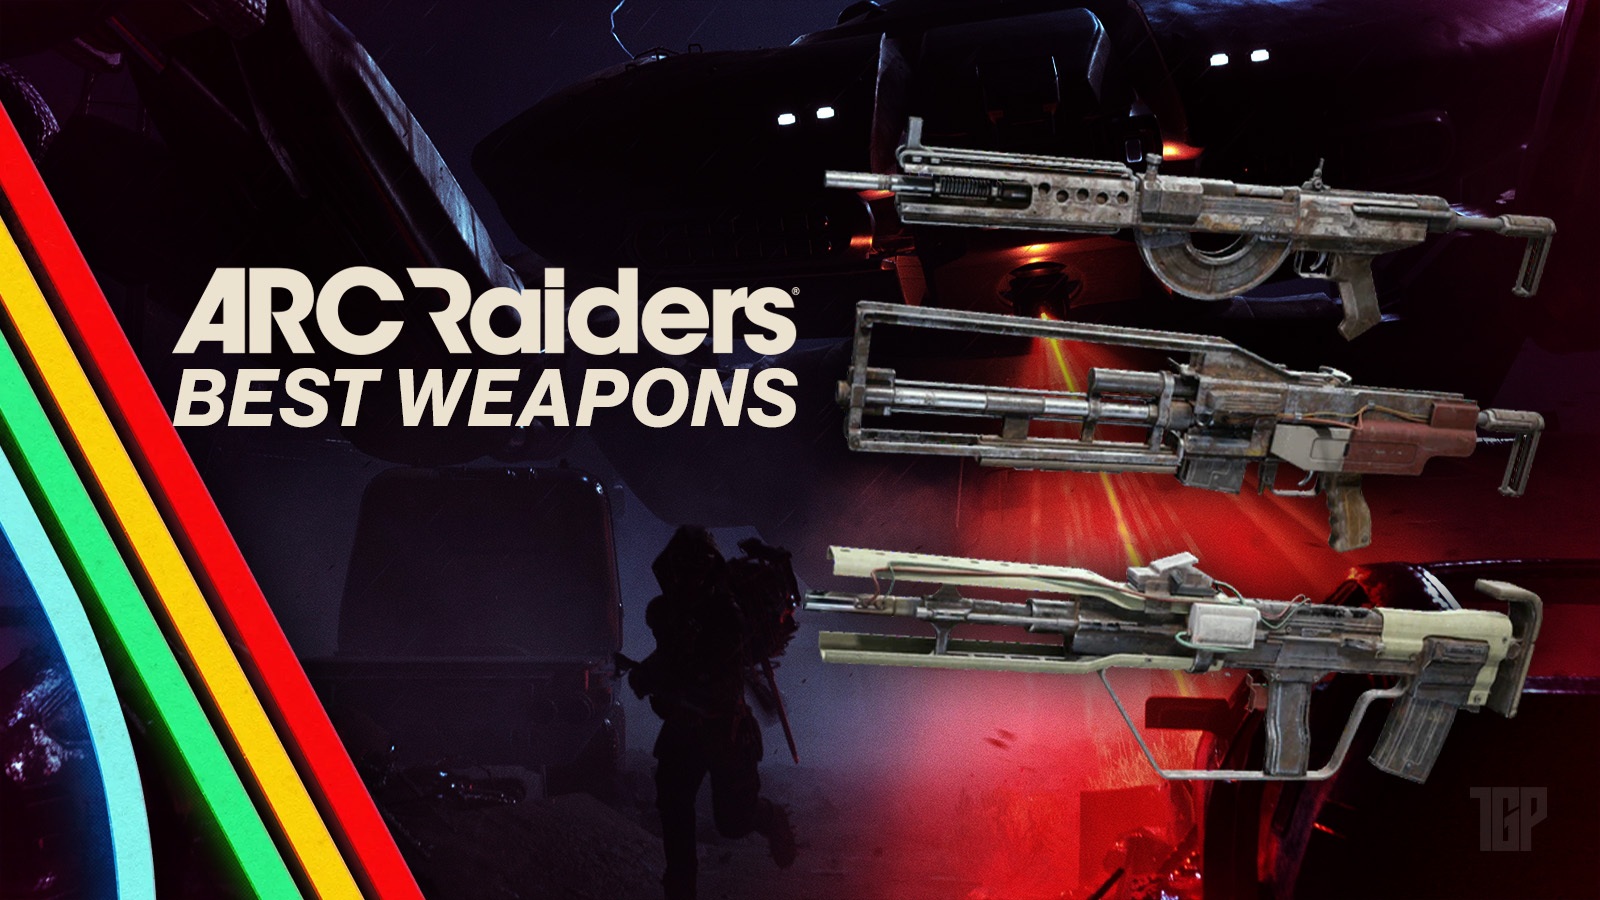
Best PvP Weapons
Weapon choice is everything in Arc Raiders PvP. The gap between top-tier and bottom-tier guns is massive. Here’s where things stand right now.
S-Tier
Renegade (Battle Rifle) – 35 damage per shot, lever-action, medium ammo. The best long-range weapon in the game right now. Four headshots drop a Light Shield player. The lever-action reload feeds one bullet at a time, but you can interrupt it with a weapon swap. Most experienced PvP players keep a Renegade as their primary for opening fights at distance.
Stitcher (SMG) – 7 damage per shot, full-auto, light ammo. Absurdly fast time-to-kill at close range. Cheap to craft, easy to control (mostly vertical recoil), and effective at all skill levels. It took a nerf in patch 1.11.0 and is still one of the best guns in the game. If you only learn one close-range weapon, make it this one.
Anvil (Hand Cannon) – 40 damage per shot, heavy ammo, slow-firing revolver. Don’t sleep on this one. Massive stagger on hit, strong shield-breaking capability, and two headshots up close end fights instantly. Works as a dedicated secondary or sidearm. The low upgrade cost makes it viable at every stage of a raid.
A-Tier
Tempest (Assault Rifle) – Full-auto, medium ammo, 25-round magazine. The jack-of-all-trades. Reliable at medium range with good stability. Not the flashiest pick, but it consistently performs. High ammo consumption is its only real downside.
Ferro (Battle Rifle) – 40 damage per shot, semi-auto, strong armor penetration. Can eliminate a Light Shield player in one well-placed sequence. Cheap to craft and stays viable late-game. Solid budget option for players who want stopping power without the Renegade’s price tag.
Il Toro (Shotgun) – 67.5 damage per shot, pump-action. Ridiculous single-shot damage. Slow fire rate and limited range, but an ambush headshot basically guarantees the kill. Best on tight maps like Stella Montis where you can control engagement distance.
Bobcat (SMG) – Fast fire rate, near-zero recoil up close. Harder to acquire than the Stitcher but excels with recoil-reducing attachments. Great hip-fire weapon for aggressive pushes.
For a deeper breakdown of every weapon with PvE considerations included, see our full weapon tier list.
Weapons to avoid in PvP
The Hullcracker is great for PvE but miserable against other players. The Hairpin is the weakest PvP weapon overall. The Jupiter has a visible charge indicator that gives away your position and a painfully slow reload. And the Rattler, despite a magazine buff in patch 1.7, still underperforms against most PvP alternatives.
Loadout Builds
Weapons only matter if the rest of your loadout supports them. Here are three builds that cover different budgets and playstyles.
Aggressive assault (the meta build)
| Slot | Choice |
|---|---|
| Primary | Tempest (AR) |
| Secondary | Stitcher (SMG) |
| Sidearm | Anvil |
| Augment | Combat Mk.3 (Aggressive) |
| Shield | Medium Shield |
| Grenades | Trigger ‘Nade x2, Smoke x1 |
| Healing | Med Kit x2, Bandages x3 |
Control medium range with the Tempest, then close distance and finish with the Stitcher. The Combat Mk.3 (Aggressive) gives shield support, extra grenade capacity, and passive health regen. For skill points, prioritize Mobility (Marathon Runner, Youthful Lungs, Effortless Roll) and Conditioning (Used to the Weight). This build wins most 1v1s and scales well in team fights.
Long-range eliminator (high skill ceiling)
| Slot | Choice |
|---|---|
| Primary | Renegade or Osprey (Sniper) |
| Secondary | Ferro (Battle Rifle) |
| Sidearm | Venator |
| Augment | Combat Mk.2 |
| Shield | Medium Shield |
Hold sightlines, pick people off at range, reposition frequently. Fall back to the Ferro for medium-range pressure. One thing to note: patch 1.15.0 increased the flinch multiplier on bolt-action snipers, so taking return fire while scoped is much more punishing now. If you keep getting hit while scoping, swap the Osprey for a Renegade. It’s more forgiving under pressure.
Budget brawler (low risk, still competitive)
| Slot | Choice |
|---|---|
| Primary | Kettle (DMR-style) |
| Secondary | Stitcher (SMG) |
| Total cost | ~500 Credits |
Tap-fire the Kettle at medium range like a DMR, rush weakened enemies with the Stitcher. The whole loadout costs around 500 credits, so dying doesn’t sting. Play smart instead of expensive. Avoid extended firefights, capitalize on third-party opportunities, and extract early with partial loot. A successful cheap run beats a failed expensive one every time.
⚡ Gear tip: Medium Shield is the best PvP shield across all builds. Good balance of survivability, mobility, and recharge speed. Pair it with a Shield Recharger in your quick-slot, and always carry at least one Door Blocker or Barricade Kit. Blocking a door buys you enough time to heal and reload after a fight.
If you want to dig deeper into skill tree optimization for these builds, check out our skill tree builds guide.
Combat and Movement Techniques
Aim matters, but movement wins more fights in Arc Raiders than raw accuracy does. Here’s what separates good PvP players from the ones who get sent back to base with nothing.
Sprint-slide-shoot-roll
This is the single most important advanced technique. Sprint forward, initiate a slide, take your shot during the slide, then hit the roll button before the slide ends. The roll breaks your forward momentum and lets you sprint-roll back into cover. Practice this until it’s muscle memory. It makes you significantly harder to hit during engagements.
Slide-cancel into sprint dodge
Sprint into a slide, then press sprint + dodge roll while still sliding. Use this for quick peeks, baiting enemy shots, or fast repositioning during a firefight. It’s also effective for crossing open ground when you know someone’s watching.
Roll toward enemies, not away
Sounds counterintuitive, but rolling toward an enemy disrupts their tracking. Most players aim horizontally, so moving into their space throws off their crosshair. Combine this with a shotgun or SMG for devastating close-range ambushes.
Weapon swapping over reloading
Swapping to your secondary is almost always faster than reloading mid-fight. This is why carrying a reliable sidearm (Anvil, Venator) matters. When your primary runs dry, swap instead of reload. Save the reload for after the fight.
Stamina management
Stamina depletion gets more players killed than bullets do. The rule is simple: never engage a fight with low stamina. You need enough for at least one emergency dodge roll or escape sprint. Walking and crouching restore stamina. Sprinting burns through it fast. The Effortless Roll perk from the Mobility tree reduces dodge roll stamina cost enough to give you that extra roll when it counts. It’s borderline mandatory for PvP.
Grenades and Utility
Most players underuse grenades. A well-placed throwable creates more value than several rifle magazines.
Top picks for PvP
Trigger ‘Nade – The best PvP grenade, full stop. Remote detonation means you choose exactly when it goes off. Throw it at a doorway, wait for someone to push through, detonate. Set traps on loot spots, throw it into groups, or hold detonation until you hear footsteps. Two well-placed Trigger ‘Nades will kill a Raider. It got nerfed in patch 1.11.0 but still dominates.
Smoke Grenade – 7.5m radius cloud lasting 20 seconds. Use it for reviving teammates in the open, resetting bad engagements, blocking sniper sightlines, or covering your extraction. Pair it with a Tagging Grenade and you can see enemies inside the smoke while they can’t see you. That combo is borderline broken in team play.
Tagging Grenade – Tags enemies for 30 seconds through walls and smoke. No damage, but the wallhack-level vision control is worth every credit. Best thrown early in a fight before anyone repositions.
Jolt Mine – 4-second Raider stun plus a 10-second ARC stun. Place it where you expect enemies to push and you’ve basically guaranteed a kill. Strong for holding positions and 1v1 scenarios.
Grenade tactics
Use grenades for information, not just damage. Toss one into a room to see if anyone bolts out. Block escape routes before pushing. Soften targets before you commit. The goal is often displacement, not damage. Force the enemy to move where you want them, then shoot them when they do.
PvP Strategy and Positioning
Engagement rules
Time your attacks for when enemies are distracted by AI, caught mid-rotation, or reloading. Don’t rush every fight. Focus fire on a single target with your team to create a numbers advantage fast. The longer a fight drags out, the more likely a third party shows up and kills everyone.
Third-partying (and avoiding it)
When you hear nearby gunfire, push immediately. Delayed third-party attempts let enemies heal and reposition. Immediate aggression catches opponents mid-healing, low on ammo, and focused on someone else. As a solo player, third-partying is your strongest tactic: let squads fight each other, then clean up whoever’s left.
To avoid getting third-partied yourself, follow the 20-second rule: after wiping a team, spend 20 seconds healing, reloading, scanning angles, and repositioning before you touch any loot. Third parties arrive fast on most maps. That 20-second window determines whether you survive.
For more solo-specific survival strategies, our solo guide covers extraction routes, AI avoidance, and loot prioritization.
Extraction strategy
Never be the first to call a shuttle. Lurk near extraction zones, observe, and use another team’s extraction as a diversion. Watch the timer, because exits close mid-raid. Moving toward an extract early prevents dying to time pressure, which is one of the most avoidable losses in the game.
Pop a smoke grenade before calling or approaching the shuttle. Extract early with partial loot if the situation feels risky. A successful partial extract beats a failed full one every single time.
Map-specific tips
Spaceport: Massive battles near the Launch Tower event. Establish positions on hangar roofs and rotate between mid lanes. Avoid predictable angles near tower ramps. Time extractions to dodge third parties arriving on audio cues.
Buried City: Frequent close-quarters fights and ambushes near extraction points. Shotgun and SMG builds thrive here. Expect multi-level engagements.
Stella Montis: Cramped interiors where the Il Toro and Stitcher dominate. Indoor combat is king. Bring grenades for room clearing.
Team callouts
If you play with a squad, four callouts cover 90% of what your team needs to hear: “Reloading” (signals vulnerability), “Healing behind [location]” (position and duration), “One hit [location]” (enemy health state), and “Pushing [direction]” (repositioning announcement). Keep communications short. Long explanations mid-fight get people killed.
Common PvP Mistakes
These are the mistakes that cost the most raids. Cut even two or three of them from your gameplay and you’ll see an immediate difference in your survival rate.
- Fighting with low stamina. You can’t dodge, roll, or escape. Always maintain a stamina reserve before engaging.
- Healing behind soft cover. Thin wooden crates, railings, and cloth tents don’t fully block bullets. Use metal walls, cargo containers, or thick concrete.
- Reloading instead of weapon-swapping. Swapping to your secondary is faster. Carry a secondary specifically for this purpose.
- Looting immediately after a kill. Third parties arrive within seconds. Heal, reload, and scan before touching loot.
- Breaking doors loudly. Use quieter entry points like windows. Door breaches broadcast your location to everyone nearby.
- Ignoring the extraction timer. Exits close mid-raid. Getting greedy and dying to time pressure is one of the most common ways to lose everything.
- Taking every fight. Not every engagement is worth the risk. If survival matters more than kills, disengage with smoke and dodge rolls.
- Spreading damage across multiple enemies. Focus fire on a single target to eliminate threats one at a time. Shooting different enemies wastes damage output.
- Neglecting grenades. A single Trigger ‘Nade or Smoke Grenade often creates more value than several rifle magazines. Use your throwables.
- Running exposed through open areas. Stay near cover at all times. Sprinting in the open broadcasts your position through footstep sounds and makes you an easy target.
Frequently Asked Questions
What is the best weapon for PvP in Arc Raiders?
The Renegade (battle rifle) is the strongest overall PvP weapon right now. It deals 35 damage per shot at range, and four headshots kill a Light Shield player. For close range, the Stitcher (SMG) has the fastest time-to-kill and is cheap to craft. Running both covers almost every engagement distance.
What’s the best loadout for PvP beginners?
Start with the Budget Brawler build: Kettle (primary) and Stitcher (secondary) for about 500 credits total. This lets you practice PvP engagements without risking expensive gear. Once you’re comfortable, upgrade to the Aggressive Assault build with a Tempest, Stitcher, and Anvil sidearm.
How do I avoid getting third-partied?
After winning a fight, spend 20 seconds healing, reloading, and scanning before looting. Keep fights short by focusing fire on single targets. Use a suppressor if available. And never loot in the open. Move bodies to cover before searching them.
Does Arc Raiders have skill-based matchmaking for PvP?
Arc Raiders uses behavior-based matchmaking. Passive, cooperative players tend to get grouped into calmer lobbies, while aggressive hunters face more combat-focused opponents. Your playstyle between raids influences the type of lobby you get matched into. If you want to skip PvP matchmaking entirely, check out our friendly lobby guide for how to get into PvE-only sessions.
What grenades should I use for PvP?
Trigger ‘Nades are the best PvP grenade due to their remote detonation. Smoke Grenades are a close second for resetting fights and covering extractions. Tagging Grenades offer wallhack-level vision for 30 seconds. Carry at least two types for flexibility.
Summary
PvP in Arc Raiders rewards preparation over reflexes. Pick the right weapons (Renegade + Stitcher for most situations), build a loadout that matches your playstyle and budget, and learn the sprint-slide-shoot-roll technique. Use grenades aggressively, manage your stamina, and never loot before healing after a fight. The players who consistently extract with full bags aren’t necessarily the best shots. They’re the ones who pick their fights wisely and know when to walk away. If you want to sharpen your combat skills in a structured environment, the weekly trials system is a great way to test your loadouts and movement techniques against increasingly difficult challenges.