Losing a good loadout in Arc Raiders stings. Losing an expensive one because you didn’t need half of it stings worse. After running hundreds of raids across budget kits and full premium setups, the pattern is clear: the best loadout is the one you can afford to lose and still come back stronger. Below are three complete loadouts by budget tier, every slot filled, for whether you’re sitting on 5K or 50K.
📋 In This Guide
📋 TL;DR
- Budget (~8K): Ferro + Stitcher, Light Shield, Looting MK 1. Cheap, effective, easy to replace.
- Mid-Tier (~25K): Anvil + Rattler, Medium Shield, Combat MK 2. Strong in PvP, sustainable with good raids.
- Premium (~50K): Renegade + Bettina, Medium Shield, Combat MK 3 (Aggressive). Full power, full risk.
- Buy weapons and ammo from vendors. Craft your consumables (bandages, shield rechargers, adrenaline shots).
Craft vs buy: where your money goes
The biggest money pit in Arc Raiders isn’t weapons. It’s consumables. Buying bandages, shield rechargers, and adrenaline shots from Lance adds up to 3,000-5,000 coins per raid. Do that ten times and you’ve burned through 50K on supplies alone.
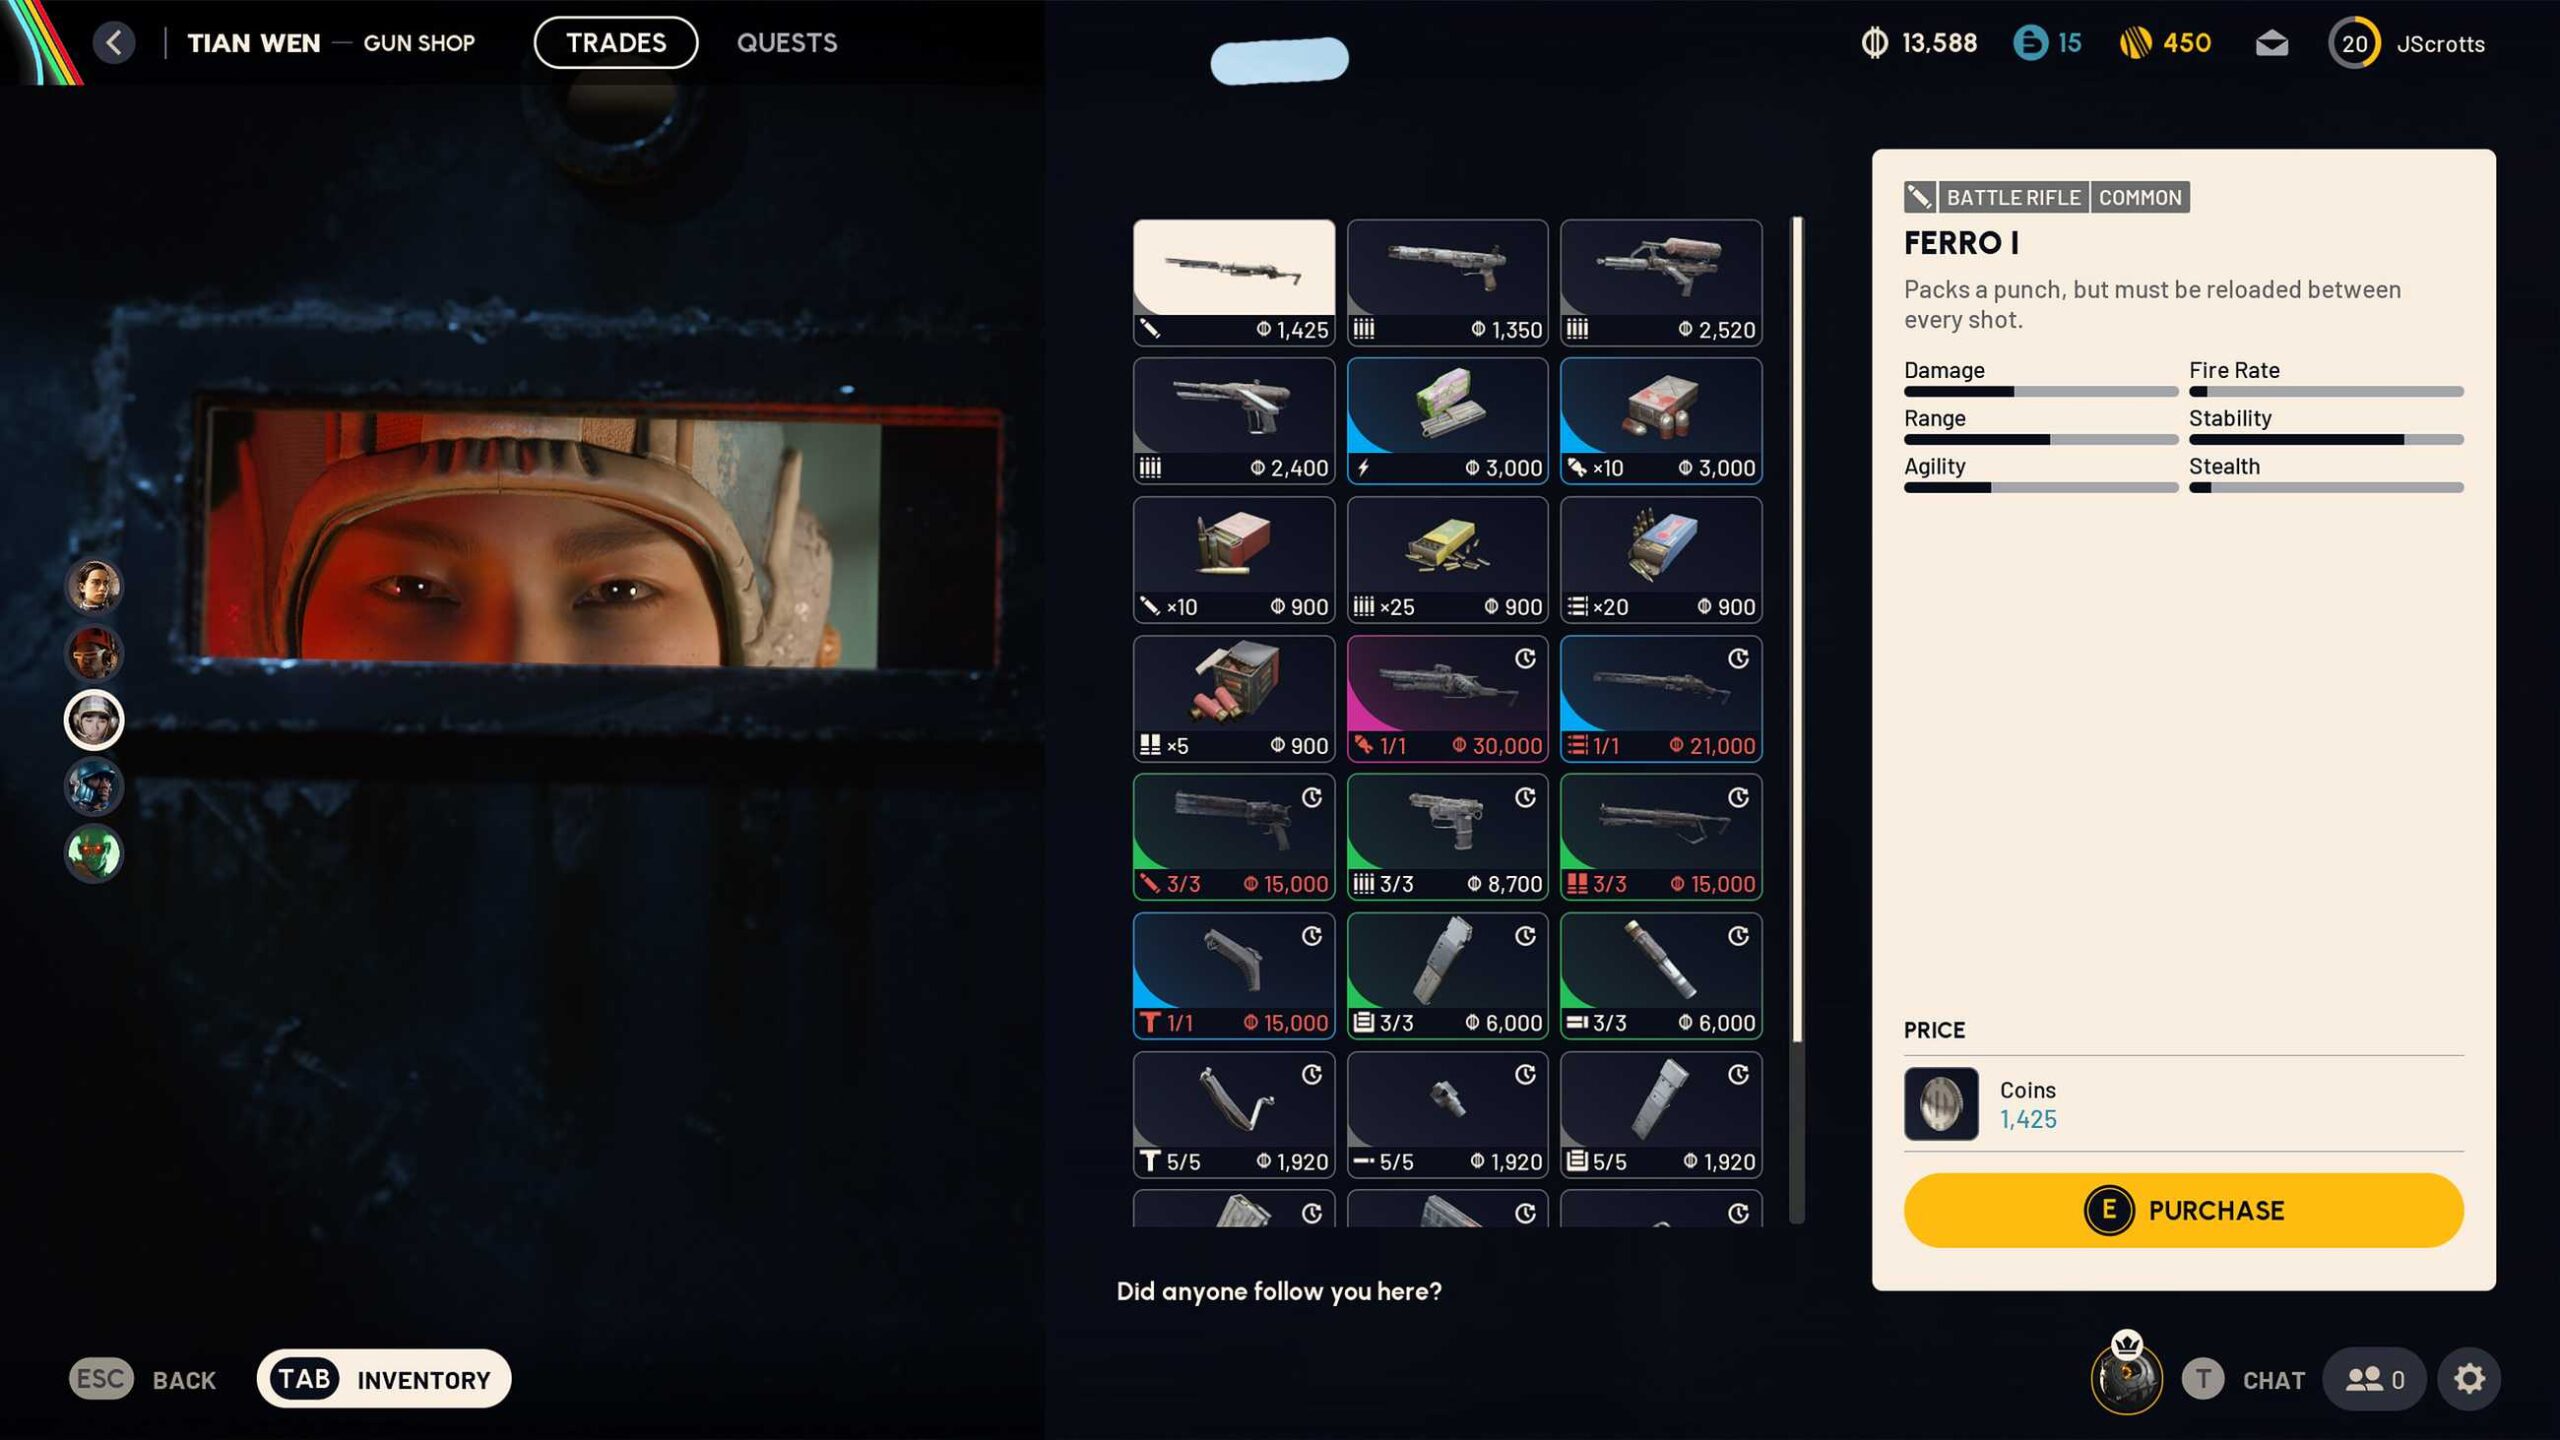
The fix: buy your weapons, craft your consumables. Weapons from Tian Wen come ready to use with no material hunting required. A Ferro I costs 1,425 coins. An Anvil I costs 15,000. A Renegade I costs 21,000. These are one-time purchases that last until you die. Meanwhile, crafting a stack of bandages costs 5 Cloth per stack of 5, and shield rechargers cost 5 Rubber Parts plus an ARC Powercell. Materials you’re picking up every raid anyway.
⚡ The golden rule: If you use it once per raid (weapons, shields, augments), buy it. If you burn through multiples per raid (ammo, meds, rechargers), craft it.
This approach keeps your runs sustainable. A profitable raid brings in 30-80K+ in loot value depending on your augment and extraction luck. If your loadout costs 8K and your consumables are crafted, you’re turning a profit on nearly every run. For a deeper breakdown of what to keep versus sell, check out our inventory management guide.
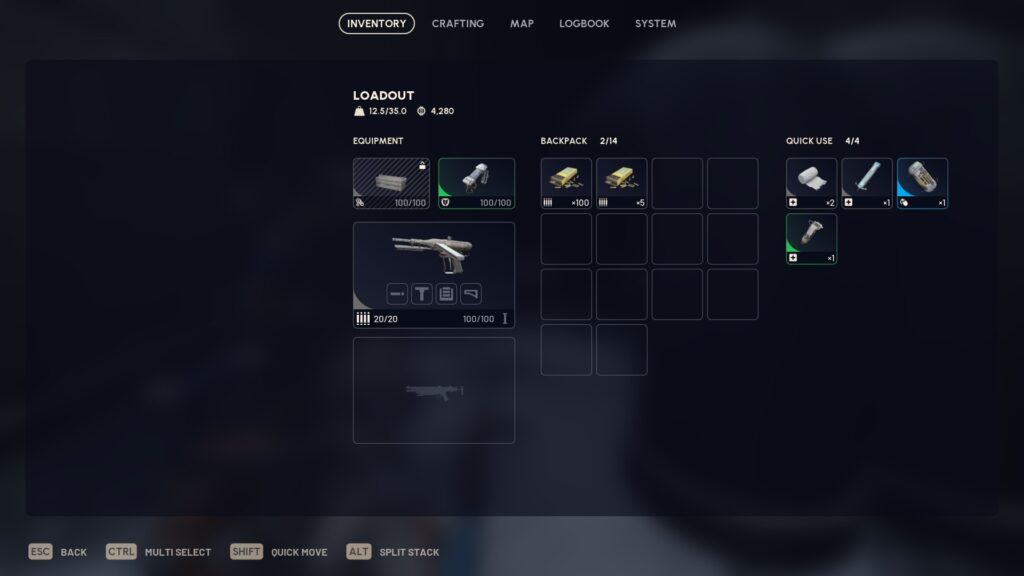
Budget loadout (~8K total)
This is the loadout you run when you’re rebuilding after a bad streak, or when you want maximum profit per raid. Every piece is purchasable from vendors at settlement level 0-7, and losing it won’t set you back.
| Slot | Item | Cost | Source |
|---|---|---|---|
| Primary Weapon | Ferro I | 1,425 | Buy from Tian Wen |
| Secondary Weapon | Stitcher I | 2,400 | Buy from Tian Wen |
| Shield | Light Shield | 1,920 | Buy from Lance |
| Augment | Looting MK 1 | 1,920 | Buy from Lance |
| Quick-Use 1 | Bandages x5 | Free | Craft (5 Cloth) |
| Quick-Use 2 | Shield Recharger | Free | Craft (5 Rubber + Powercell) |
| Grenade | Light Impact Grenade | 810 | Buy from Apollo |
| Utility | Binoculars | Free | Keep from previous raids |
Total vendor cost: ~8,475 coins
The Ferro hits for 40 damage per shot. That’s enough to two-shot someone through a light shield at close range. The Stitcher covers you when they rush or when you need sustained fire against ARC units. This combo has been the community’s go-to budget pairing since launch because it covers both engagement ranges for under 4,000 coins.
The Looting MK 1 gives you 50 weight capacity and 1 safe pocket. Not flashy, but it holds enough loot to make the raid profitable. If you have the coins, upgrade to a Looting MK 2 (6,000 from Lance) for 60 carry weight, 22 slots, and 2 safe pockets. It’s the best value augment in the game for loot-focused runs.
New to the game? Our beginner guide covers the fundamentals before you start optimizing loadouts.
Mid-tier loadout (~25K total)
You’ve got some coins saved and you want to actually win fights. This loadout bridges the gap between surviving and dominating. The Anvil is the key upgrade here, turning you from a scavenger into a threat.
| Slot | Item | Cost | Source |
|---|---|---|---|
| Primary Weapon | Anvil I | 15,000 | Buy from Tian Wen |
| Secondary Weapon | Rattler I | Free | Craft (cheap materials) |
| Shield | Medium Shield | 6,000 | Buy from Lance (Level 12) |
| Augment | Combat MK 2 | 6,000 | Buy from Lance |
| Quick-Use 1 | Herbal Bandages | Free | Craft (upgraded mats) |
| Quick-Use 2 | Shield Recharger x2 | Free | Craft |
| Quick-Use 3 | Adrenaline Shot | Free | Craft |
| Grenade | Snap Blast Grenade | 2,400 | Buy from Apollo |
| Utility | Barricade Kit | 1,920 | Buy from Apollo |
Total vendor cost: ~25,320 coins (less if crafting the Rattler)
The Anvil is a hand cannon with 40 damage and a 16.3 fire rate, giving it 652 DPS. That’s more than double the Ferro’s sustained output. It shreds both players and ARC units at medium range. Pair it with the Rattler (9 damage, 33.3 fire rate, 299 DPS) for a reliable full-auto backup.
The Combat MK 2 is the real upgrade here. It supports light, medium, AND heavy shields, has a utility slot for grenades, and passively regenerates 1 HP every 5 seconds. That passive healing adds up across a full raid. The Medium Shield is the sweet spot for PvP, with enough charge to survive burst from Bettinas and Tempests while keeping your movement speed reasonable. For details on every weapon in the game and where they rank, check the complete weapons tier list.
Barricade Kits deserve special mention. Drop one during a firefight and you instantly have hard cover. On open maps like Spaceport, these save lives.
Premium loadout (~50K total)
This is the “I’m going in to fight” loadout. Every slot is optimized. You’re bringing the best weapons, the best augment, and enough consumables to survive extended engagements. Only run this when you can afford to lose it.
| Slot | Item | Cost | Source |
|---|---|---|---|
| Primary Weapon | Renegade I | 21,000 | Buy from Tian Wen (Level 12) |
| Secondary Weapon | Bettina I | ~9,000 | Buy from Tian Wen |
| Shield | Medium Shield | 6,000 | Buy from Lance |
| Augment | Combat MK 3 (Aggressive) | Craft | Blueprint + materials |
| Quick-Use 1 | Sterilized Bandages | Free | Craft |
| Quick-Use 2 | Surge Shield Recharger | Free | Craft |
| Quick-Use 3 | Adrenaline Shot | Free | Craft |
| Quick-Use 4 | Defibrillator | 3,000 | Buy from Lance (squad raids) |
| Grenade 1 | Smoke Grenade | 3,000 | Buy from Apollo |
| Grenade 2 | Snap Blast Grenade | 2,400 | Buy from Apollo |
| Utility | Zipline | 3,000 | Buy from Apollo (Level 12) |
Total vendor cost: ~47,400 coins (varies by crafting)
The Renegade is a battle rifle with 35 damage at a 21 fire rate, producing 735 DPS. That’s the highest sustained damage of any non-special weapon in the game. It uses medium ammo, which is cheaper and more common than heavy. The Bettina backs it up with 448 DPS full-auto for close-range fights.
The Combat MK 3 (Aggressive) is the PvP augment. It supports medium and heavy shields, has 2 grenade slots, 1 safe pocket, and regenerates 2 HP every 5 seconds. That’s double the Combat MK 2’s healing. You won’t buy this one from a vendor. You’ll need the blueprint from Dam Battlegrounds and craft it with mech components and gun parts.
Why Medium Shield over Heavy? Heavy costs 16,500, slows you down significantly, and only unlocks at level 20. Medium gives you enough protection to survive most engagements while keeping the mobility to reposition. The extra coins saved go to better weapons and consumables. For PvP-specific strategies with this setup, see our PvP guide.
Smoke grenades are your escape button. Pop smoke, recharge shield, reposition. Ziplines give you vertical mobility that most players can’t match. Both are worth the investment at this tier.
Slot-by-slot breakdown
If you want to mix and match rather than copying a full build, here’s how each slot breaks down across budget tiers.
Weapons: what to buy at every price point
| Budget | Primary | Secondary | Why |
|---|---|---|---|
| Under 5K | Ferro I (1,425) | Stitcher I (2,400) | Highest damage per coin spent. Ferro two-shots light shields. |
| 5-20K | Ferro I (1,425) | Rattler I (craft) | Ferro stays dominant. Rattler gives better range than Stitcher. |
| 20-35K | Anvil I (15,000) | Stitcher I or Rattler | Anvil’s 652 DPS dominates mid-range. Keep a cheap secondary. |
| 35K+ | Renegade I (21,000) | Bettina I (~9,000) | Best sustained DPS in the game. Bettina covers close range. |
⚡ Ammo tip: Ferro and Anvil use heavy ammo (900/stack from Tian Wen). Renegade and Rattler use medium ammo (same price, more common in-raid). Stitcher uses light ammo, which is the cheapest to find on the ground.
Augments: comparing your options
| Augment | Carry | Safe Pockets | Shield Support | Best For |
|---|---|---|---|---|
| Free Augment | 35 | 0 | None | Absolute zero-risk runs |
| Looting MK 1 | 50 | 1 | Light | Budget loot runs |
| Looting MK 2 | 60 | 2 | Light | Best value for loot-focused play |
| Combat MK 2 | – | – | Light/Med/Heavy | Mid-tier PvP (1 HP/5s regen) |
| Combat MK 3 (Aggressive) | 65 | 1 | Med/Heavy | Premium PvP (2 HP/5s, 2 grenade slots) |
| Looting MK 3 (Survivor) | 80 | 3 | Medium | Premium looting (restores HP when downed) |
| Tactical MK 3 (Defensive) | 60 | 1 | Medium | Solo survival (built-in shield recharger) |
The Looting MK 2 at 6,000 coins is the best mid-tier augment for general play. 22 inventory slots and 2 safe pockets mean you’re walking out with good loot even if you go down. The Combat MK 3 (Aggressive) is the pick for anyone who wants to fight. That 2 HP per 5 seconds passive healing means you’re constantly topping off between engagements.
Shields
Keep it simple. Light Shield (1,920) for budget runs. Medium Shield (6,000) for everything else. Heavy Shield (16,500) is rarely worth it. The movement penalty outweighs the extra protection in most situations, and the price hurts. Medium handles burst from every weapon in the game while letting you reposition.
Consumables and utility
Always craft these:
- Bandages (or Herbal/Sterilized at higher tiers) for healing
- Shield Rechargers for mid-fight shield recovery
- Adrenaline Shots for sprinting to extraction or repositioning
Worth buying:
- Barricade Kit (1,920) for instant cover on open maps
- Smoke Grenade (3,000) for breaking line of sight during retreats
- Zipline (3,000, Level 12) for vertical mobility and quick escapes
- Defibrillator (3,000) if you’re running in a squad. You need to actually use it to revive teammates, just carrying one doesn’t help your friendly lobby reputation either.
For safe pockets, put blueprints, keys, and high-value materials first. Never waste a safe pocket on something you can buy from a vendor.
Frequently asked questions
Should I craft or buy weapons?
Buy them. Weapons from Tian Wen come ready to use and the time saved farming materials is worth the coin cost. Ferro I (1,425), Anvil I (15,000), and Renegade I (21,000) are all available from the vendor. Save your crafting for consumables like bandages and shield rechargers, where the material cost is minimal and you burn through them every raid.
What’s the best augment for solo players?
Tactical MK 3 (Defensive). It has a built-in shield recharger with unlimited uses on a cooldown, supports medium shields, and gives you 60 carry weight. No squad to rely on means you need self-sustain, and this augment delivers. For more solo strategies, check our solo guide.
Is the Bobcat better than the Stitcher?
The Bobcat has higher DPS (400 vs 317) and a faster fire rate (66.7 vs 45.3), but it costs more and burns through light ammo quickly. The Stitcher is the better budget pick because it’s cheaper to buy (2,400 coins), easier on ammo, and still handles 1v1 fights well. Upgrade to Bobcat only when you can comfortably afford to replace it.
Heavy Shield or Medium Shield?
Medium Shield, almost always. It costs 6,000 vs 16,500 for heavy, doesn’t tank your movement speed, and has enough charge to absorb a full magazine from most weapons. Heavy Shield only makes sense if you’re running a dedicated frontline build in a coordinated squad.
What should go in my safe pocket?
Blueprints, keys (especially Raider Hatch Keys at 9,000 coins), and rare crafting materials. Never put something in a safe pocket that you can rebuy from a vendor. The whole point is protecting items that are hard to replace.
Summary
The best Arc Raiders loadout is the one that matches your wallet. Run budget Ferro + Stitcher kits when you’re rebuilding. Step up to Anvil + Rattler when you can handle the loss. Go full Renegade + Bettina when you’re flush and looking for a fight. Whatever tier you’re at, buy weapons and craft consumables. That habit alone saves more coins over time than any single weapon upgrade.